Honeywell Portable Electrical Generator Service Manual www.honeywellgenerators.com 7-3
CLEANING FUEL SEDIMENT CUP
7.2 CLEANING FUEL SEDIMENT CUP
The sediment cup prevents any dirt or water that may be
in the fuel tank from entering the carburetor.
Clean fuel sediment cup at the intervals specified in
Table 7-1.
To clean fuel sediment cup:
1. Stop the engine if it is running. Allow to completely
cool.
2. Place generator on a flat, level surface.
3. Turn the fuel shut-off valve to the OFF position.
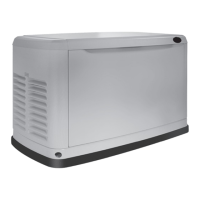
4. While holding the fitting above the fuel shut-off valve
with a 22 mm open end wrench, remove the fuel sedi-
ment cup assembly (sediment cup, o-ring, and fuel
screen) using a 10 mm box wrench.
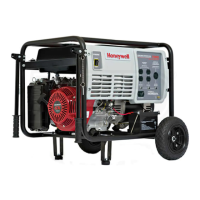
5. Clean the fuel screen (A), o-ring (B), and sediment
cup (C), with soap and water.
6. Rinse parts thoroughly with water.
7. Wipe the pieces clean with a clean, dry cloth.
8. Reinstall the sediment cup, o-ring, and fuel screen.
9. Turn the fuel shut-off valve to the ON position.
10. Start generator and check for leaks.
7.3 CLEANING SPARK ARRESTOR
SCREEN
Generator muffler is equipped with spark arrestor screen,
which must be cleaned according to maintenance sched-
ule (Table 7-1).
1. Stop generator if engine is running. Allow to com-
pletely cool.
2. Place generator on a flat, level surface.
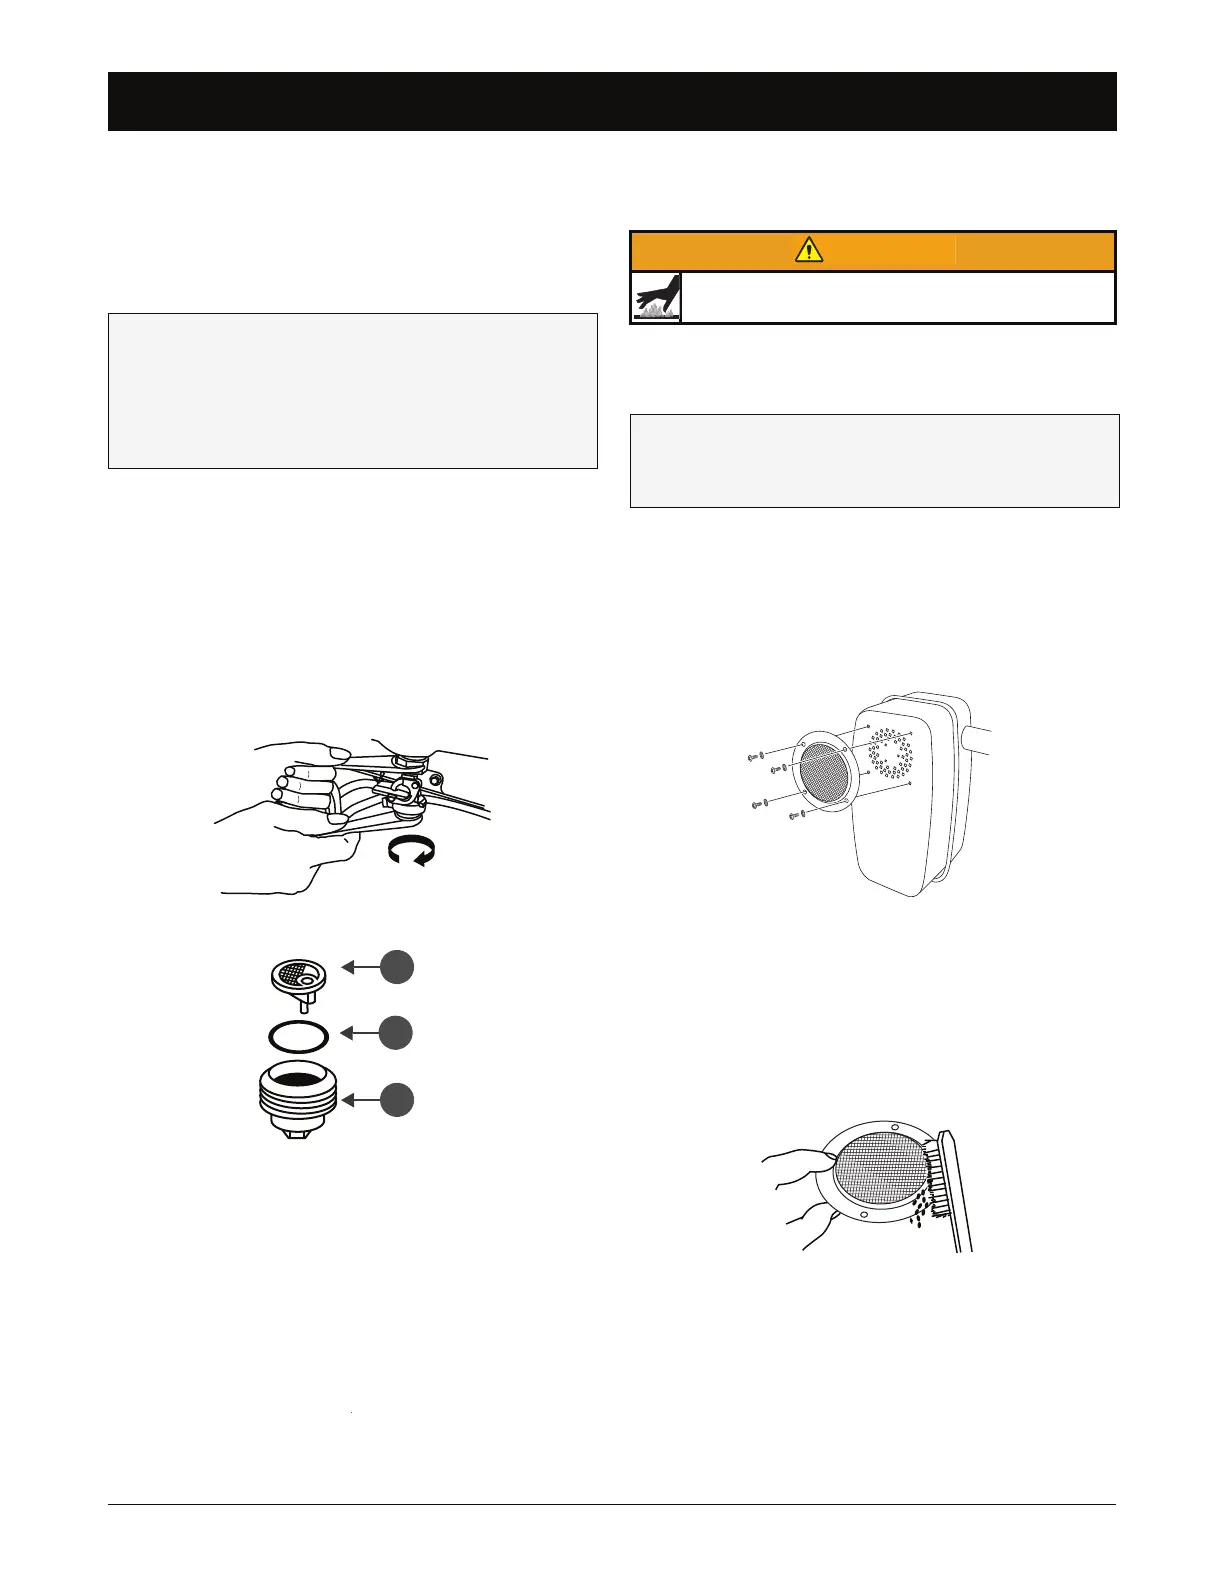
3. Use a Phillips screwdriver to remove the spark arres-
tor screws and washers.
4. Remove the spark arrestor.
5. Inspect the spark arrestor screen.
If the screen is damaged or excessively worn,
replace the spark arrestor.
If the screen is in good condition, clean using a
wire brush.
6. Reinstall spark arrestor carefully aligning screw holes.
To clean fuel sediment cup, you will need:
10 mm box wrench
22 mm open end wrench
Household soap and water
Clean, dry cloth
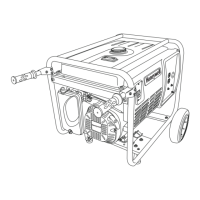
FIGURE 7-1: Fuel Sediment Cup Assembly Removal
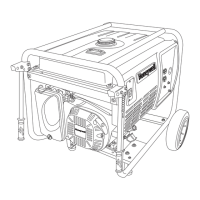
FIGURE 7-2: Fuel Sediment Cup Assembly
Muffler reaches temperatures that can cause serious
burns if touched. NEVER touch hot surfaces.
To clean spark arrestor screen, you will need:
#2 Phillips screwdriver
Wire brush
FIGURE 8: Spark Arrestor Assembly
FIGURE 9: Clean Screen
 Loading...