EasyManua.ls Logo

HP 5400zl Series User Manual

HP 5400zl Series
128 pages
To Next Page IconTo Next Page
To Previous Page IconTo Previous Page
Page #72 background imageLoading...
Page #72 background image
4-4
Replacing Components
Replacing Fan Trays
Replacing Components
Replacing Fan Trays
When a fan fails the Fan Status LED on the switch chassis will blink
simultaneously with the switch Fault LED. In this case, the entire fan tray
needs to be replaced. You cannot replace individual fans.
The fan tray is hot swappable. It can be removed and replaced without
removing power from the switch. However, install the new fan tray
immediately (within two minutes) after removing the old fan tray to avoid
overheating and switch shutdown (within three minutes).
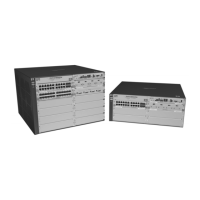
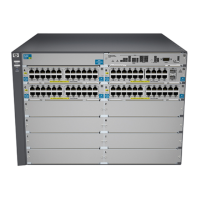
Although these procedures show the 6-slot chassis, the procedures are the
same for the 12-slot chassis.
WARNING To avoid contact with spinning fans, if you are hot swapping out the
fan tray assembly, pull the assembly out one-inch and allow the fans
to stop rotating (approximately 20 seconds) before pulling it all the
way out.
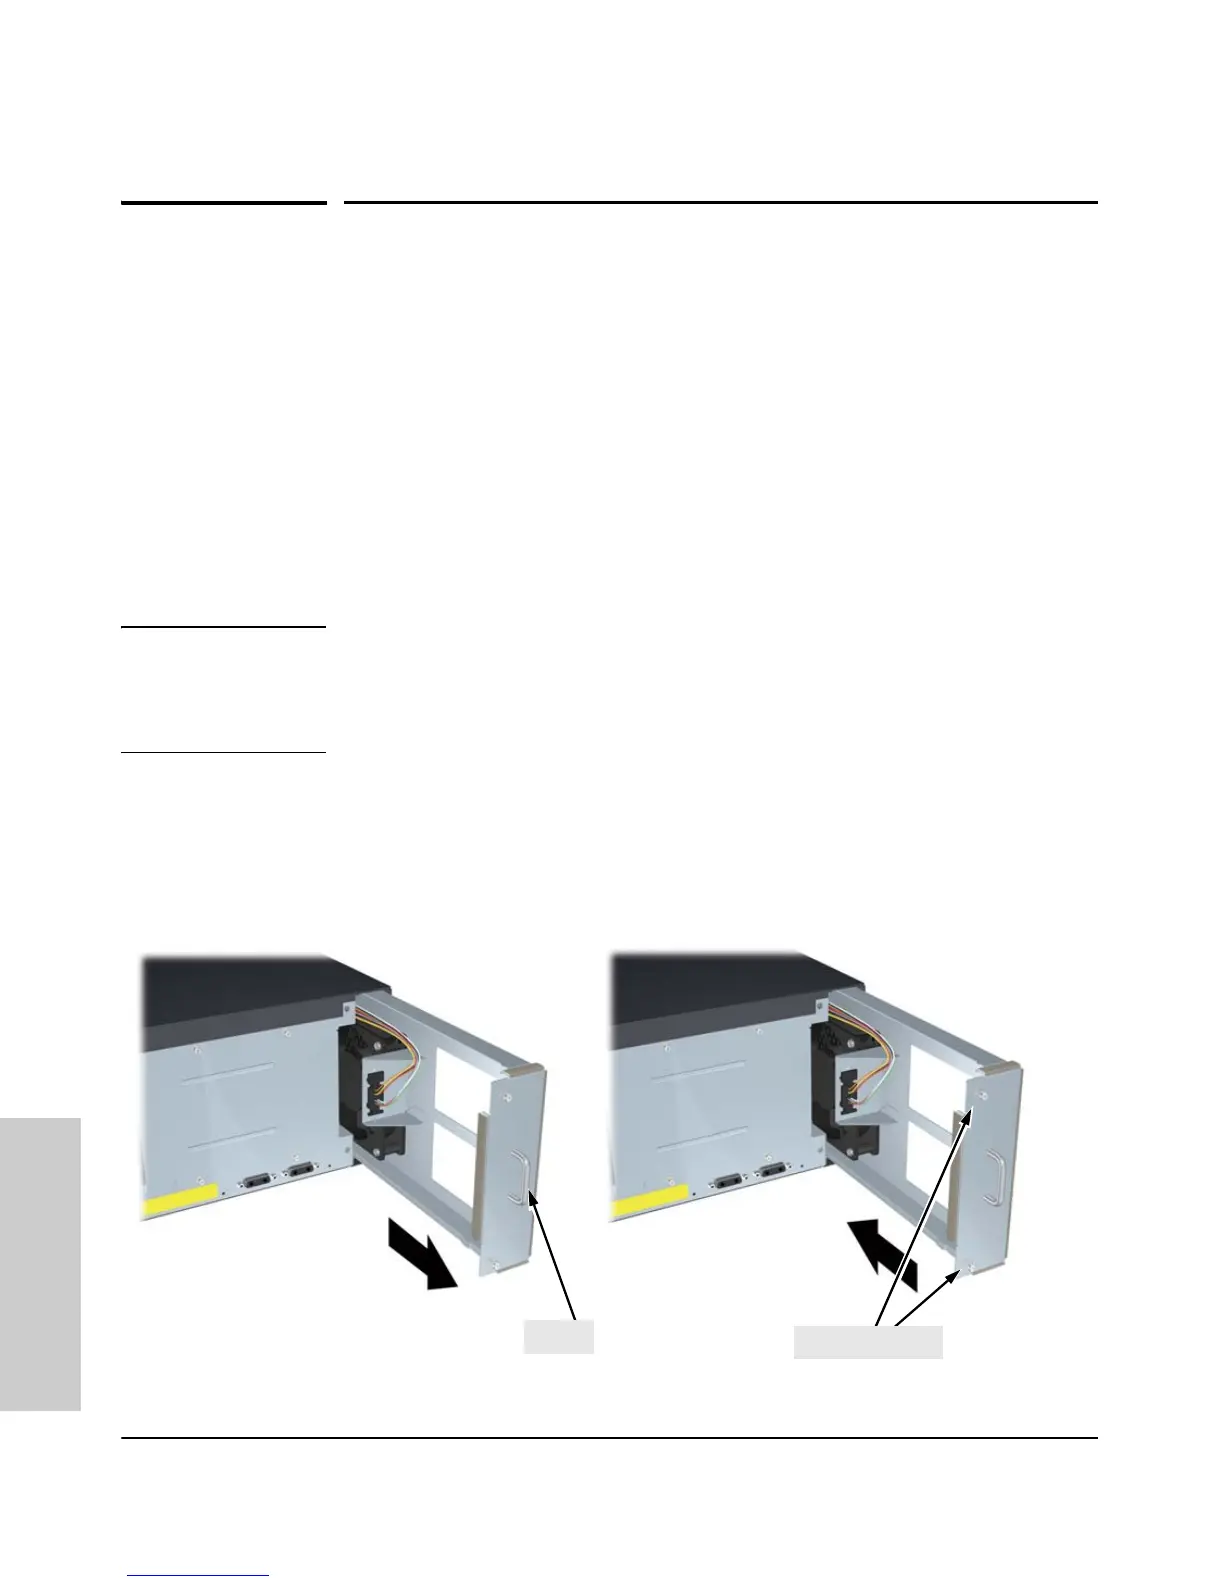
To replace a fan tray:
1. Using either a flat-bladed or Torx T-10 screwdriver loosen the retaining
screws holding the fan tray assembly and pull the fan tray assembly out.
2. Install the new fan tray assembly and tighten the retaining screws.
Figure 4-3. Fan Tray Removal and Installation
Handle
Retaining Screws

Table of Contents

Other manuals for HP 5400zl Series

Questions and Answers:

HP 5400zl Series Specifications

General IconGeneral
BrandHP
Model5400zl Series
CategorySwitch
LanguageEnglish

Summary

Introducing the ProCurve Series 5400zl Switches

Switch Chassis LEDs

Explains the status and meaning of various LEDs on the switch chassis for diagnostics.

Power Connectors and Supplies

Covers the AC power connector and redundant power supply options for switch operation.

Installing the Series 5400zl Switches

Installation Procedures

Provides a step-by-step overview of the entire installation process, from site prep to final connections.

Installation Precautions

Essential warnings and safety guidelines to follow before and during switch installation.

Install Switch Modules

Step-by-step instructions for inserting switch modules into the chassis slots.

Verify the Switch Passes Self Test

How to confirm the switch is operational by checking LEDs after self-test.

Connect the Network Devices

How to connect network cables to switch ports for establishing network connectivity.

(Optional) Connect a Console to the Switch

Instructions for connecting a console for initial switch configuration and management.

Replacing Components

Replacing Power Supplies

Step-by-step guide on how to remove and install AC power supplies.

Replacing the Management Module

Detailed instructions for removing and installing the management module.

Troubleshooting ProCurve Series 5400zl Switches

Basic Troubleshooting Tips

General advice and common issues to check first when troubleshooting network problems.

Diagnosing Issues with LEDs

Interpreting LED patterns on the switch and modules to identify problems and their causes.

Hardware Diagnostic Tests and Resetting

Performing hardware tests and understanding reasons/methods for resetting the switch.

Restoring Factory Default Configuration

Steps to reset the switch to its original factory default settings to resolve configuration issues.

Safety and Regulatory Statements

General Safety Information

General safety guidelines, grounding, and servicing information.

Related product manuals