Removal and replacement procedures 22
2.
Remove the management module.
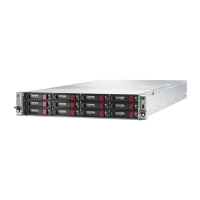
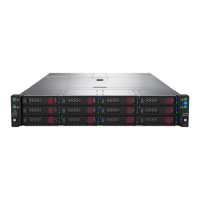
Remove the chassis from the rack
WARNING: The chassis is very heavy. To reduce the risk of personal injury or damage to the
equipment:
• Always use either a lift that can handle the load of the product or at least four people to lift
and stabilize the product pieces during assembly, installation, or removal, especially when
the chassis is not installed in the rack. An additional person may be required to help align
the chassis if the chassis is installed higher than chest level.
• Observe local occupational health and safety requirements and guidelines for manual
material handling.
• Hewlett Packard Enterprise recommends removing all installed components from the
chassis before installing or moving the chassis.
To remove the chassis:
1. Power down all servers ("Power down the server" on page 20).
2. Remove the management module (on page 21).
To avoid damaging the cable, squeeze the thermal boot on the cable before
disconnecting from the connector.
3. Remove all power:
a. Disconnect each power cord from the power source.
b. Disconnect each power cord from the chassis.
4. Disconnect all peripheral devices from the server.
5. Remove installed components to reduce the weight of the chassis.
 Loading...


