Removal and replacement procedures 23
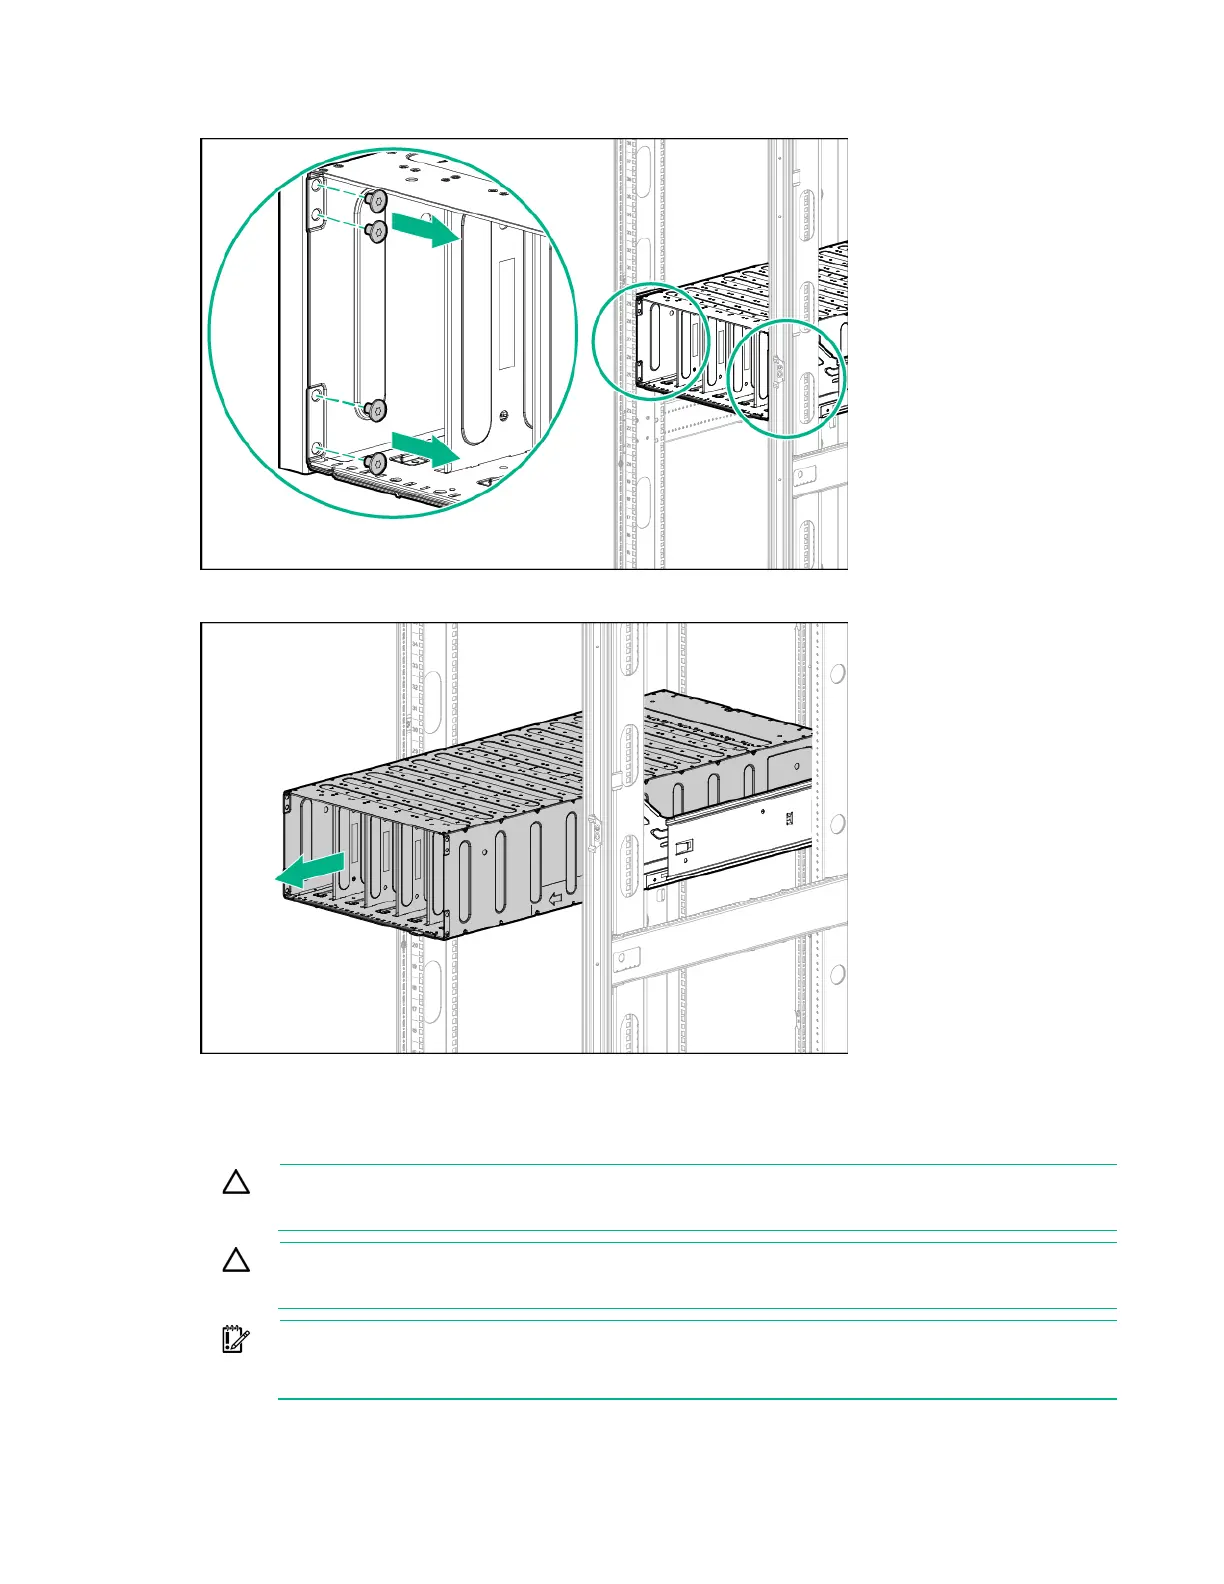
6.
Remove the screws that secure the chassis to the rail.
7. Remove the chassis from the rack.
8. Place the chassis on a flat surface.
Install the service tray
CAUTION: To prevent improper cooling and thermal damage, operate servers only when the
open side of the server is enclosed by either another server, a divider, or the chassis wall.
CAUTION: To prevent improper cooling and thermal damage, do not operate the chassis
unless all bays are populated with a component or a blank.
IMPORTANT: To maintain proper airflow for odd-numbered servers, use the service tray
during even-numbered server servicing events only. This tray is not intended for use during
normal server operation.
 Loading...