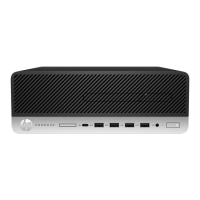
Replacing the optical drive
The optical drive is located beneath the lower hard drive on the left side of the computer. The green latch
comes with the drive.
1. Prepare the computer for disassembly (see Preparing to disassemble the computer on page 19).
2. Remove the rear port cover (see Rear port cover on page 23).
3. Remove the stand (see Attaching and removing a stand on page 20).
4. Remove the access panel (see Access panel on page 24).
5. Remove the hard drive (see Removing a 2.5-inch hard disc drive on page 26).
6. Push and hold the green tab (1) while pushing in the green latch (2) at the back of the optical disc drive
enclosure and slide the drive out of the chassis (3).
7. Pull the green latch o the optical disc drive.
Keep this latch to install on the new optical disc drive.
8. Align the three pins on the latch with the holes in the new optical disc drive and press the latch rmly
onto the new drive.
NOTE: You must reuse the latch removed from the old optical disc drive.
Drives 29
 Loading...


