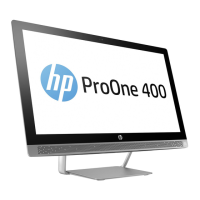
Bezel, bezel bottom trim, display panel
IMPORTANT: Install the new display panel together with all other parts in the replacement kit. Do not reuse
any old parts. Return all old parts to HP for warranty processing.
CAUTION: it is very important to use the exact cable that shipped with the replacement panel. Failure to use
the correct cable may result in panel failure.
To remove the display panel:
1. Prepare the computer for disassembly (see Preparing to disassemble the computer on page 19).
2. Remove the rear port cover (see Rear port cover on page 23).
3. Remove the stand (see Attaching and removing a stand on page 20).
4. Remove the access panel (see Access panel on page 24).
5. Remove the optical drive (see Replacing the optical drive on page 29).
6. Remove the system board shield (see System board (EMI) shield on page 30).
7. Remove the top trim (see Top trim on page 47).
8. Remove the right trim (see Right trim on page 50).
9. Remove the feet, rear I/O cover, and bottom panel (see Feet, rear I/O bracket, and bottom panel
on page 52).
10. To separate the bezel from the main frame, remove the six Torx screws that secure the bezel to the
frame.
Bezel, bezel bottom trim, display panel 55
 Loading...

