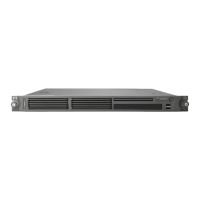
HP ProLiant DL140 Server Setup and Installation Guide 15
Installing ATA Hard Drives
This server model is designed to support two 1-inch ATA hard drives.
When installing ATA hard drives, observe the following guidelines:
• Access internal server components. Refer to the “Accessing Internal Server Components”
section earlier in this chapter.
• Always populate hard drive bays starting with the lowest ATA device number.
• Verify the jumpers on both ATA drives are set to Cable-Select mode. Doing so enables the
ATA cable to set a unique address, such as Device 0 or Device 1, for each hard drive.
CAUTION: Installing unsupported hard drives may damage the system by
consuming power and generating heat in excess of the server’s operating tolerance.
This condition may result in a loss of system and/or data integrity.
CAUTION: Whenever installing hardware or performing maintenance procedures
requiring access to internal components, it is recommended that all server data be
backed up to avoid loss.
• Identify the hard drive tray for ATA hard drive installation. ATA hard drives in the server
appear as Devices 0 and 1, from right to left when viewed from the front of the server. Refer
to Figure 3-11.
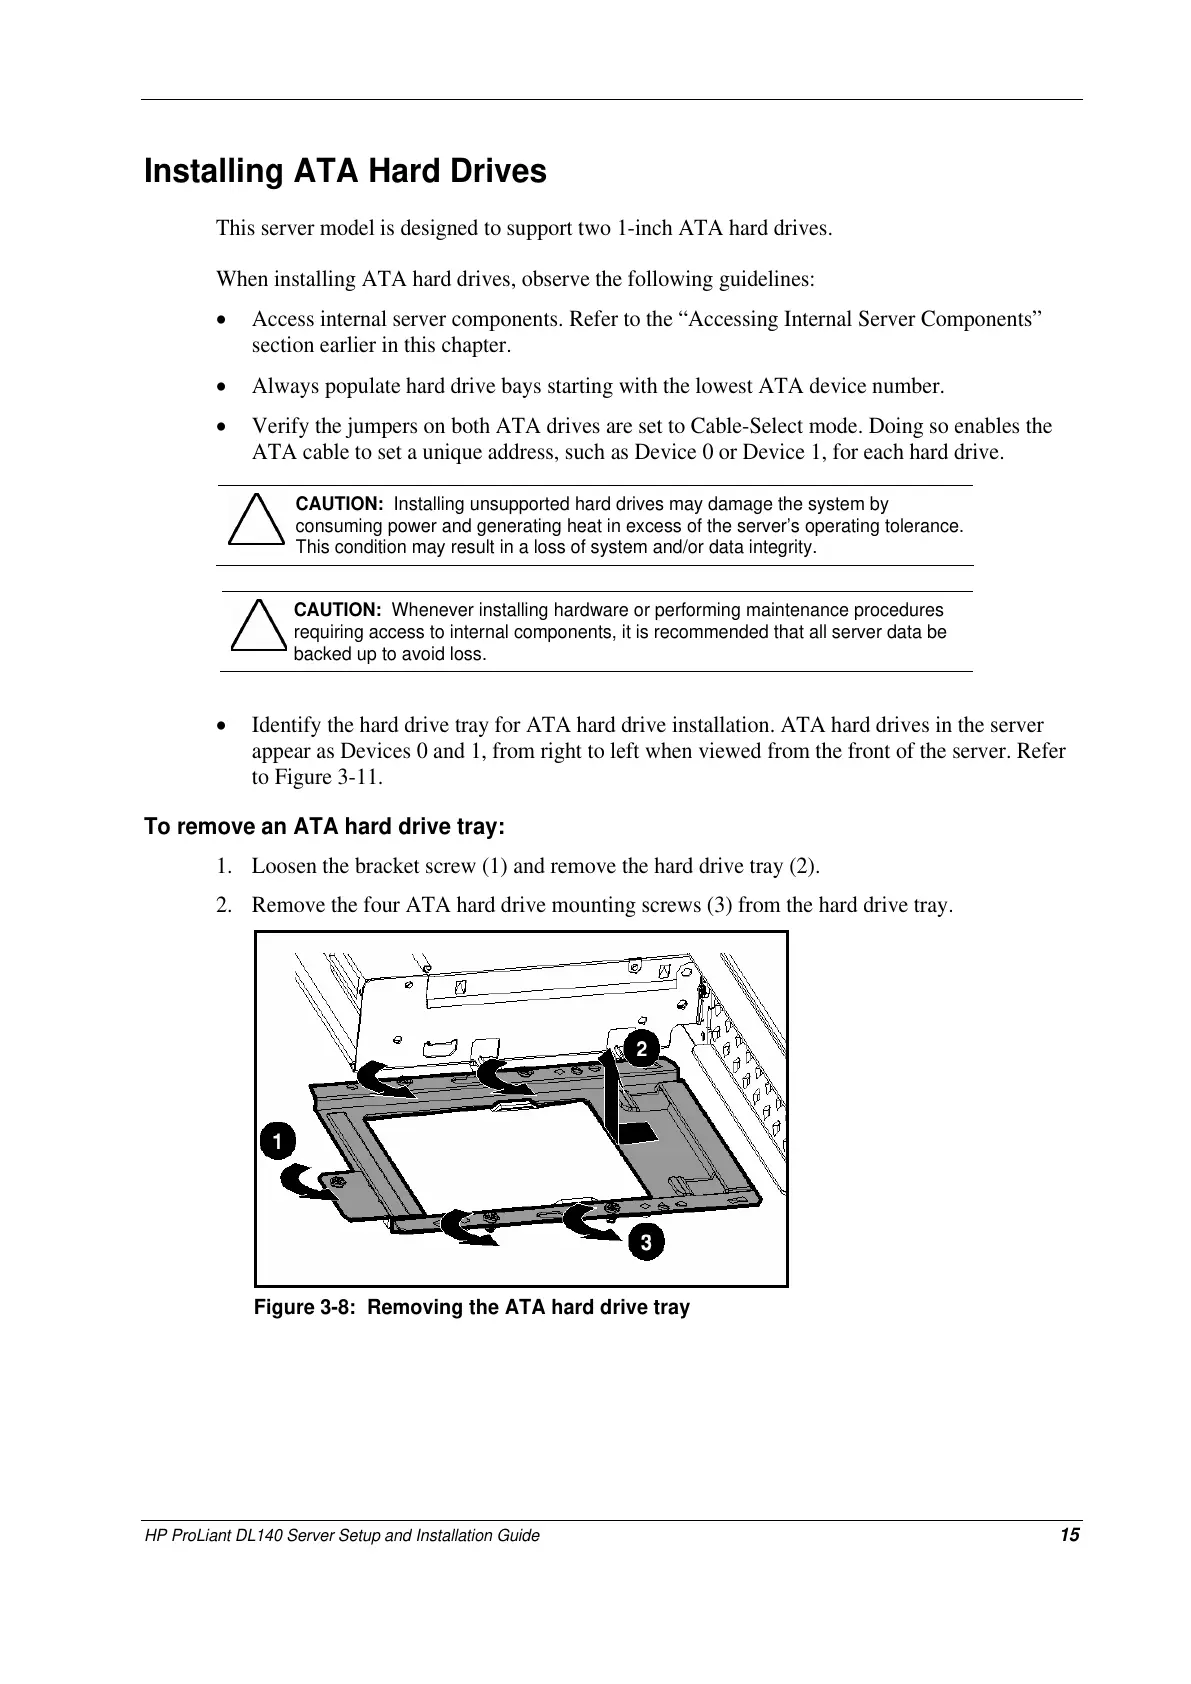
To remove an ATA hard drive tray:
1. Loosen the bracket screw (1) and remove the hard drive tray (2).
2. Remove the four ATA hard drive mounting screws (3) from the hard drive tray.
Figure 3-8: Removing the ATA hard drive tray
 Loading...