English-
13
INSTALLATION
Installation
This chapter describes how you install the Auto Mower.
Before starting the installation read the previous chap-
ter ”Presentation” on page 9 to page 12.
The installation should be carried out according to
the following steps:
A. Preparations.
B. Planning the installation
C. Placing the charging station.
D. Charging the battery.
E. Laying the boundary wire.
F. Connecting the boundary wire.
G. Checking the installation
H. Linking the Auto Mower to the charging station.
The letters refer to the following headings.
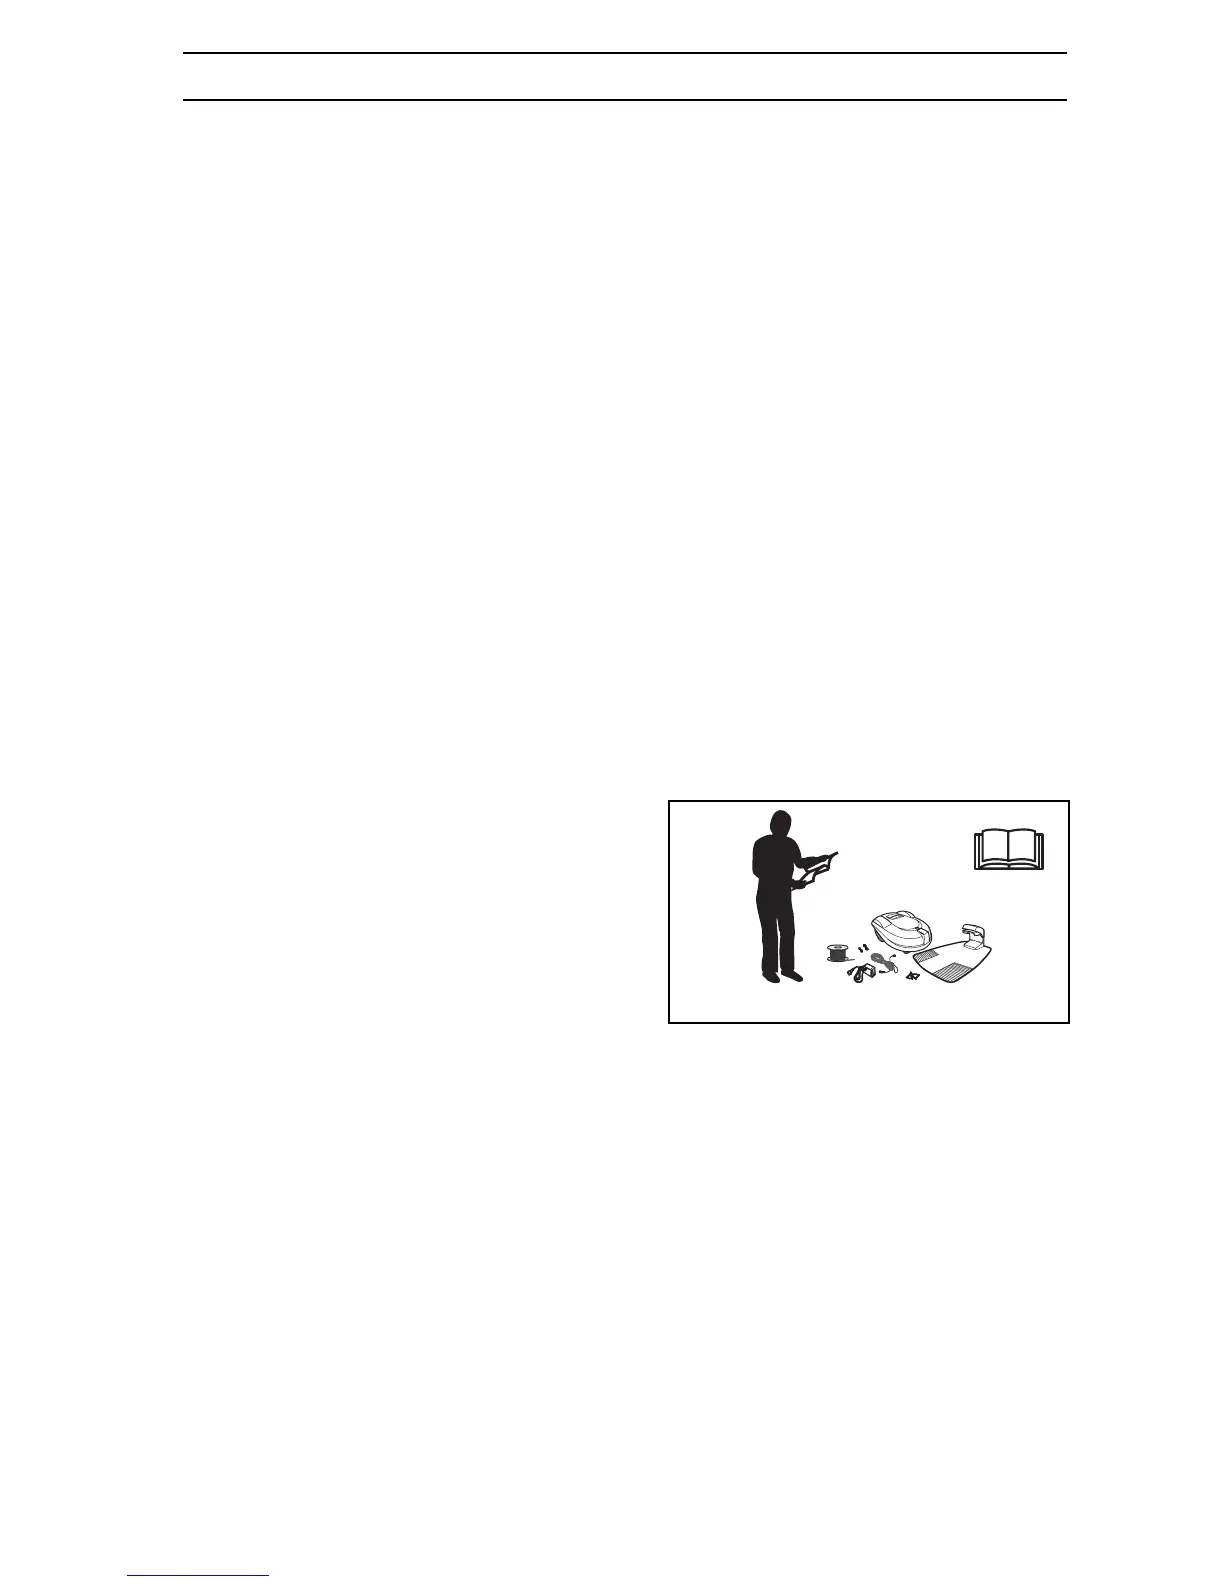
A. Preparations
1. If the lawn in the working area is longer than 15
cm mow it using a conventional lawn mower. Then
collect the clippings.
2. Read carefully through all steps before the instal-
lation.
3. Check that all parts for the installation are
included:
The numbers in brackets refer to the detail dia-
gram ”Auto Mower, what is what?” on page 14.
• Operator’s Manual (22)
• Auto Mower
• Charging station (14)
• Boundary wire in the right length (16)
• Transformer (17)
• Low voltage cable (18)
• Staples (19)
• Boundary wire connector (20)
• Boundary wire coupler (21)
During installation you will also need:
• Combination pliers
• Straight spade, if the boundary wire is to be bur-
ied
3012-301

 Loading...