EasyManuals Logo
Home>Hypertherm>Welding System>Powermax30 XP

Hypertherm Powermax30 XP Service Manual

Hypertherm Powermax30 XP
201 pages
To Next Page IconTo Next Page
To Previous Page IconTo Previous Page
Page #153 background imageLoading...
Page #153 background image
Powermax30 XP Service Manual 808150 Revision 0 153
6 Power Supply Component Replacement
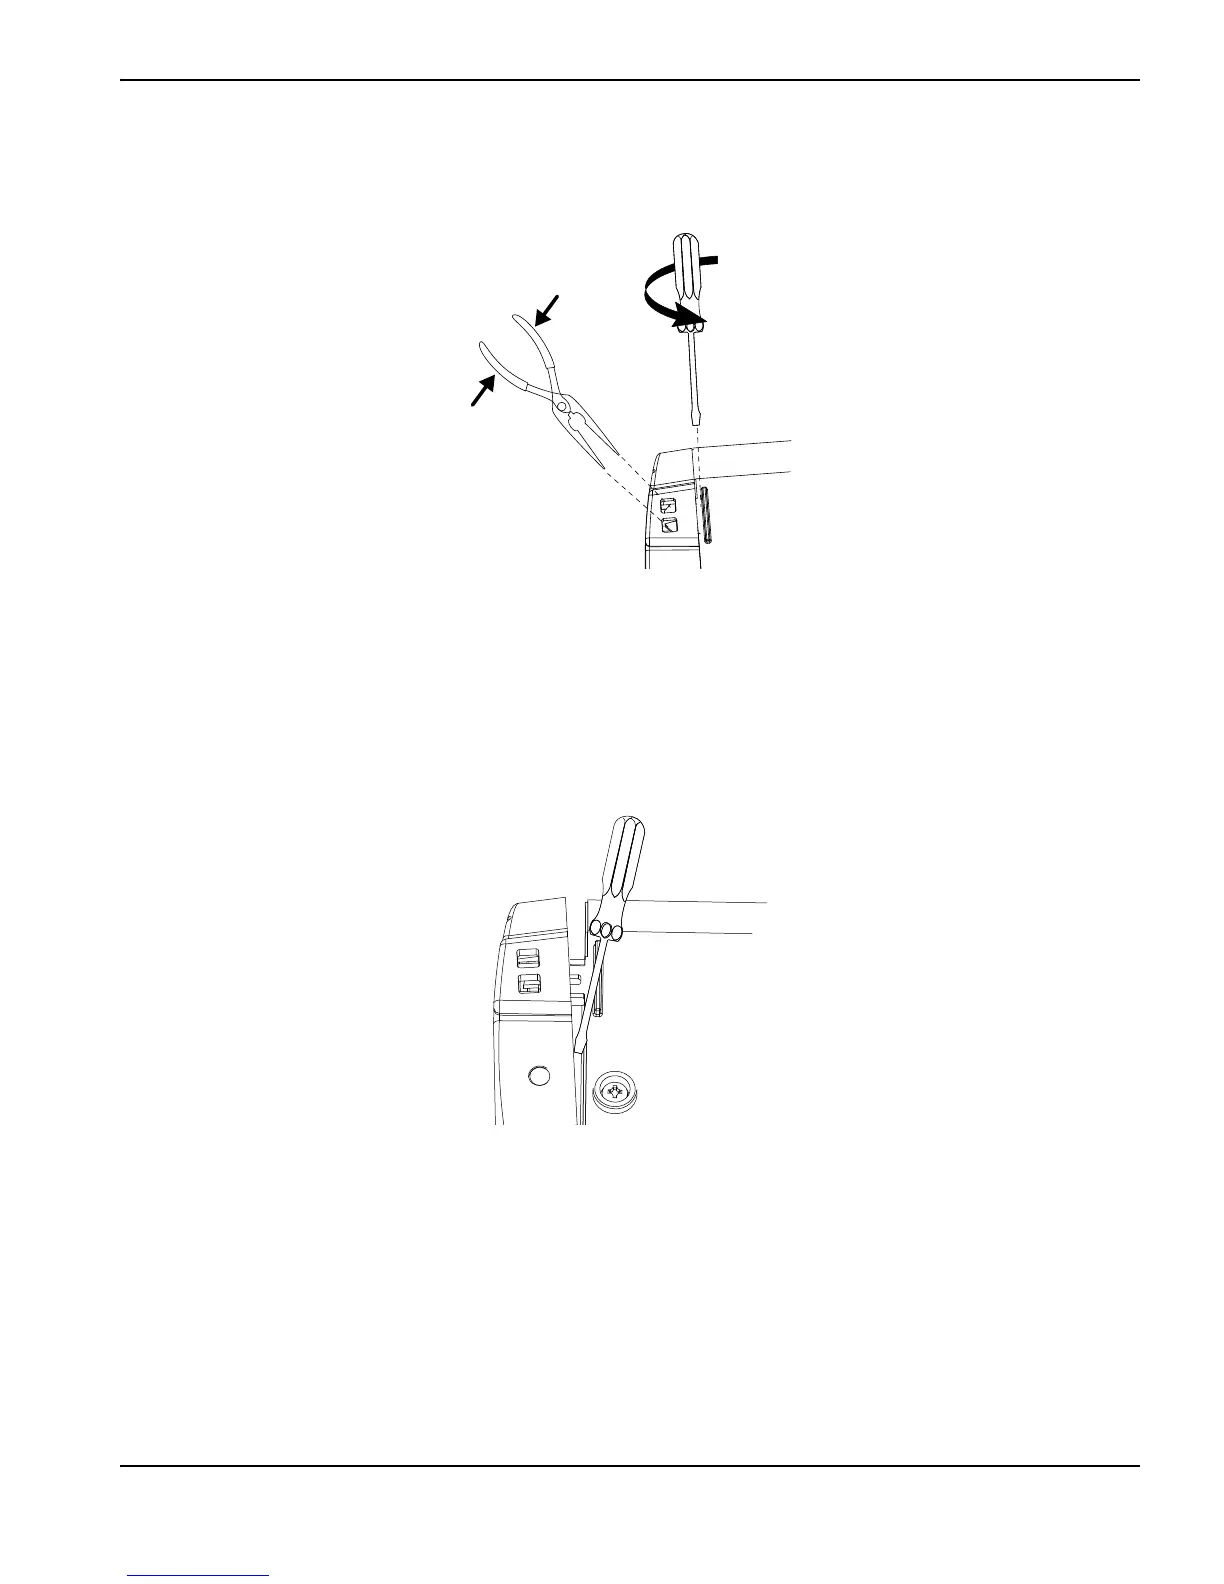
4. Insert needle nose pliers into the opening for one of the snaps and use the pliers to squeeze it together.
Figure 83
5. Place a blade screwdriver against the raised rib next to the snap and gently turn the screwdriver to push the panel
away from the base.
6. Place another screwdriver or similar object into the opening between the panel and the base to keep the first corner
of the panel from re-engaging the snaps when you release the other corner.
Figure 84
7. Repeat step 4 and step 5 on the other corner of the panel.

Table of Contents

Other manuals for Hypertherm Powermax30 XP

Questions and Answers:

Question and Answer IconNeed help?

Do you have a question about the Hypertherm Powermax30 XP and is the answer not in the manual?

Hypertherm Powermax30 XP Specifications

General IconGeneral
BrandHypertherm
ModelPowermax30 XP
CategoryWelding System
LanguageEnglish

Related product manuals