Powermax30 XP Service Manual 808150 Revision 0 177
7 – Torch Component Replacement
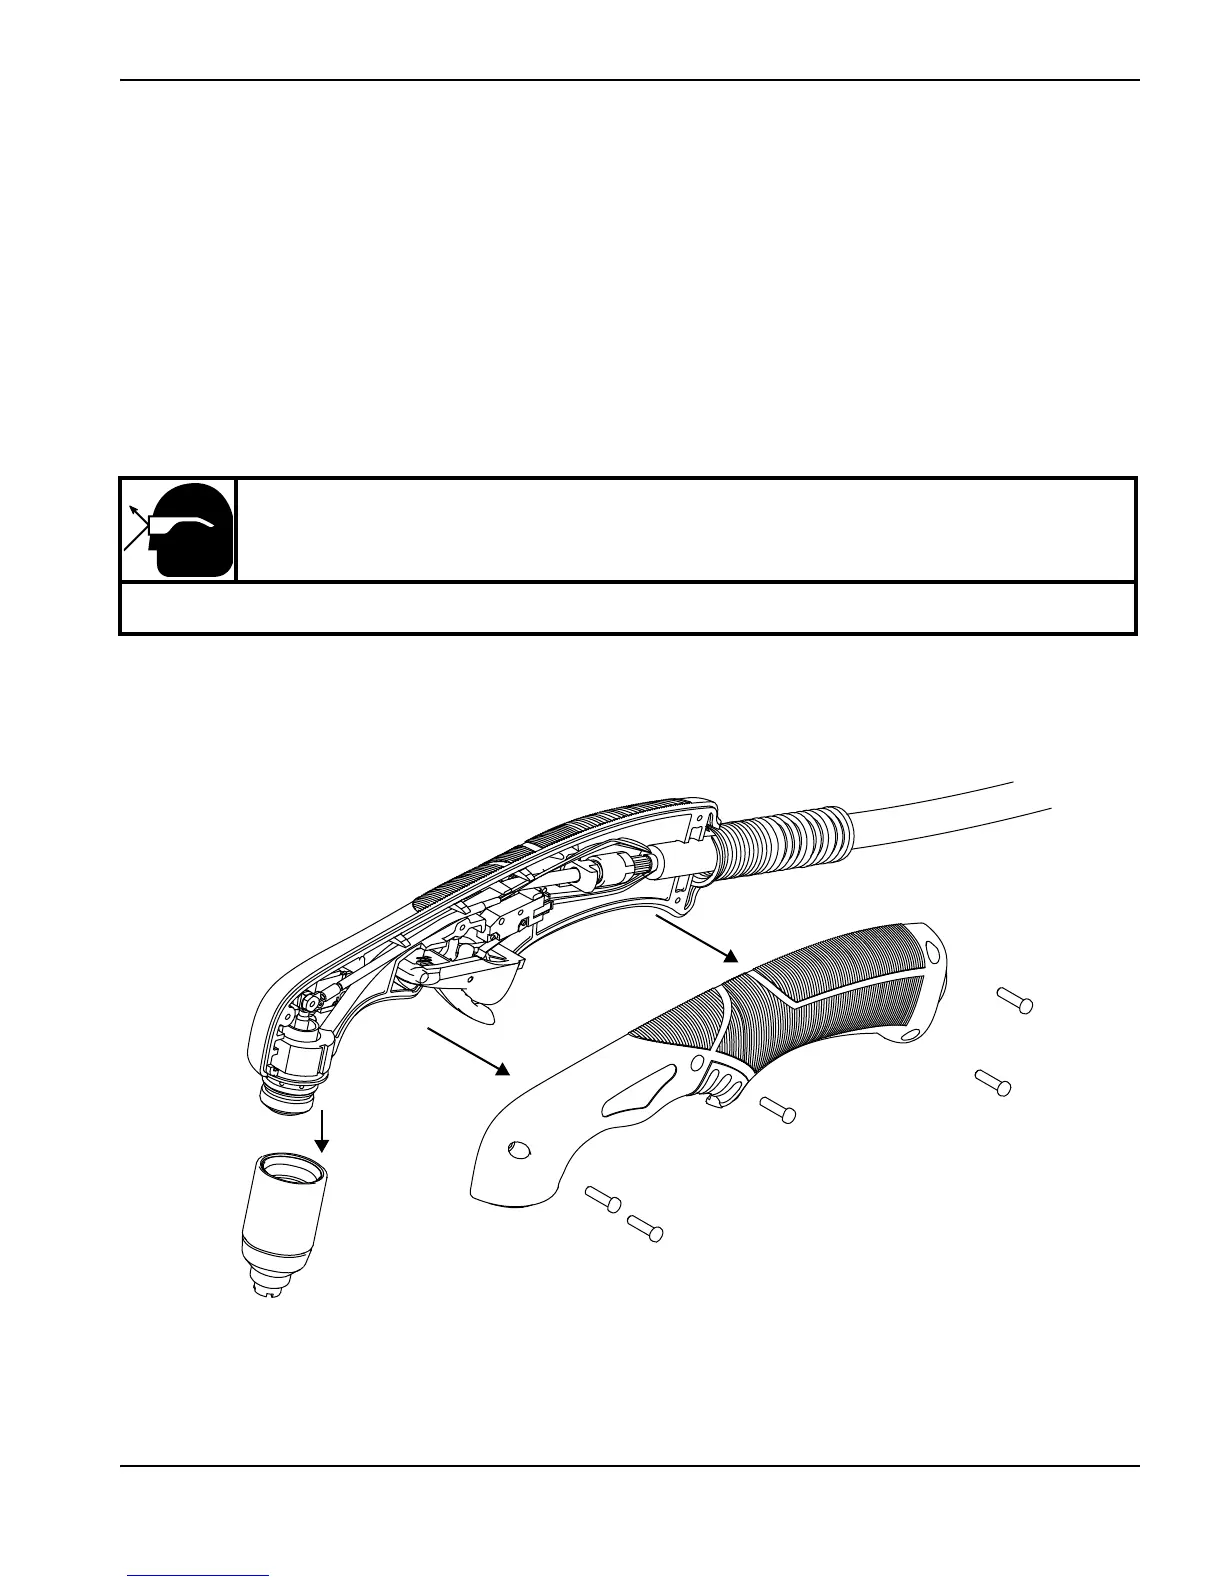
Replacing the trigger assembly
1. Set the power switch to OFF (O), disconnect the power cord from the power source, and disconnect the gas supply.
2. Remove the consumables from the torch.
3. Place the torch on a flat surface with the left side of the handle facing up.
4. Remove the screws from the torch handle. Set the screws aside.
5. Being careful to keep the trigger spring from launching out of the handle, lift the left side of the handle away from the
torch.
Figure 107
6. While holding the spring in place, slide the trigger and spring up and out of the handle. Set them aside.
Kit Description
428156 Kit: Torch trigger and spring
CAUTION!
Wear eye protection, as the trigger spring can launch out of the handle.

 Loading...


