152 Powermax30 XP Service Manual 808150 Revision 0
6 – Power Supply Component Replacement
8. Complete the following procedures:
a. See Install the power supply cover on page 89.
b. Reconnect the gas supply and power cord, and set the power switch to ON (I).
Replacing the front panel
Remove the front panel
Use the following procedure to completely remove the front panel in order to replace it. If you just need to move the front
panel out of the way to provide better access to the interior of the power supply, see Detach the front panel on page 92
and Reattach the front panel on page 94.
1. Complete the following procedures:
a. Set the power switch to OFF (O), disconnect the power cord from the power source, and disconnect the gas
supply.
b. See Remove the power supply cover on page 88.
c. See Remove the component barrier on page 90.
2. Lay the power supply on its side.
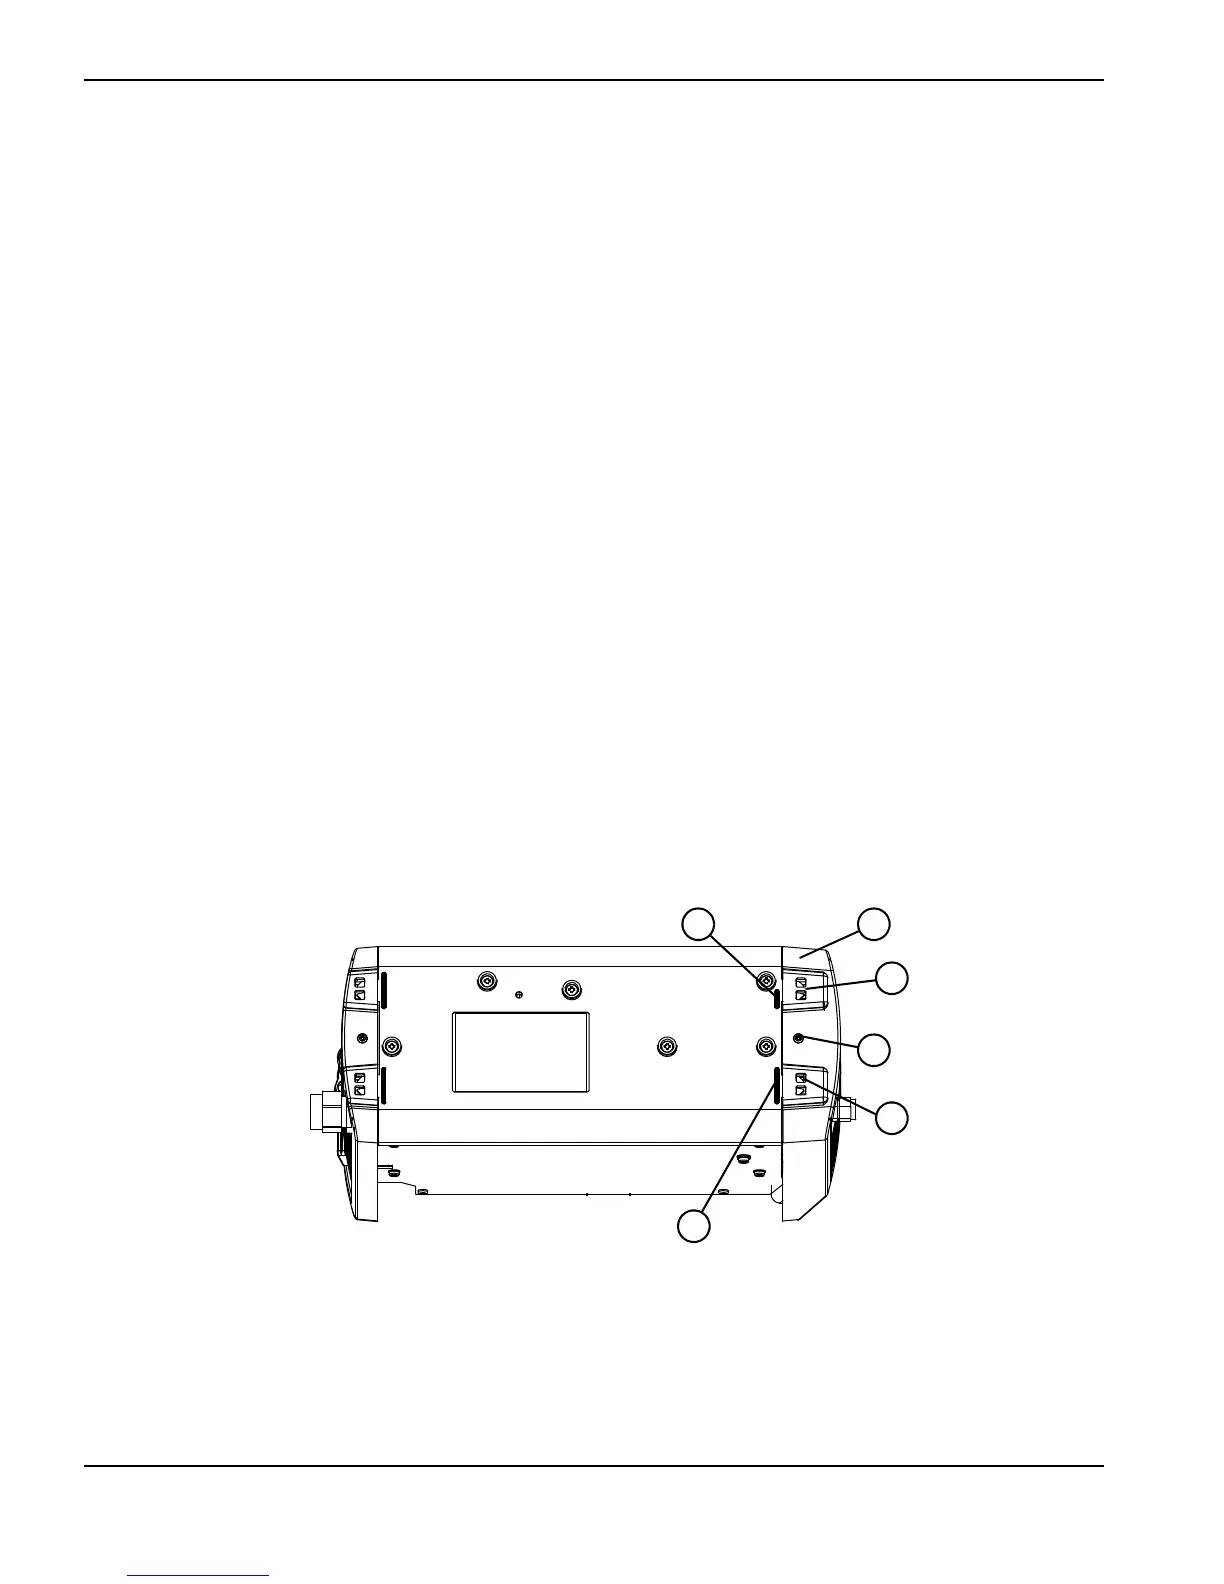
3. Remove the retaining screw from the bottom of the front panel.
Figure 82
Kit number Description
428219 Kit: Front panel
1
Rib
2
Snap
3
Retaining screw
4
Front panel

 Loading...


