Powermax30 XP Service Manual 808150 Revision 0 167
6 – Power Supply Component Replacement
Replacing the work lead and ground clamp
Remove and install the work lead
1. Complete the following procedures:
a. Set the power switch to OFF (O), disconnect the power cord from the power source, and disconnect the gas
supply.
b. See Remove the power supply cover on page 88.
c. See Remove the component barrier on page 90.
d. See Detach the front panel on page 92.
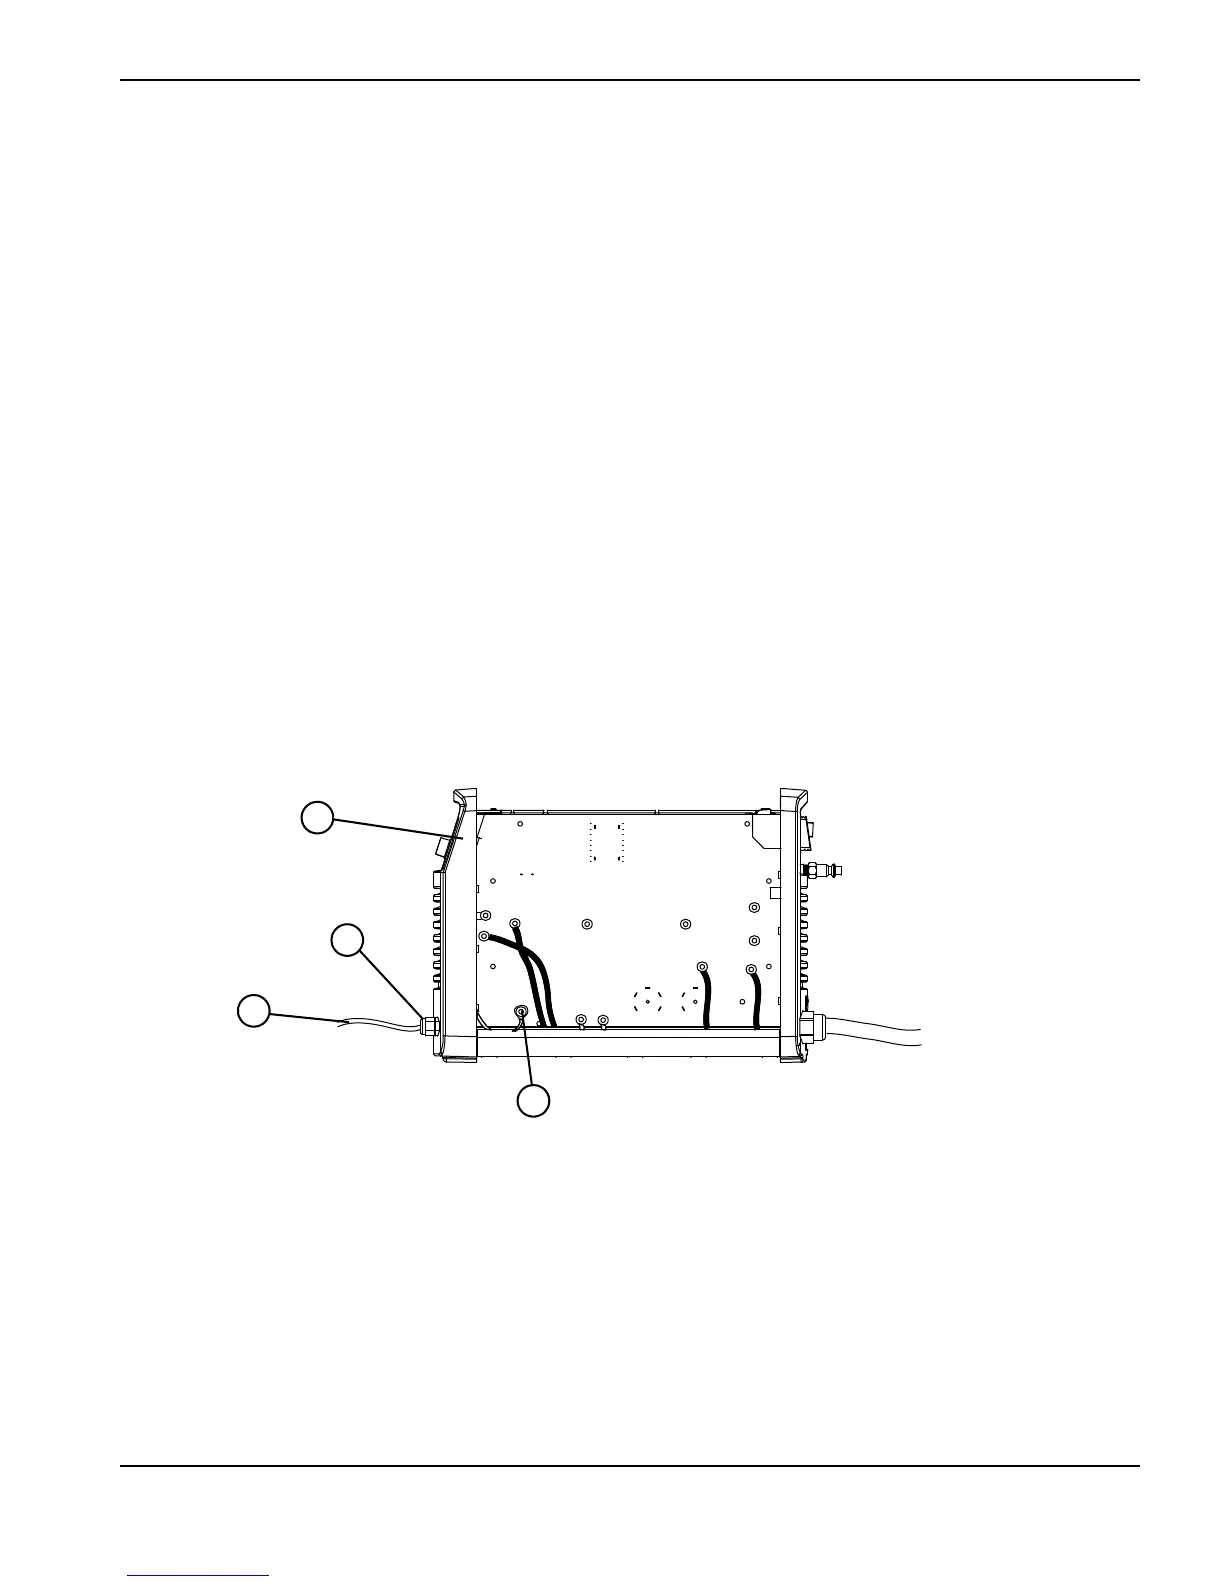
2. Loosen the strain relief nut on the work lead.
3. Remove and set aside the screw and washer from J22 on the power board (labeled “WORK LEAD”) that attaches
the lead to the board.
Figure 98
Kit number Description
428239 Kit: Work lead, 4.6 m (15 feet), with ground clamp
228561 Kit: Ground clamp
1
Front panel
2
Strain relief nut
3
Work lead
4
Work lead connection to power board (J22)

 Loading...


