Powermax30 XP Service Manual 808150 Revision 0 75
5 – Troubleshooting and System Tests
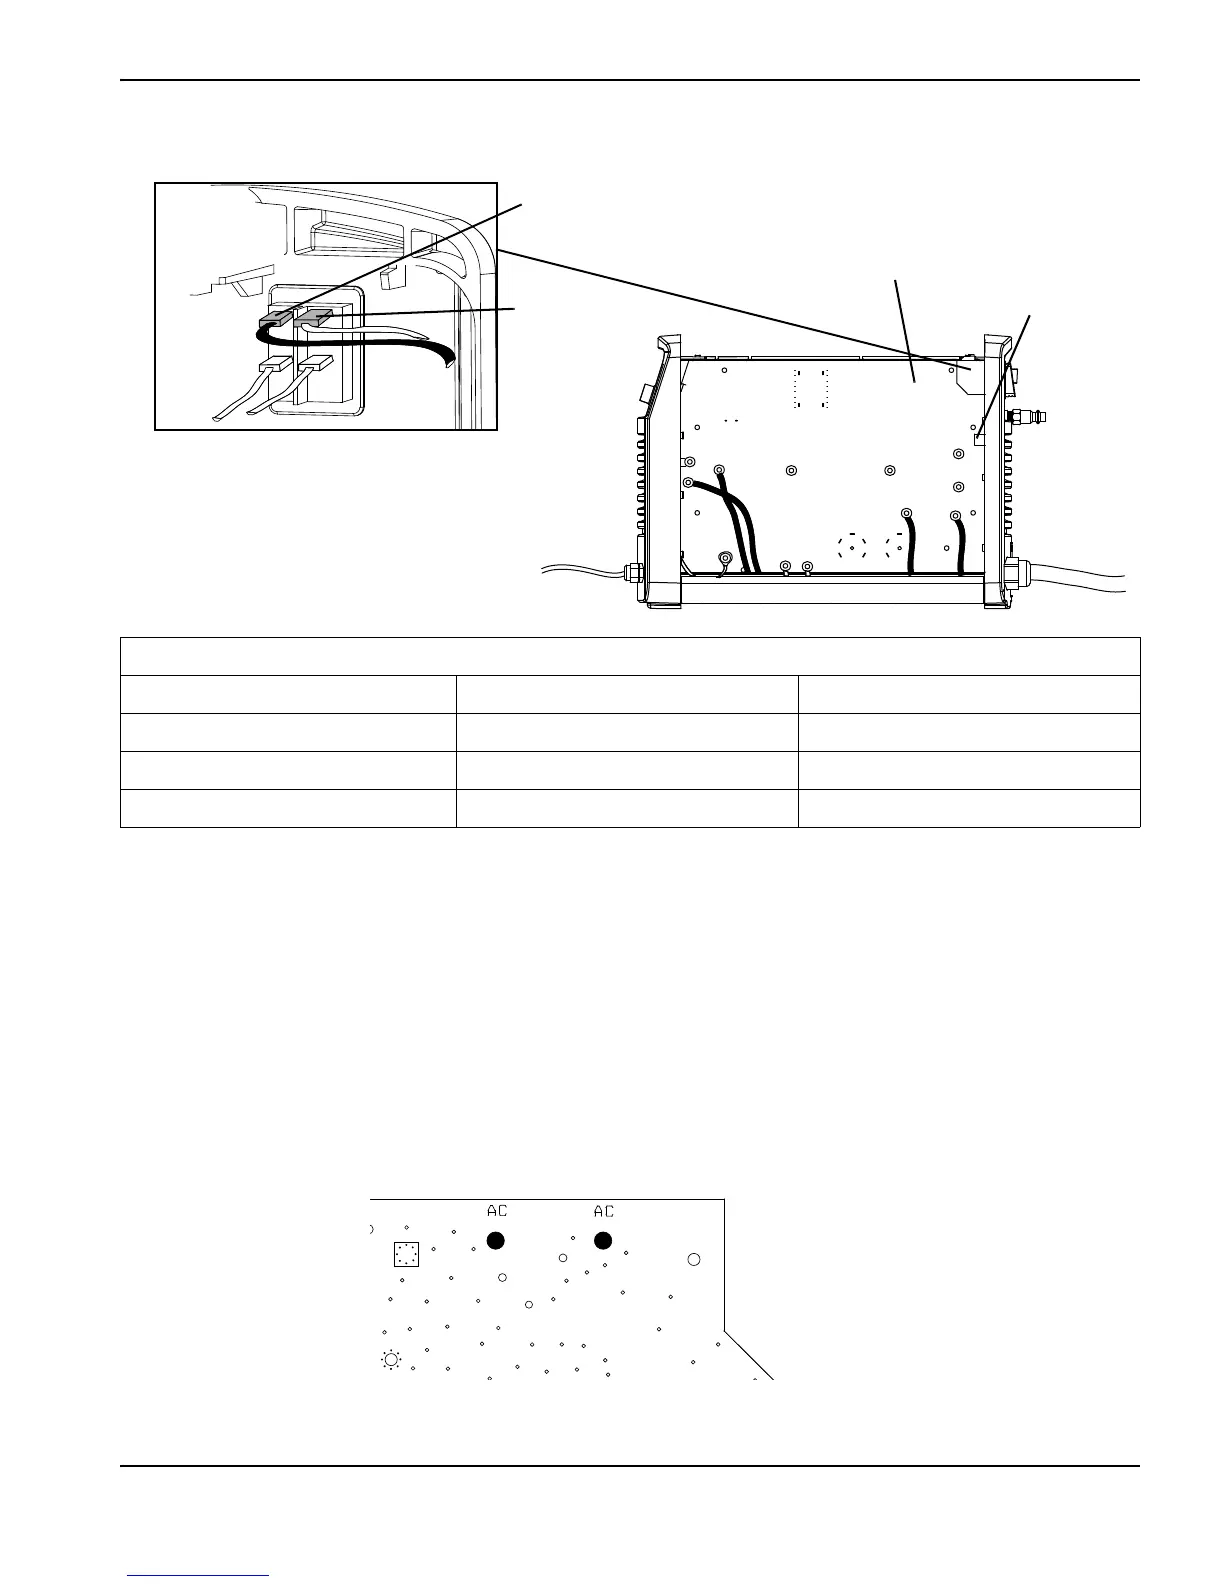
Figure 14
6. If the AC voltage is incorrect, verify that you have power to the unit. If you do have power, inspect the power cord for
damage, and replace if necessary. (See Remove the power cord and strain relief on page 98.)
7. If the power source and power cord are functioning correctly, disconnect the power cord again and reconnect the
two wires to the power switch.
8. Reconnect the electrical power and set the power switch to ON (I).
9. Measure the AC voltage from J1 to J2 (labeled “AC” on the back of the power board). This value should be the same
as the incoming line voltage. If it is not, check the power switch and replace if necessary.
Figure 15
10. If the power-ON LED is still illuminated, perform Test 2 – power board voltage checks on page 76.
Single phase power supplies
Designator CSA wire colors CE/CCC wire colors
L (live) Black Brown
N (neutral) White Blue
PE (ground) Green Green/yellow

 Loading...


