Powermax30 XP Service Manual 808150 Revision 0 89
6 – Power Supply Component Replacement
Install the power supply cover
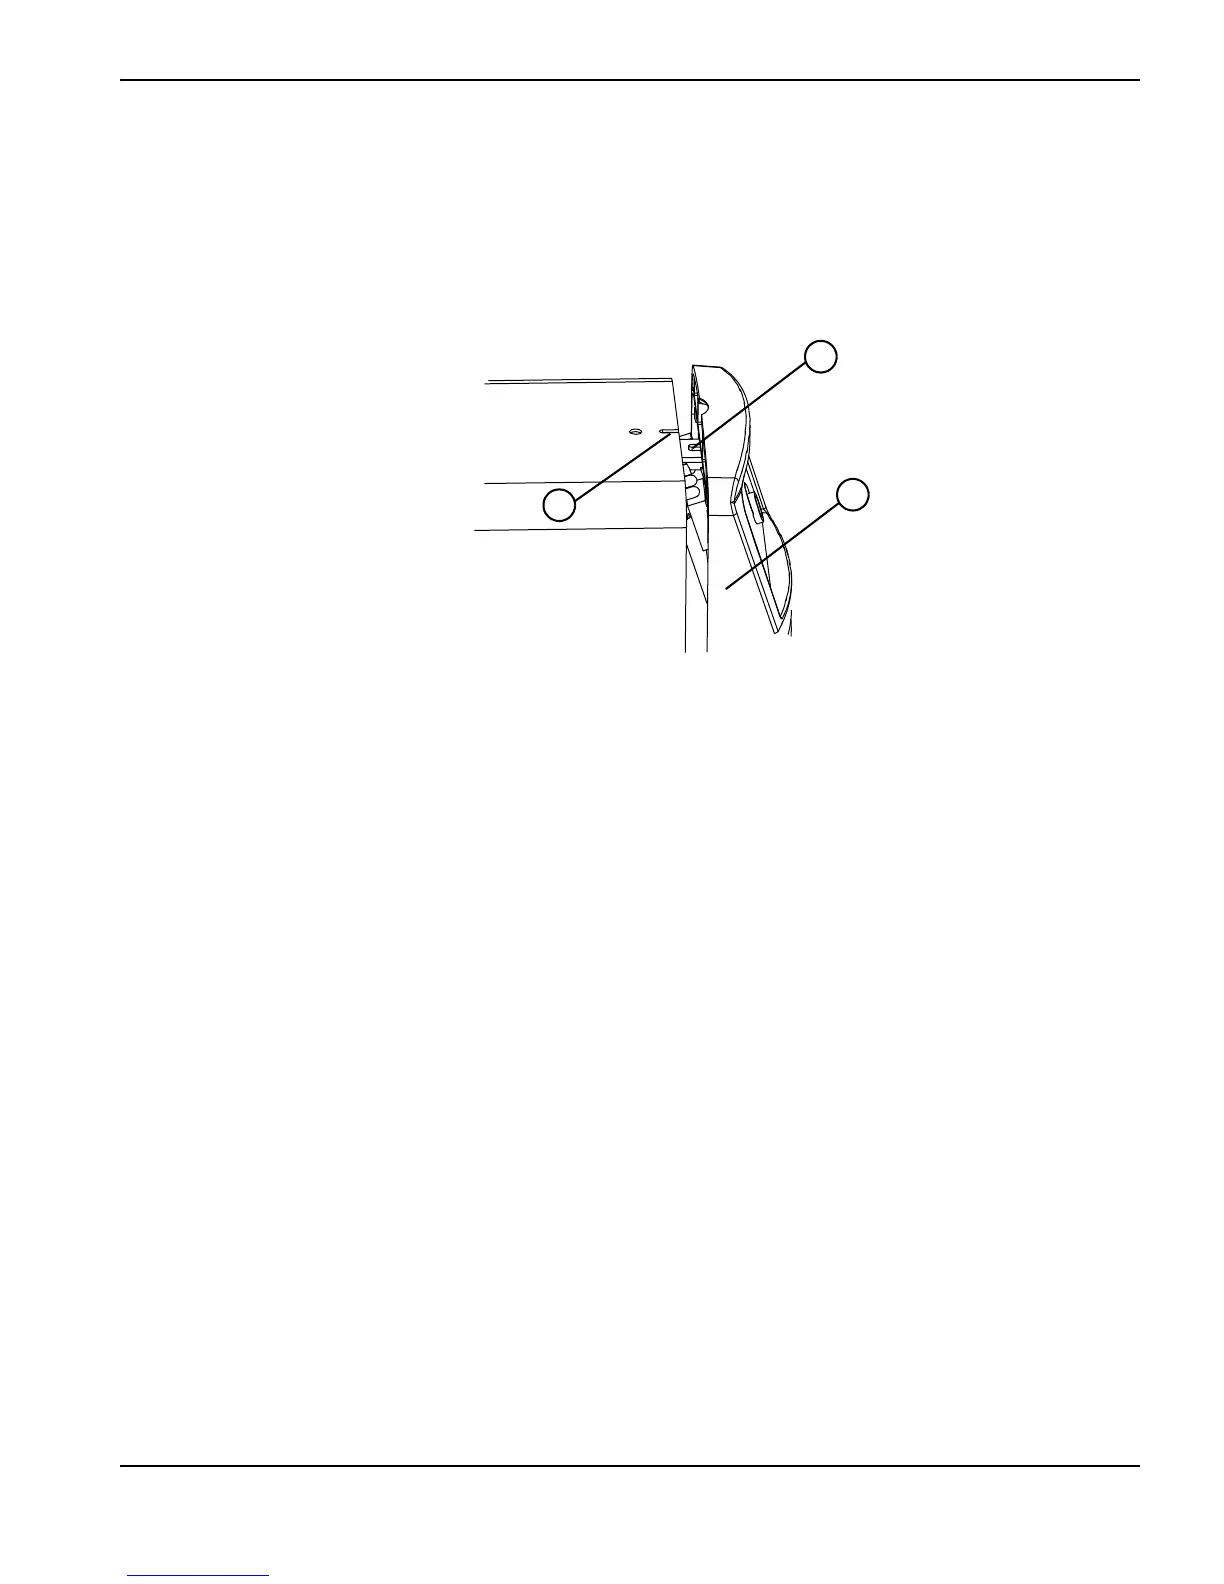
1. Being careful not to pinch any wires, slide the cover onto the power supply. Align the bottom edges with the tracks,
and align the slot in the top of the cover with the tab on the front panel so that the louvers in the cover are in front of
the fan.
Figure 25
2. Realign the front panel with the power supply.
3. Realign the rear panel with the power supply, making sure that the hole in the ground clip is aligned with the screw
holes in both the panel and the power supply.
4. Position the handle over the holes in the top of the cover, and position the ends of the handle underneath the edges
of the panels.
5. Reinstall the two screws that attach the cover and handle with a torque setting of 23.0 kg-cm (20 inch-pounds).
6. Reconnect the gas supply and power cord, and set the power switch to ON (I).
1
Cover slot
2
Front panel
3
Tab

 Loading...


