112
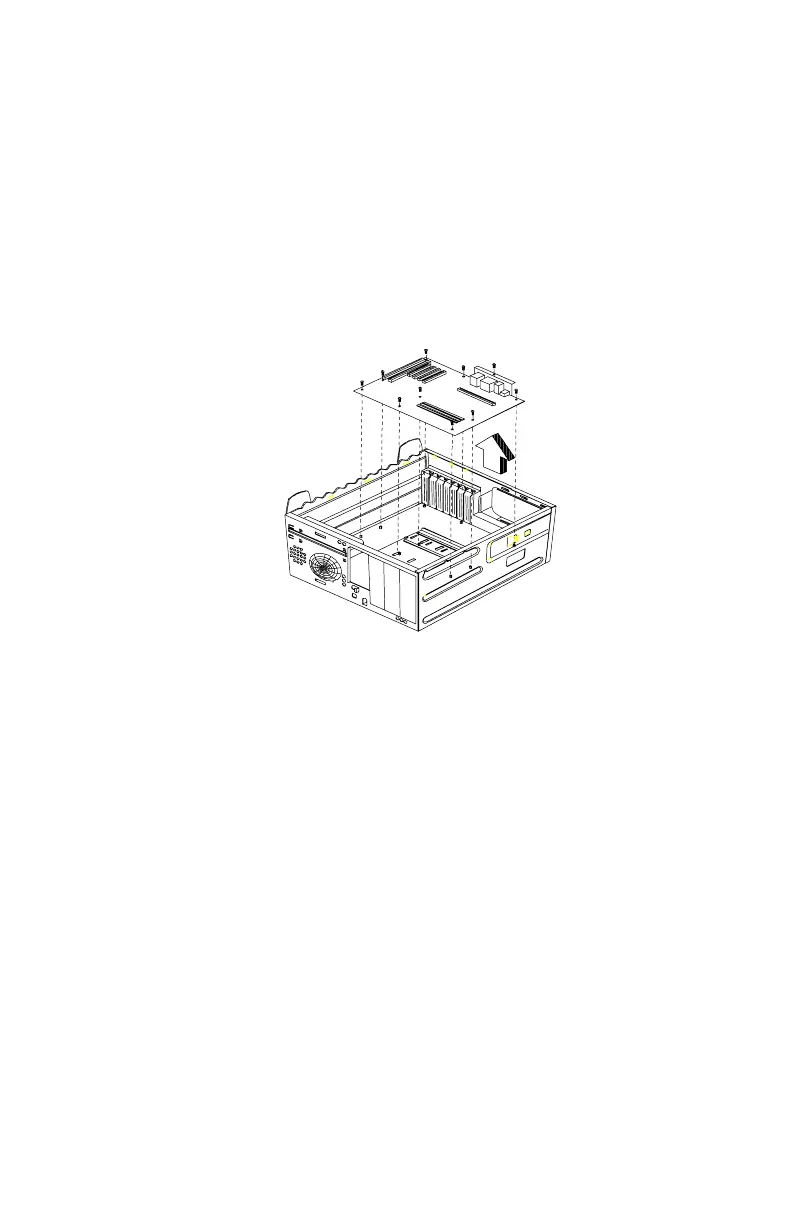
System Board
•
Remove all adapter cards.
•
Disconnect all cables connected to the system board. Note the location and
orientation of all cables.
•
Remove the screws securing the system board to the chassis.
•
Lift the system board to remove from chassis.
•
Remove memory (DIMM) if applicable.
•
Remove processor if necessary.
NOTE:
System Board Installation
•
Before reinstallation, position the housing on its side. When installing a new
system board, push the board to the rear and align it with the front locating
pin. Visually verify that the board is aligned properly, then press the board
down.
•
Be sure to reinstall the processor, DIMMs, I/O port bracket onto the new
system board if applicable.
•
After installing the system board, secure with original screws.
•
Change all jumper settings to match those of the original board.
•
Reinstall other components into the machine i.e. drives, power supply,
cables, etc.
•
Upgrade the BIOS version on the new system board using the BIOS
upgrade utility.
•
Change the Machine Type and Serial Number in the BIOS to match the
original planar BIOS settings.
•
Reboot the system and run the Setup Utility.
 Loading...


