5
OTHER FUNCTIONS
1
2
3
4
5
6
7
8
9
10
11
12
13
14
15
16
17
18
19
20
21
5-11
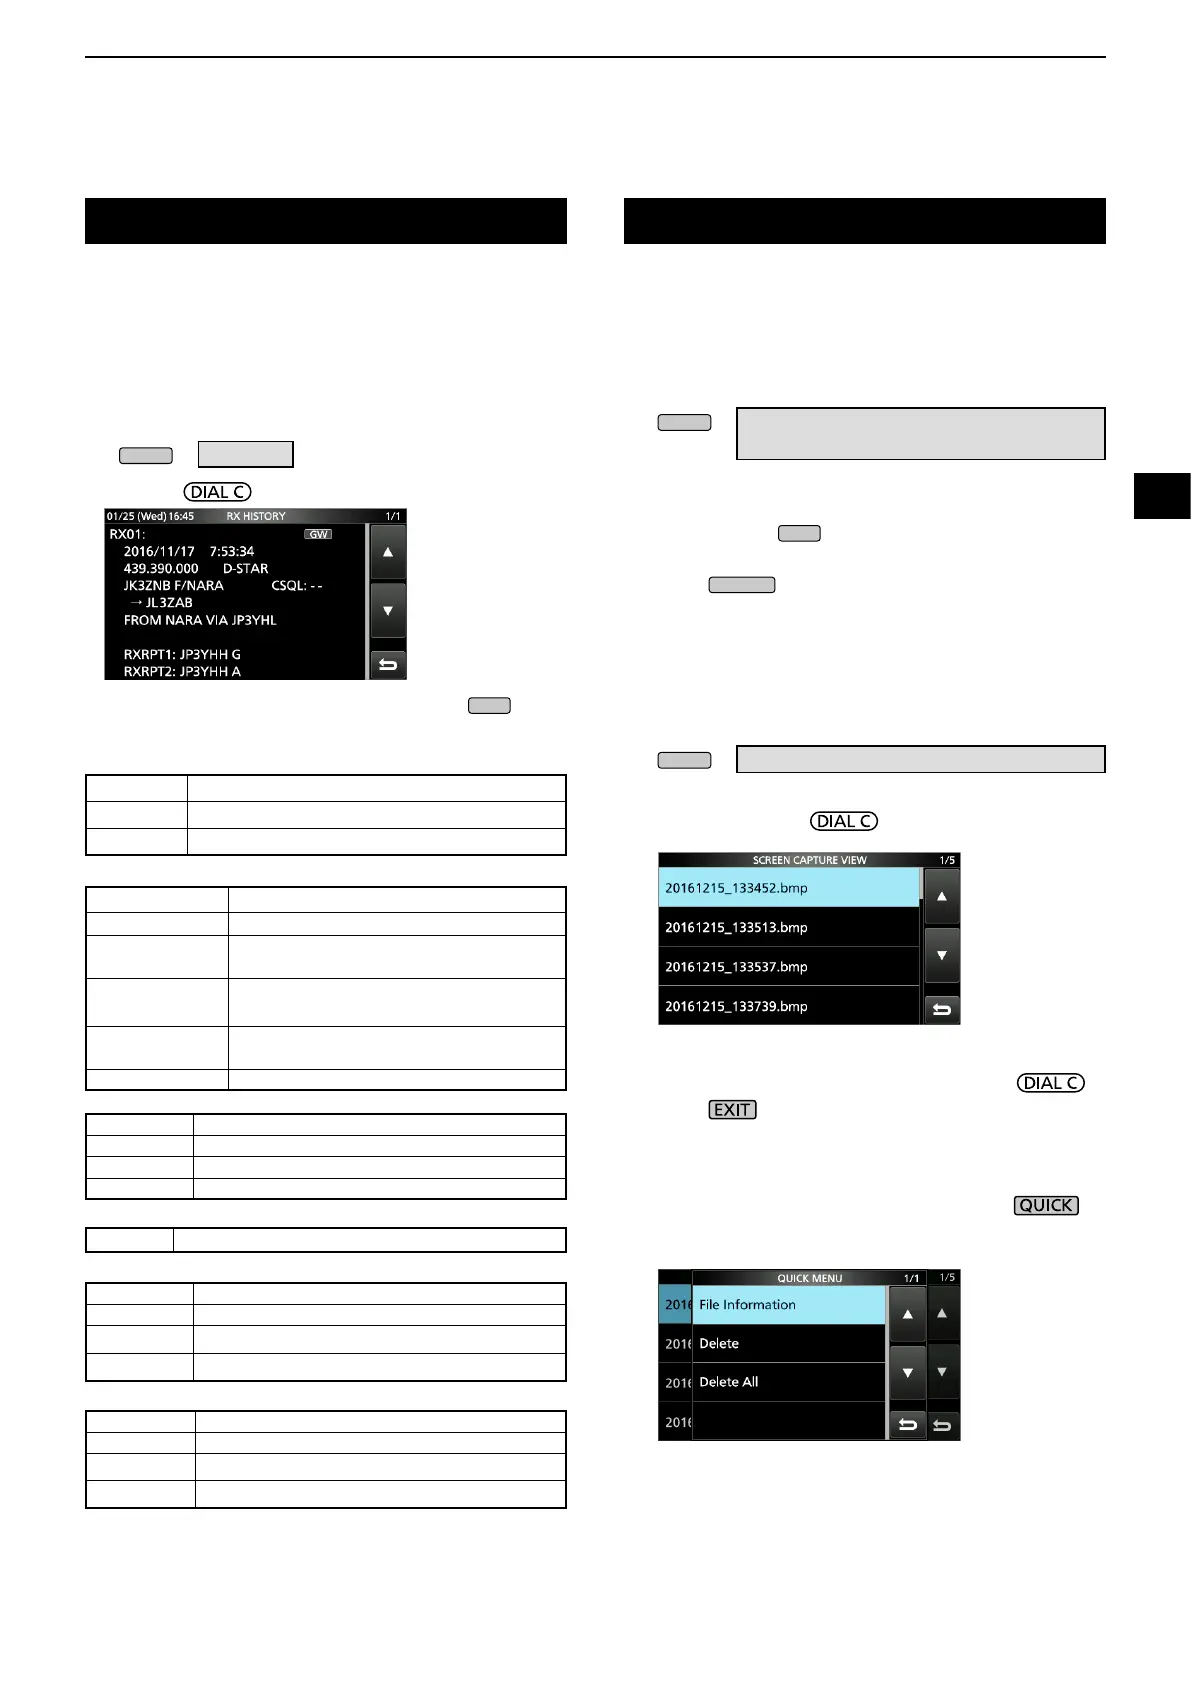
Receive history log
DIGITAL mode
When a digital is received, the call signs, IDs and so on are
stored in the RX history. Up to 50 log entries can be stored.
•
When you receive the 51th call, the oldest history will be deleted.
• Even if the receiver is turned OFF, the RX record will not be deleted.
1. Touch [HISTORY] on the MENU screen.
» HISTORY
2. Rotate
then touch a log to view.
3. To close the RX HISTORY screen, push
.
• Common
[RX history items]
• D-STAR
• P25 (Phase 1)
• dPMR (Tier2)
• NXDN-
vn, NXDN-n and DCR
• dPMR (Tier1)
Frequency Frequency
Mode Signal mode
Time
Date and time the call was received.
Caller call sign The call sign of the caller station.
Called call sign The call sign of the called station.
Message
Any message included in the received
call, if programmed.
RXRPT1
(FROM repeater)
The call sign of the repeater that was
accessed by the caller station.
RXRPT2
(TO repeater)
The call sign of the repeater you received
the call from.
CSQL Digital squelch code.
Caller ID The ID of the caller station.
Called ID The ID of the called station.
NAC Network Access Code
Type of call ALL (All), GRP (Group) or IND (Individual)
Caller ID The ID of the caller station.
Called ID The ID of the called station.
CC –
Type of call
All (Displayed only if the signal is an All call.)
Caller ID The ID of the caller station.
Called ID The ID of the called station.
RAN/UC* Radio Access Number/User Code*
Type of call ALL (All), GRP (Group) or IND (Individual)
COM ID –
You can capture the receiver screen onto an SD card.
LSome displays cannot be captured.
D Capturing a screen
1. Open the “Screen Capture [POWER] Switch” screen.
» SET > Function >
Screen Capture [POWER] Switch
2. Touch “ON.”
3. To close the Screen Capture [POWER] Switch
screen, push
several times.
4. Arrange the screen you want to capture.
5. Push
to capture the screen.
• The captured screen is saved onto the SD card.
• If there is
L You can change the picture le format. (p. 11-4)
D Viewing the captured screen
1. Open the SCREEN CAPTURE VIEW screen.
» SET > SD Card > Screen Capture View
• The capture list is displayed.
2. Rotate and push to select and open the
desired screen capture.
• The selected screen capture is displayed.
L While a screen capture is displayed, you can scroll
through all the screen captures by rotating
.
3. Push to close and return to the SCREEN
CAPTURE VIEW screen.
Other options in the capture list
1. While the capture list is displayed, push to
open the QUICK MENU.
2. Select the desired option.
• File Information: Displays the name, size, and date of
the selected screen capture.
• Delete:
On the conrmation dialog, select [YES] to delete.
• Delete All: On the conrmation dialog, select [YES] to
delete all.
Screen Capture function
(Example: D-STAR)
*For DCR.
L If the received is not an Individual call or the DCR
transceiver manufacture is not Icom, only User Code is
displayed.
 Loading...