59
Buttonholes with gimp thread prevent the buttonholes from stretching and can make them more secure. Use thread such as hand-sewn
buttonholes and similar for gimp thread.
Buttonhole with gimp
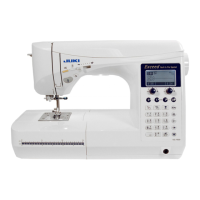
Pattern No.
Direct 0
Presser foot Buttonhole presser foot (E)
1
Pass the needle thread through under the presser foot and then draw the thread to the side of
the presser foot.
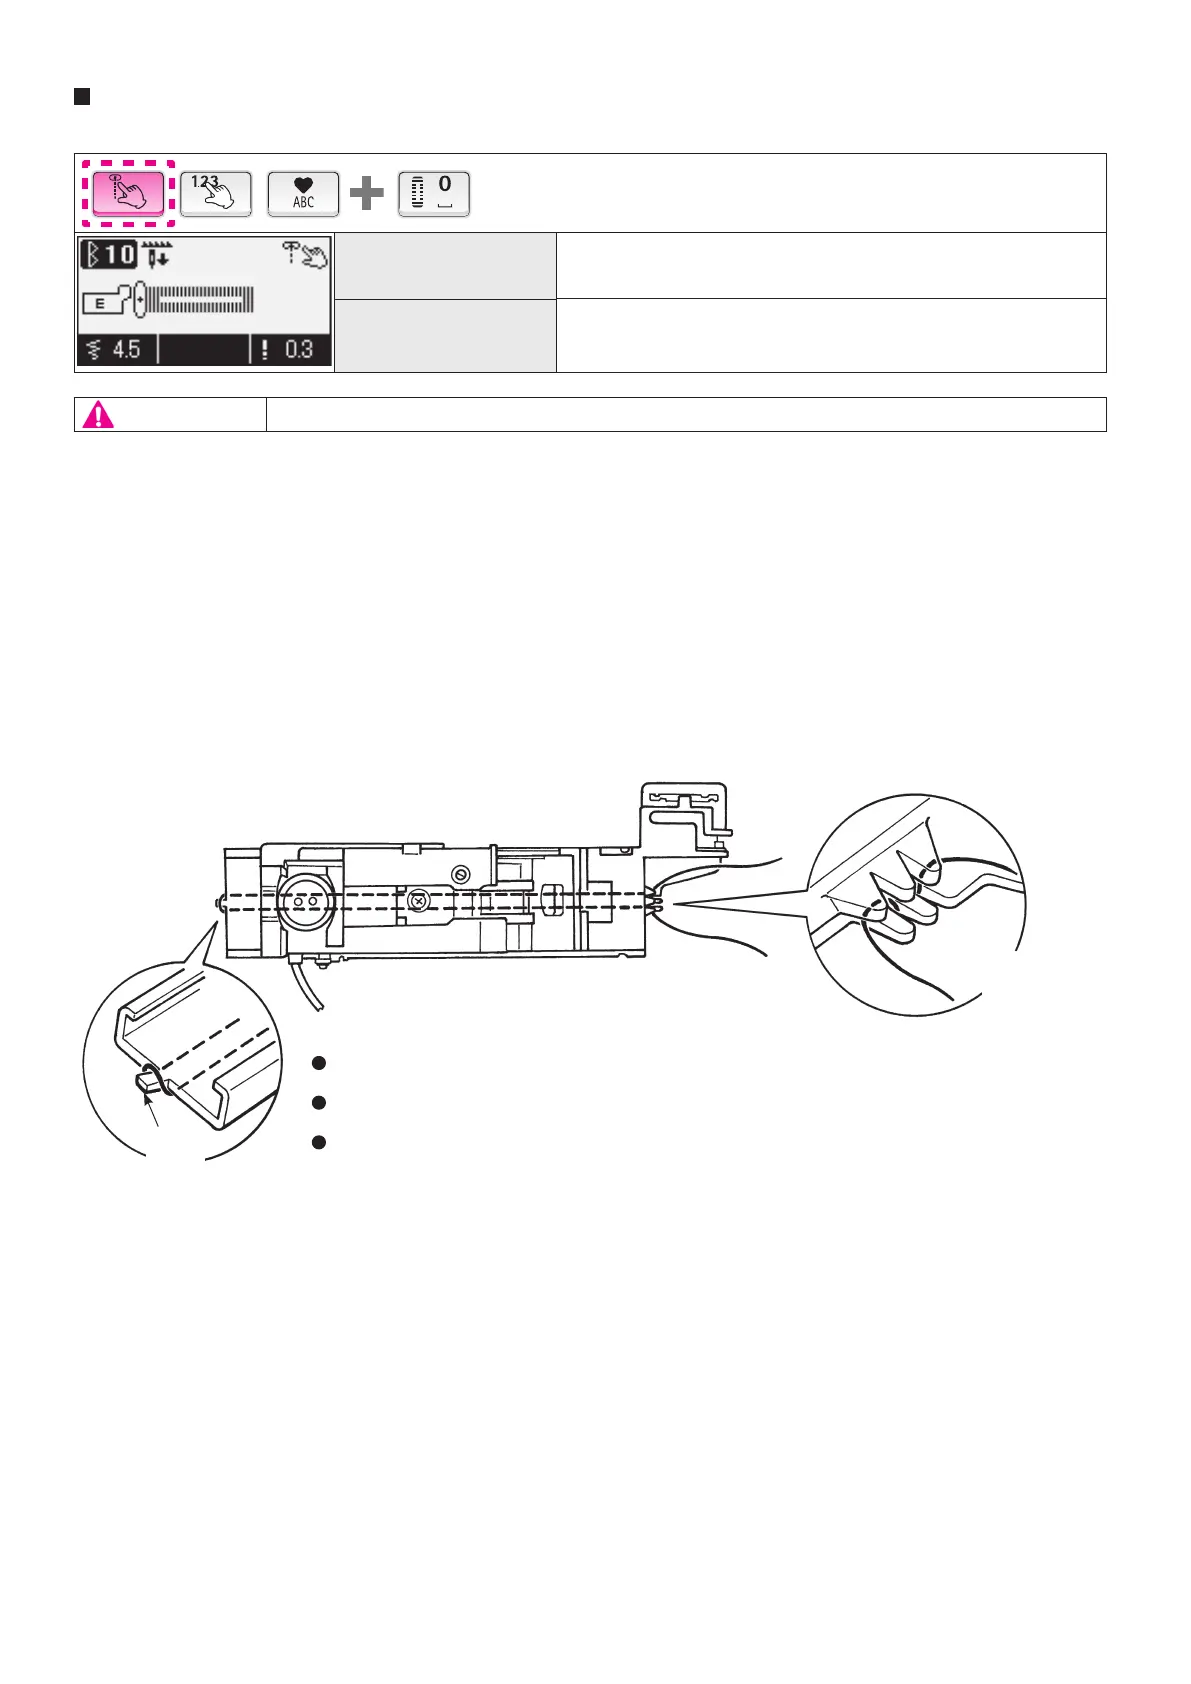
Put one end of gimp thread into the notch at the front right side of buttonhole presser foot, pull the gimp
thread under the presser foot and thread it at the hook of the presser foot.
After threading at the hook, pull the gimp thread back under the presser foot and put it into the notch at
the front left side of the presser foot rmly.
Attention
Turn off the power before replacing the presser foot.
Notch
Hook
 Loading...