EasyManua.ls Logo

JVC DMX125DAB User Manual

JVC DMX125DAB
36 pages
To Next Page IconTo Next Page
To Previous Page IconTo Previous Page
Page #23 background image
23
English |
Installation
Continued on the next page...
Installation
Before Installation
Before installation of this unit, please note the
following precautions.
#WARNINGS
If you connect the ignition wire (red) and the battery
wire (yellow) to the car chassis (ground), you may
cause a short circuit, that in turn may start a fire.
Always connect those wires to the power source
running through the fuse box.
Do not cut out the fuse from the ignition wire (red)
and the battery wire (yellow). The power supply
must be connected to the wires via the fuse.
#CAUTION
Install this unit in the console of your vehicle.
Do not touch the metal part of this unit during and
shortly after the use of the unit. Metal part such as
the heat sink and enclosure become hot.
NOTE
Mounting and wiring this product requires skills and
experience. For best safety, leave the mounting and
wiring work to professionals.
Make sure to ground the unit to a negative 12V DC
power supply.
Do not install the unit in a spot exposed to direct
sunlight or excessive heat or humidity. Also avoid
places with too much dust or the possibility of water
splashing.
Do not use your own screws. Use only the screws
provided. If you use the wrong screws, you could
damage the unit.
If your car’s ignition does not have an ACC position,
connect the ignition wires to a power source that
can be turned on and off with the ignition key. If you
connect the ignition wire to a power source with a
constant voltage supply, such as with battery wires,
the battery may be drained.
If the console has a lid, make sure to install the unit
so that the front panel will not hit the lid when
closing and opening.
If the fuse blows, first make sure the wires aren’t
touching to cause a short circuit, then replace the
old fuse with one with the same rating.
Insulate unconnected wires with vinyl tape or other
similar material. To prevent a short circuit, do not
remove the caps on the ends of the unconnected
wires or the terminals.
Secure the wires with cable clamps and wrap vinyl
tape around the wires that comes into contact with
metal parts to protect the wires and to prevent short
circuit.
Connect the speaker wires correctly to the terminals
to which they correspond. The unit may be
damaged or fail to work if you share the ¤ wires or
ground them to any metal part in the car.
When only two speakers are being connected to
the system, connect the connectors either to both
the front output terminals or to both the rear output
terminals (do not mix front and rear). For example,
if you connect the ¢ connector of the left speaker
to a front output terminal, do not connect the ¤
connector to a rear output terminal.
After the unit is installed, check whether the brake
lamps, blinkers, wipers, etc. on the car are working
properly.
Mount the unit so that the mounting angle is 30°
or less.
Do not press hard on the panel surface when installing
the unit to the vehicle. Otherwise scars, damage, or
failure may result.
Reception may drop if there are metal objects near
the Bluetooth antenna.
Bluetooth antenna unit
19DMX_E_Ref_1En.indd 23 2019/07/23 21:04
Question and Answer IconNeed help?

Do you have a question about the JVC DMX125DAB and is the answer not in the manual?

JVC DMX125DAB Specifications

General IconGeneral
Resolution800 x 480 pixels
DAB RadioYes
DAB+Yes
RadioFM/AM
BluetoothYes
USB PortYes
Touch PanelYes
Apple CarPlayYes
Android AutoYes
Rear View Camera InputYes
Steering Wheel Control ReadyYes
Steering Wheel ControlYes
AUX InputYes
Compatible FormatsMP3, WMA, AAC, FLAC, WAV
Display Size6.8 inch
Audio Output Power50W x 4
Maximum Power Output50W x 4

Summary

Getting Started

Basics

Functions of the Buttons on the Front Panel

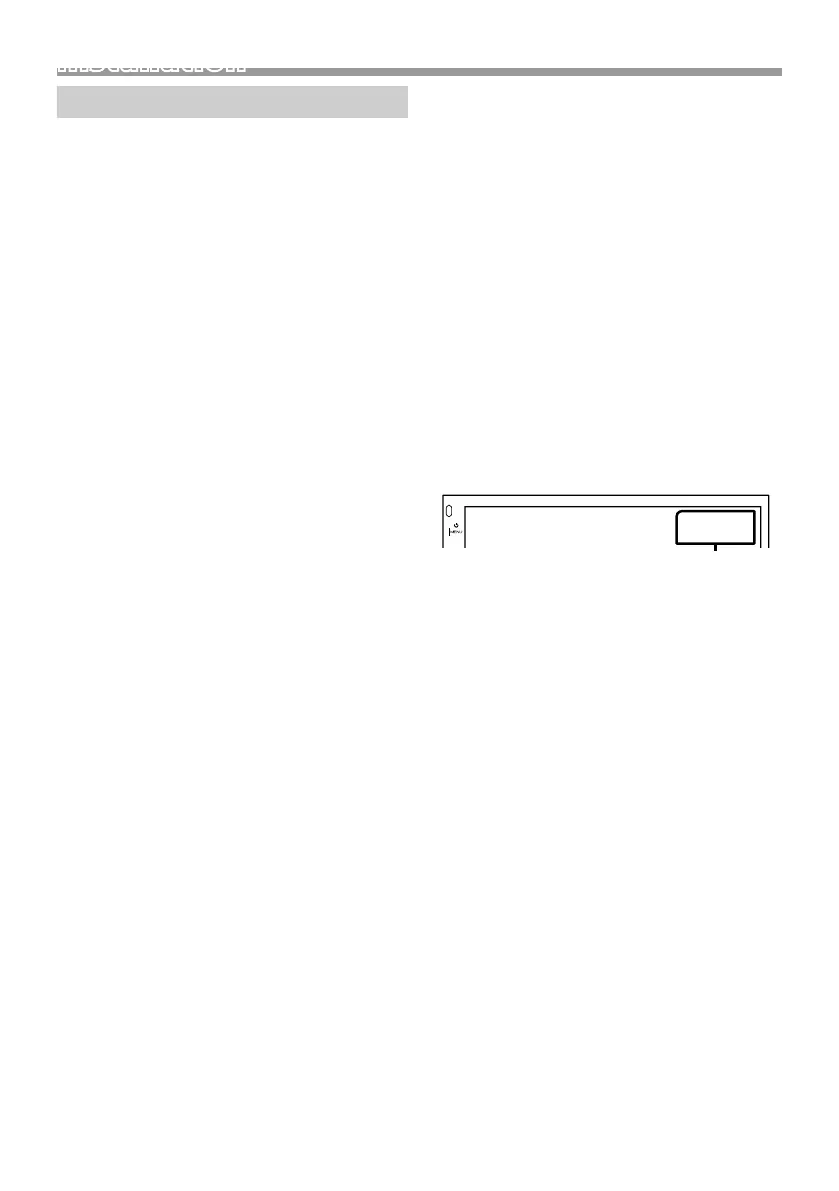
Describes the functions of each button on the front panel of the unit.

Digital Radio

Digital Radio Setup

Configuration options for digital radio, including service lists and announcements.

Radio

Radio Setup

Configuration options for radio tuning, RDS, TA, and clock synchronization.

USB

iPod/iPhone

Playback operations

Control music playback for iPod/iPhone, including repeat, shuffle, and track searching.

Mirroring

Mirroring operations

Instructions on how to start and stop screen mirroring from an Android device.

External Components

Rear view camera

Information on using and displaying the rear view camera feed.

Bluetooth

Register your smartphone to the unit

Procedure for pairing your smartphone with the unit via Bluetooth.

Bluetooth Setup and Connection

Configuration options for Bluetooth, including device selection, auto-answer, and connecting.

Playing Bluetooth Audio Device

How to play audio wirelessly from a Bluetooth-enabled device.

Controlling Audio

Equalizer Control

Detailed guide to adjusting equalizer settings, presets, and EQ curves.

Speaker and Crossover Setup

Configuring speaker crossover points, slopes, levels, and phase.

Installation

Before Installation

Important precautions and safety guidelines before installing the unit.

Installation procedure

Step-by-step guide for wiring and connecting the unit during installation.

Installing the unit

Instructions for physically mounting the unit in the dashboard.

Connecting wires to terminals

Diagram and explanation of connecting all unit wires to vehicle terminals and accessories.

Wiring harness connector function guide

Pin assignment details for the wiring harness connector.

About this Unit

Troubleshooting

Common issues and solutions for the unit, USB, iPod/iPhone, and radio.

Bluetooth

Troubleshooting poor sound quality, connection, and control issues with Bluetooth.

Related product manuals