– 41 –
Adjusting the recording level for LINE
1
Press USB/LINE repeatedly to select “LINE.”
• If you have changed the source names, the changed
names will appear in the main display.
2
Start playback on the external equipment connected
to the LINE IN jacks.
3
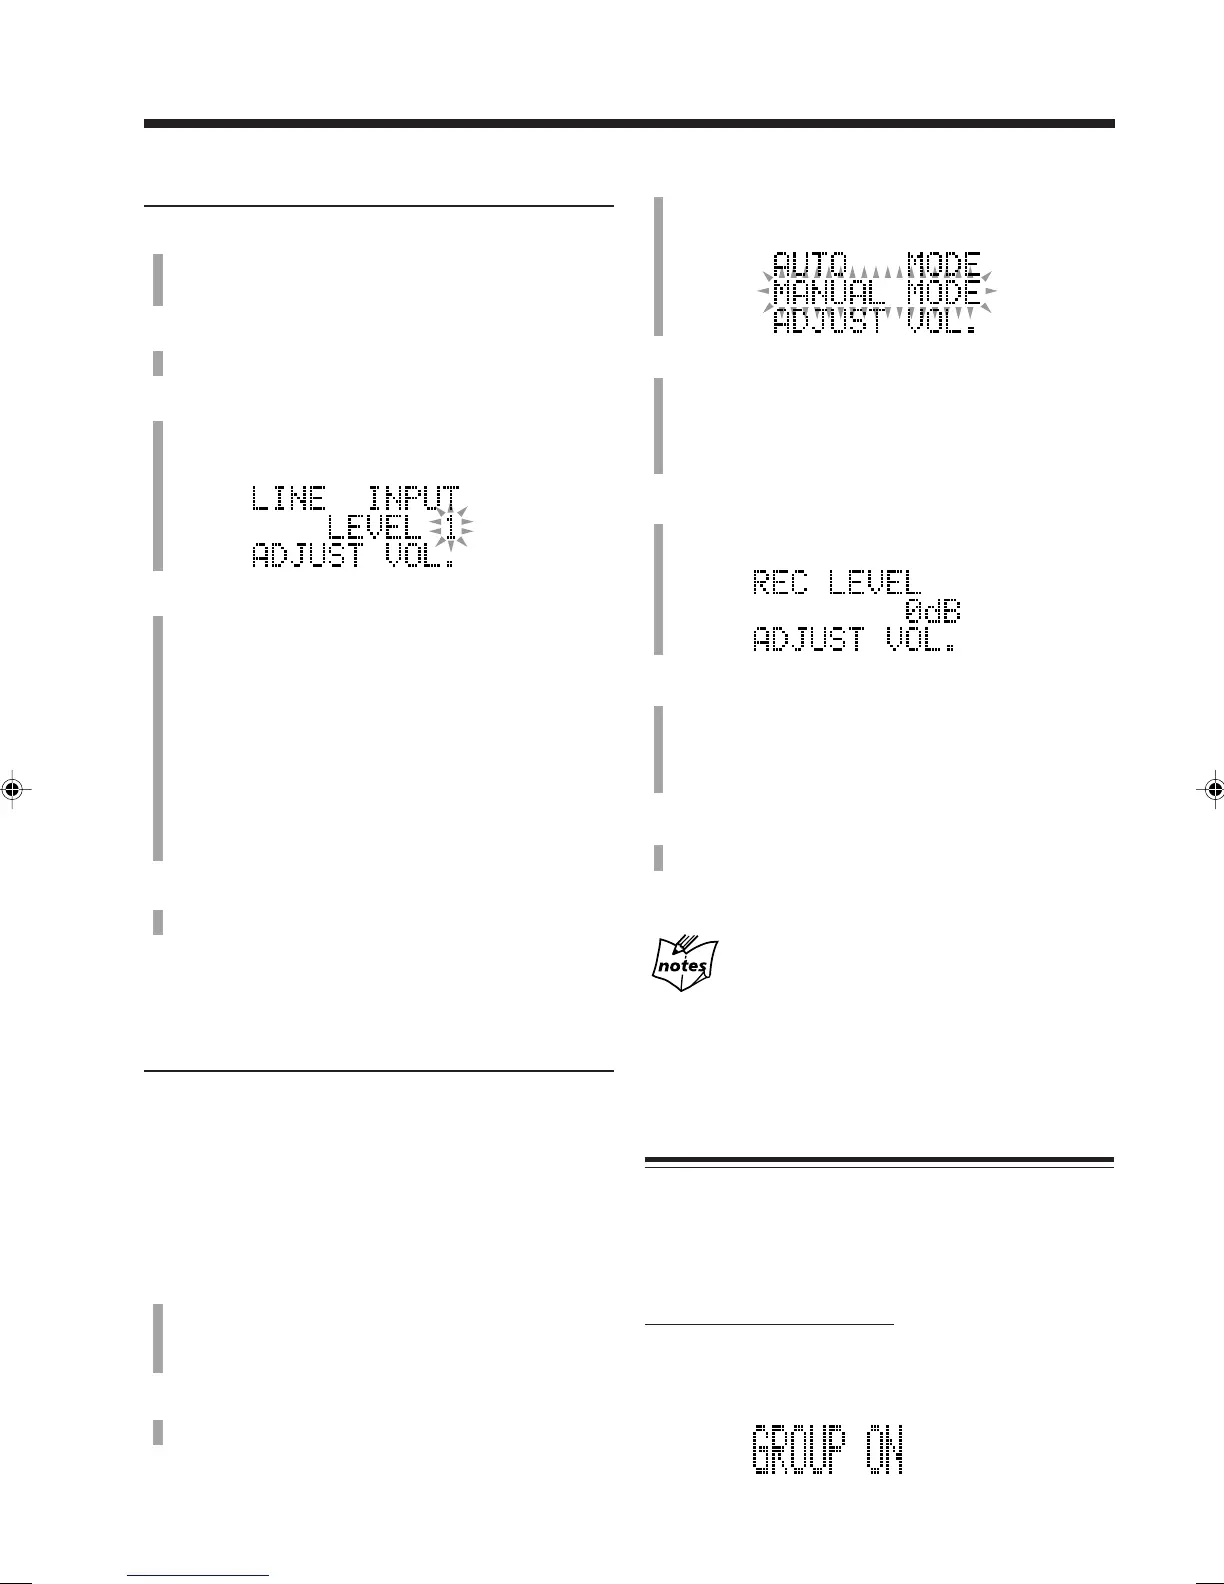
Press REC LEVEL on the unit.
The recording level indication appears and the current
level flashes in the main display.
4
Select “LEVEL 1” or “LEVEL 2.”
• To select “LEVEL 1,” press VOLUME – .
• To select “LEVEL 2,” press VOLUME + .
LEVEL 1:
Select this when the recording level is low.
LEVEL 2:
Select this when the input sound is distorted.
• The setting of the recording level remains in a
memory even though the unit is turned off.
5
Press REC LEVEL on the unit to finish adjusting
the recording level.
6
Stop playback on the external equipment.
Adjusting the recording level for DIGITAL IN
There are two modes for adjusting the recording level—
“AUTO MODE” and “MANUAL MODE.”
AUTO MODE : The unit decreases the level by 2 dB
steps automatically each time the
OVER indicator lights up on the
display.
MANUAL MODE : You can adjust the level manually.
1
Press USB/LINE repeatedly to select “DIGITAL
IN.”
• If you have changed the source names, the changed
names will appear in the main display.
2
Start playback on the external equipment connected
to the OPTICAL DIGITAL IN terminal.
3
Press REC LEVEL on the unit.
The mode selecting indication appears and the current
mode flashes in the main display.
4
Select “AUTO MODE” or “MANUAL MODE.”
• To select “AUTO MODE,” press VOLUME + .
• To select “MANUAL MODE,” press VOLUME – .
When you select “AUTO MODE,” go to step
7
.
5
Press REC LEVEL on the unit.
The recording level indication appears in the main
display.
6
Press VOLUME + or – on the unit repeatedly to
adjust the recording level from –12 dB to +12 dB by
2 dB steps.
• To decrease the level, press VOLUME – .
• To increase the level, press VOLUME + .
7
Press REC LEVEL on the unit to finish adjusting
the recording level.
8
Stop playback on the external equipment.
The recording level will be reset to “0 dB (initial
setting)” when
• Pressing 7 to stop the recording
• Changing the source
• Ejecting MD
• Turning off the unit (on standby)
Setting Group Recording Function
If you record any source with the GROUP indicator lit, all
tracks recorded at a time are allocated to one group.
You can activate or deactivate the function only when
an MD is loaded on the unit.
For details on the group, see page 46.
On the remote control ONLY:
To activate this function, press GROUP.
“GROUP ON” appears in the main display and the GROUP
indicator lights up on the display.
EN37-44_CA-NXMD1R[B]f.pm6 01.8.20, 11:3441
 Loading...