17 ENGINE 130
300103-10
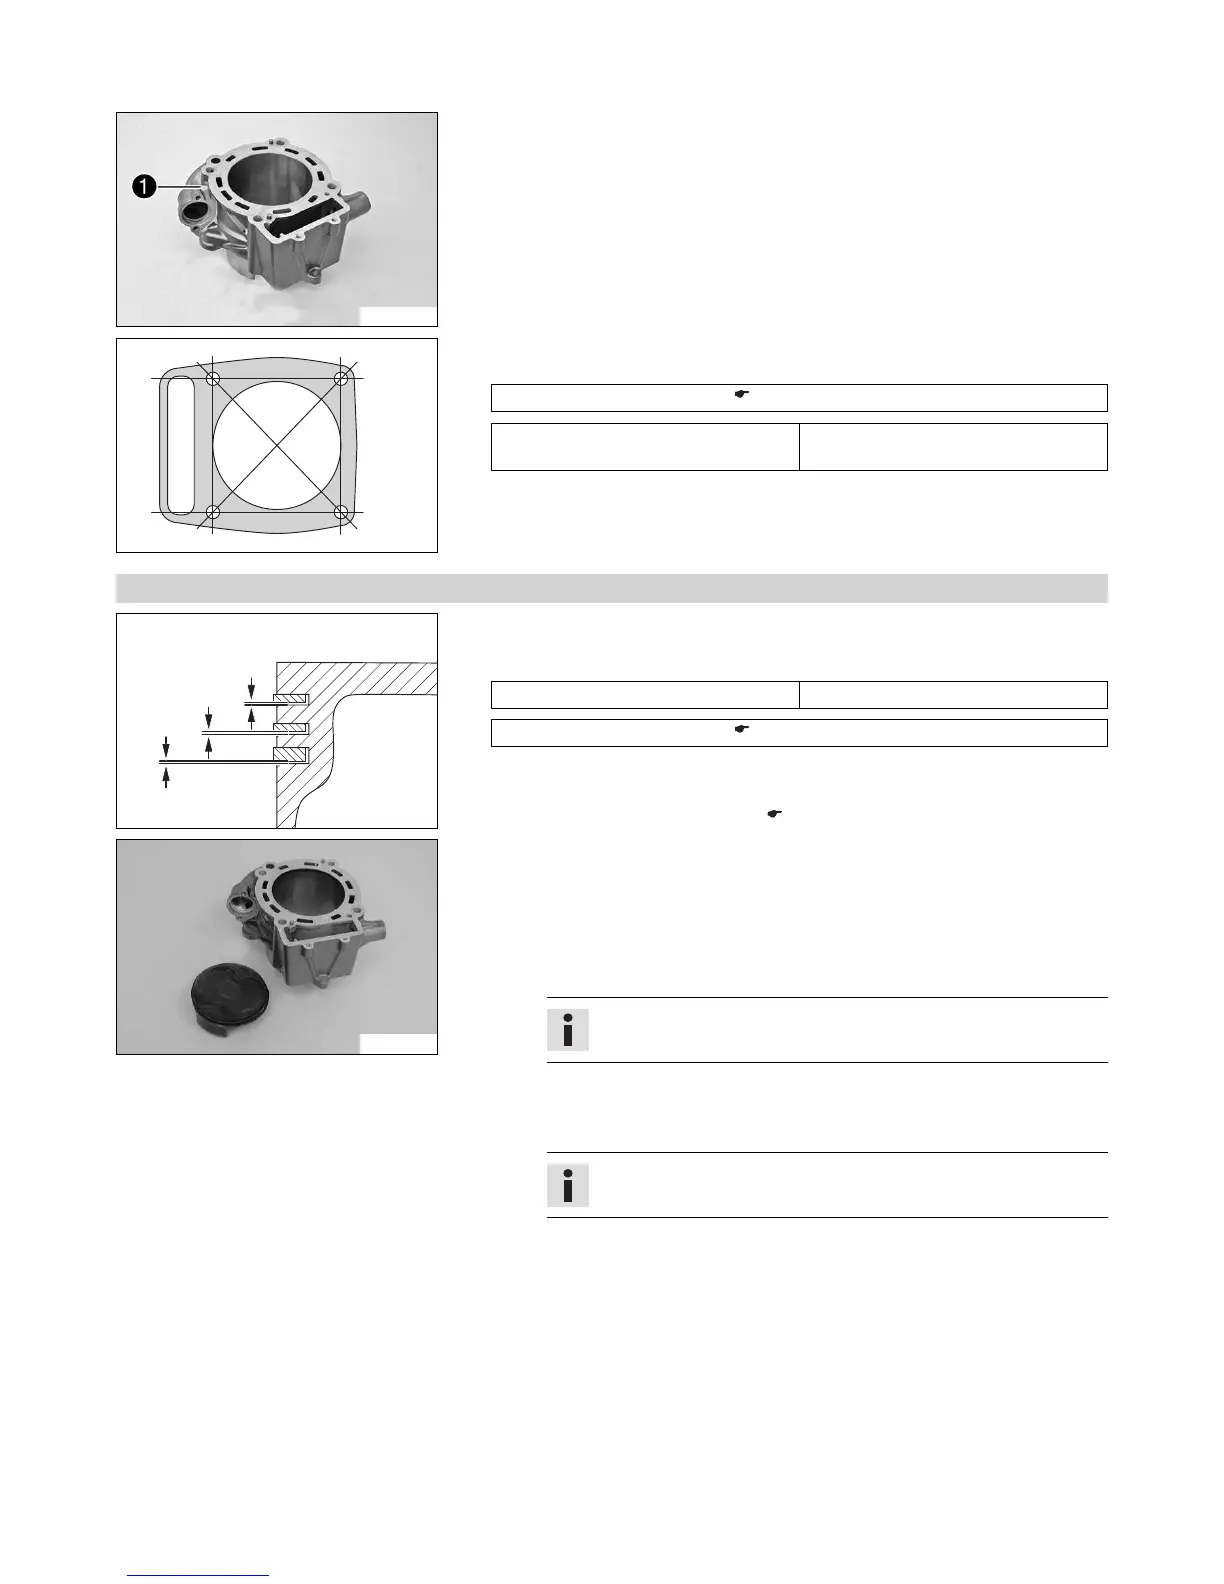
– The cylinder size 1 is marked on the side of the cylinder.
400376-10
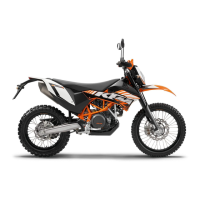
– Check the sealing area of the cylinder head for distortion using a straight edge and
the special tool.
Feeler gauge (59029041100) ( p. 216)
Cylinder/cylinder head - sealing area
distortion
≤ 0.10 mm (≤ 0.0039 in)
» If the measured value does not equal the specified value:
– Change the cylinder.
17.4.13 Checking/measuring the piston
400484-10
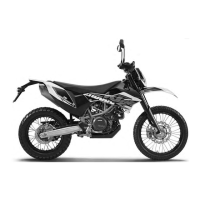
– Use the special tool to measure clearance A of the piston rings in the piston ring
groove.
Guideline
Piston ring - groove clearance ≤ 0.08 mm (≤ 0.0031 in)
Feeler gauge (59029041100) ( p. 216)
» If clearance A is larger than the specified value:
– Change the piston and piston rings.
– Check/measure the cylinder. ( p. 129)
302137-10
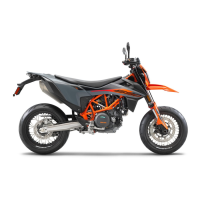
– Check the piston bearing surface for damage.
» If the piston bearing surface is damaged:
– Change the piston and, if necessary, the cylinder.
– Check that the piston rings can move easily in the piston ring grooves.
» If the piston ring is stiff:
– Clean the piston ring groove.
Tip
Use an old piston ring to clean the piston ring groove.
– Check the piston rings for damage.
» If the piston ring is damaged:
– Change the piston ring.
Info
Mount the piston ring with the marking facing upward.
– Check the piston pin for discoloration or signs of wear.
» If the piston pin has strong discoloration/signs of wear:
– Change the piston pin.
– Insert the piston pin into the connecting rod and check the bearing for play.
» If the piston pin bearing has too much play:
– Change the connecting rod and the piston pin.
 Loading...