44
Operation
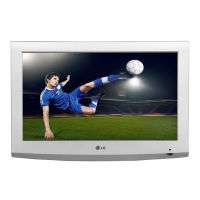
Selecting XGA mode (DVI PC (RGB) and XGA/WXGA (60Hz) mode only)
- For more improved or better pic-
ture quality, select the same
mode corresponding to computer
resolution.
Press the MENU button and then use
DD
/
EE
button to select the
SCREEN menu.
Press the
GG
button and then use
DD
/
EE
button to select XGA Mode.
Press the
GG
button and then use
DD
/
EE
button to select the desired XGA
resolution.
From this point on, the adjustment starts.
1
2
3
Setting Picture Format
- Caution: If a 4:3 fixed image is on
the screen for a long time, it may
remain visible.
- Set every aspect ratio for TV,
Video, and S-Video input sources.
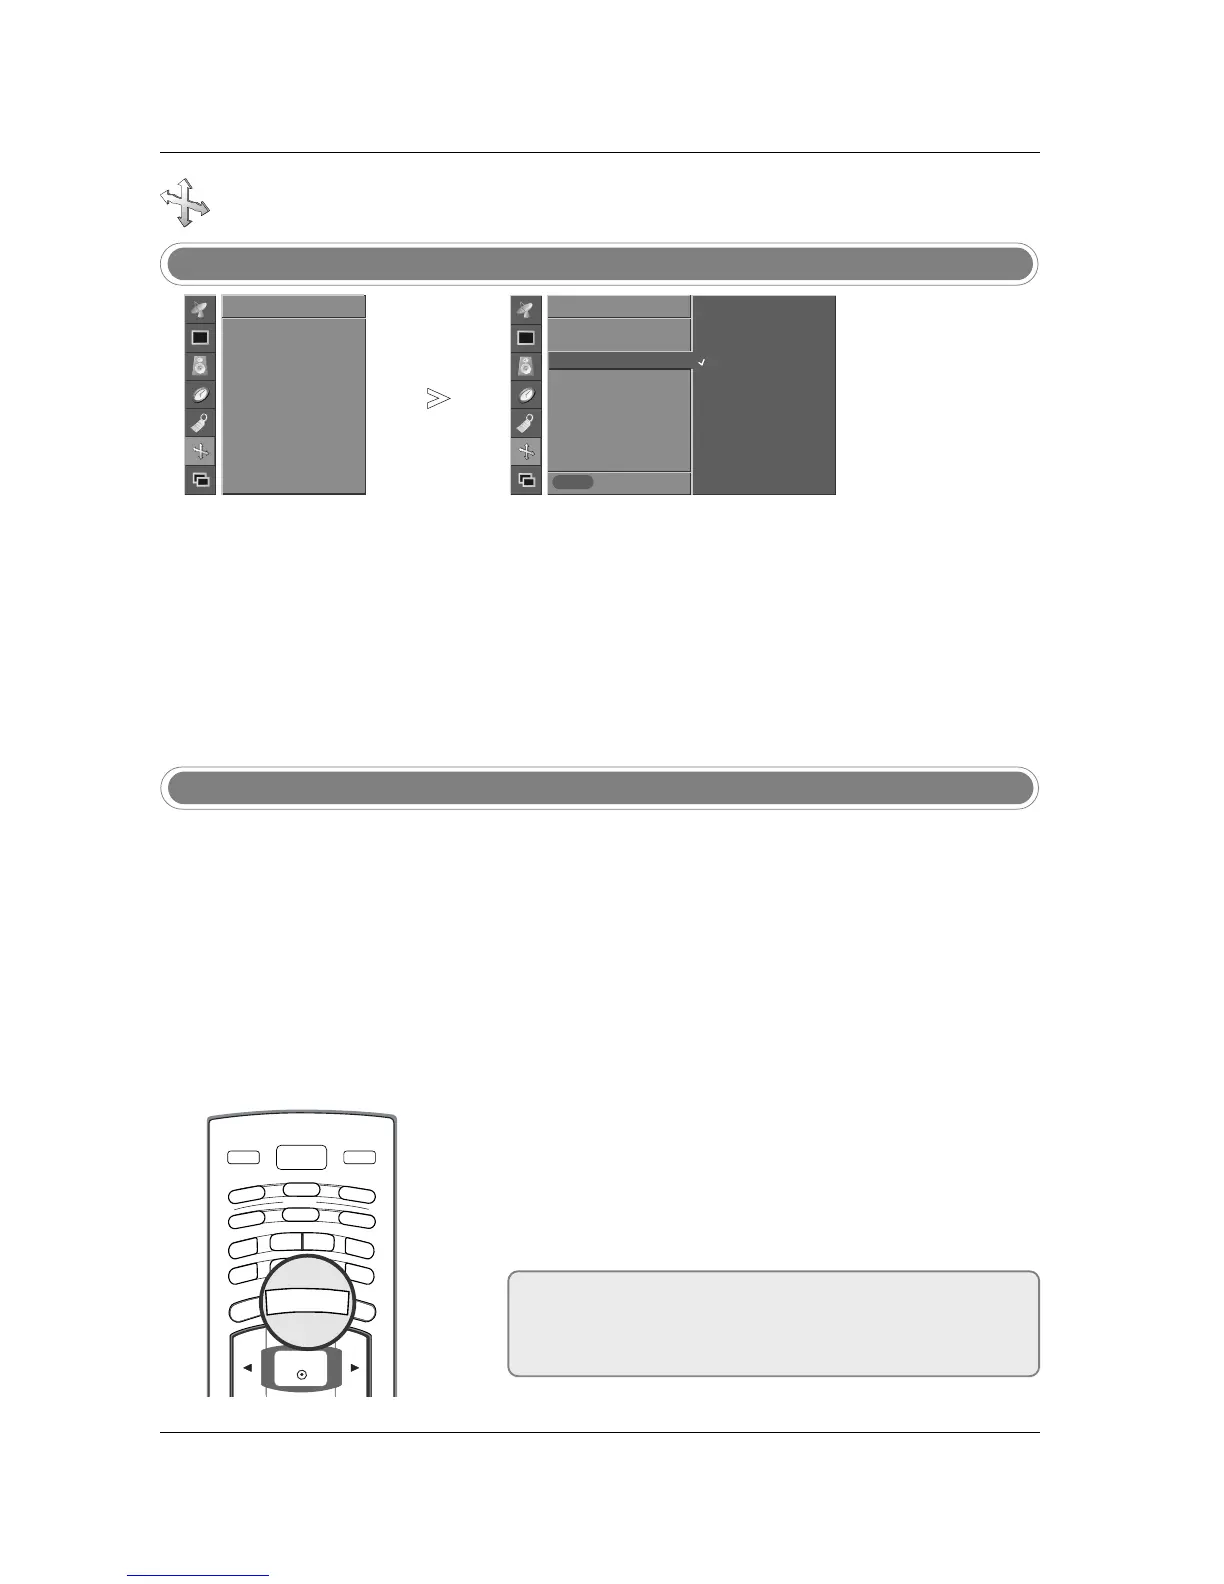
Press the ARC button repeatedly to select the desired picture format.
• You can also adjust
ARC in the SCREEN menu.
•
4:3
Choose 4:3 when you want to view a picture with an original 4:3
aspect ratio, with black bars appearing at both the left and right sides.
• 16:9
Choose 16:9 when you want to adjust the picture horizontally, in a lin-
ear proportion to fill the entire screen.
• Horizon
Choose Horizon when you want to adjust the picture in a non-linear
proportion, that is, more enlarged at both sides, to create a spectacu-
lar view.
• Zoom
Choose Zoom when you want to view the picture without any alter-
ation. However, the top and bottom portions of the picture will be
cropped.
1
Prev.
Menu
Auto config.
Manual config.
XGA Mode
G
ARC
Zoom +/-
Position
Cinema
NR
Reset
SCREEN
1024x768
1280x768
1360x768
1366x768
ARC
Screen Menu Options continued
Screen Menu Options continued
• Use 4:3, or 16:9 for other RGB-PC and HDMI-PC sources.
• In the DW (Double Window) mode, ARC function isn’t available.
• In Component, DVI DTV and HDMI DTV mode, only 4:3, 16:9 and Zoom
aspect ratios are available.
Auto config.
Manual config.
XGA Mode
ARC
Zoom +/-
Position
Cinema
NR
Reset
SCREEN
 Loading...