50
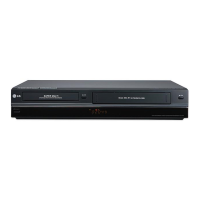
Initial Settings
Initial Settings
In this menu system, there are several ways to cus-
tomize the settings provided. Most menus consist of
three levels to set up the options, but some require
greater depth for the variety of settings.
1. Press HOME
()
and the Home menu appears.
2. Select [Setup] > [Start] and press ENTER (
).
3. Use v / V to select the desired option.
4. While the desired item is selected, press B to move
to the second level.
5. Use v / V to select the second desired option.
6. Press B to move to the third level.
7. Use v / V to select the desired setting then press
ENTER (
) to confirm your selection.
Some items require additional steps.
8. Press RETURN (
OO
) or HOME
()
to exit the
Setup menu.
Press b to go back to the previous level.
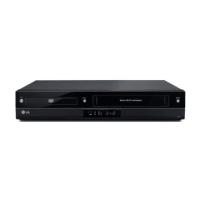
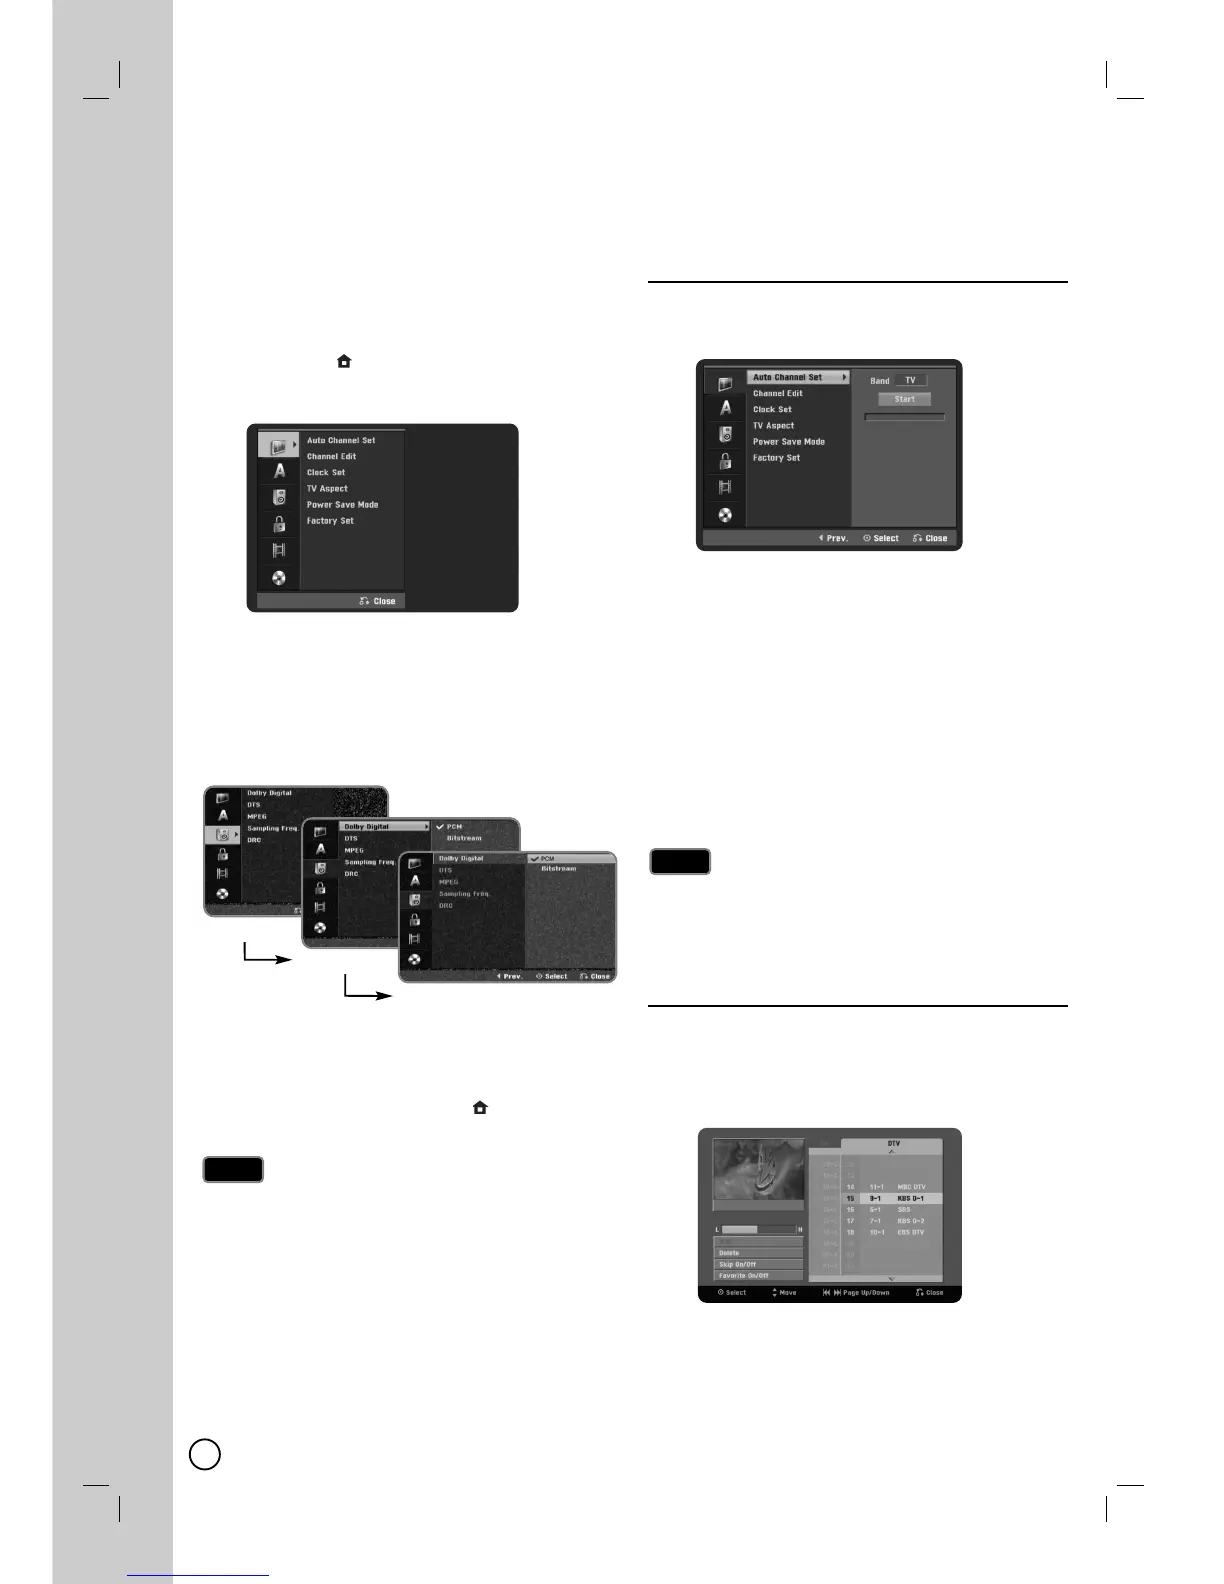
General Settings
General Settings
Auto Channel Set
This recorder is equipped with a frequency
synthesized tuner capable of receiving the analog and
digital channels.
1.
Select the [Auto Channel Set] option then press B.
2. Use v / V to select the tuning band (TV or CATV)
option.
TV is for over-the-air antenna reception.
CATV is for cable subscribers.
3. Press B to highlight [Start] icon.
4. Press ENTER (
) to begin the channel search.
You can skip the analog channel scanning by press-
ing B while scanning analog channel.
The tuner will automatically cycle through all
available channels in the area and place them in
the tuner’s memory.
If you want to change the [Band] option, you must execute
the auto channel search after changing the [Band] option.
This Recorder supports only unencrypted channels for
cable subscribers.
Channel Edit
You can edit a channel manually (add, delete, etc.).
1. Select the [Channel Edit] option then press B .
2. Press ENTER (
) while the [Edit] icon is
highlighted. The Channel List menu appears.
3. Use b / B / v / V to select a channel number then
press ENTER (
).
Notes
Notes
Note
Note
First level
Second level
Third level
Settings and
Settings and
Adjustments
Adjustments
 Loading...