7. Firmware Upgrade DVIDL-OPT series – User's Manual 28
Detailed Instructions
Step 1: Installing the Lightware Bootloader software
Download the application from www.lightware.com
www.lightware.com; if you have a zipped archive, extract it.
Step 3: Connecting the Lightware device and the computer via USB port and launch the application
The extender can only be upgraded via USB. Connect the device directly to the computer by an USB cable.
Step 4: Establishing the connection with the device.
connection with the extender. It will take few seconds to get all information from the device. If the connection
is established, the device is switched to bootload mode. Front LEDs will show the bootload mode:
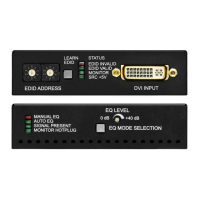
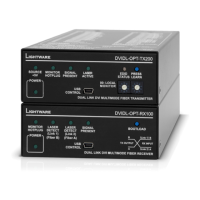
▪ DVIDL-OPT-TX200: The EDID status LED is blinking red and green alternately.
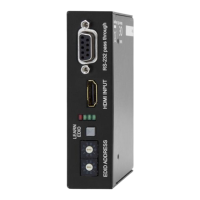
▪ DVIDL-OPT-RX100: The MONITOR HOTPLUG and LASER DETECT (Link 1) LEDs are blinking alternately.
ATTENTION! The bootloader application will restart the device when it establishes the connection. All
connected DVI sources and monitors will act as if the device was powered down.
Switching the Extender to Bootload Mode Manually
If the software is not able to switch the appliance to bootload mode, switch off the extender using the front
panel buttons:
▪ DVIDL-OPT-TX200: remove the DC connector, press and keep the LEARN button pressed, and re-plug the
DC connector.
▪ DVIDL-OPT-RX100: remove the DC connector, press and keep the BOOTLOAD button pressed, and re-
plug the DC connector.
After the connection is made, the device properties, and the installed controller module is displayed.
 Loading...