2. Installation and controls
2.1. Mounting options
To mount the transmitter Lightware supplies optional accessories for different usage. There
are two kinds of mounting kits with similar xing method. The transmitters have two
mounting holes with inner thread on the bottom side; see the bottom view in section 11.3
on page 102. Fasten the device by the screws enclosed to the accessory.
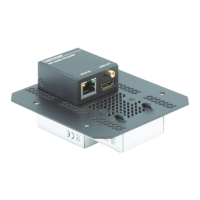
Under-desk double mounting kit, part no: 5240 0276
1U high rack shelf, part no: 5240 0935
The Under-desk double mounting kit makes easy to mount a single device on any at
surface, e.g. furniture. 1U high rack shelf provides mounting holes for fastening two half-
rack or four quarter-rack sized units. Pocket-sized devices can also be fastened on the
shelf. To order mounting accessories please contact sales@lightware.eu.
INFO
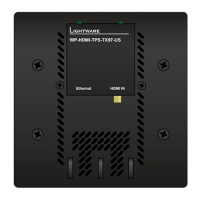
The transmitters are half-rack sized.
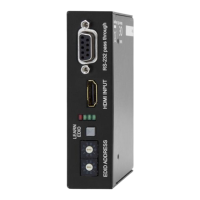
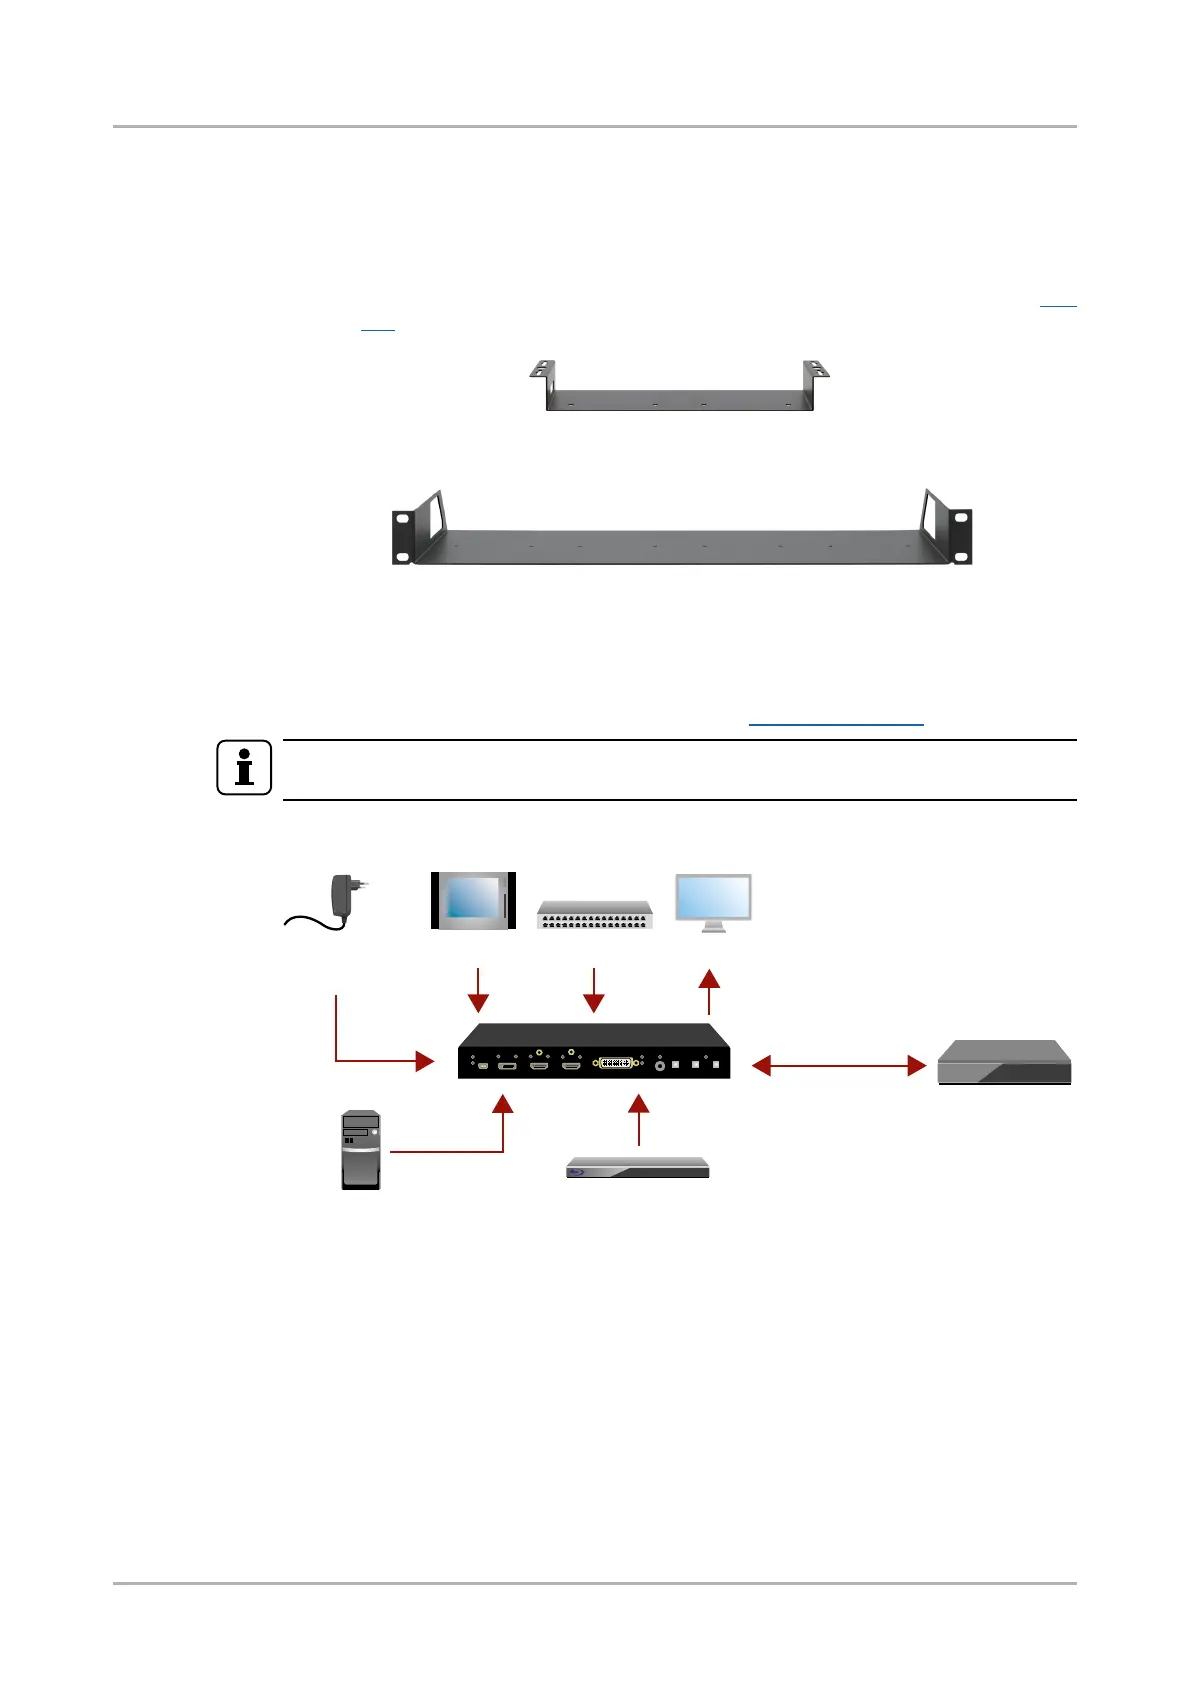
2.2. Connecting steps
1
Connect the transmitter and the receiver by a multimode optical cable via the SC
ber connectors.
2
Connect the desired source(s) to the input port(s) of the transmitter. *
3
Optionally connect the transmitter to a LAN in order to control the device. *
4
Optionally for RS-232 extension: connect a controller/controlled device (e.g. touch
panel) to the RS-232 port.
5
Optionally connect a local sink to the HDMI output port.
6
Firstly connect the power adaptor to the DC input on the transmitter, then to the AC
power socket.
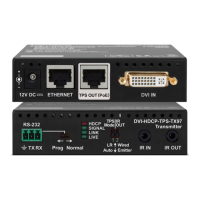
* Only SW4-OPT-TX240RAK model has DP, DVI-D input port and Ethernet port.
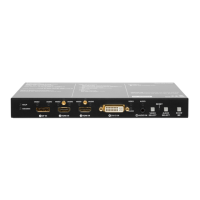
Power
Adaptor
Touch panel
Ethernet
Local sink
PC
DP
Blu-ray player
HDMI
Transmitter
Compatible
receiver or
input board
Optical cable
HDMILANRS-232
1
22
3
4
6
5
HDMI-3D-OPT-TX200 series
User’s manual
Installation and controls Page 11 / 106
 Loading...