6. When selecting OK, the setting is completed as
the IP ADDRESS stored. However, when selecting
CANCEL, the setting is completed without storing.
• Whenthesettingyouenterediscorrect,the
setting change dialog is displayed. After the
dialog disappears, the NETWORK menu is
displayed. If the entered content is not correct,
the NETWORK menu is displayed after an error
dialog is displayed.
• Itmaytakesometimetoreectthesettings.
Subnet Mask Settings
1. Display the IP CONFIG menu.
2. Press the or button to select SUBNET MASK.
3. Press the or button to select SET .
4. Press the ENTER button.
• SUBNETMASKscreenappears.
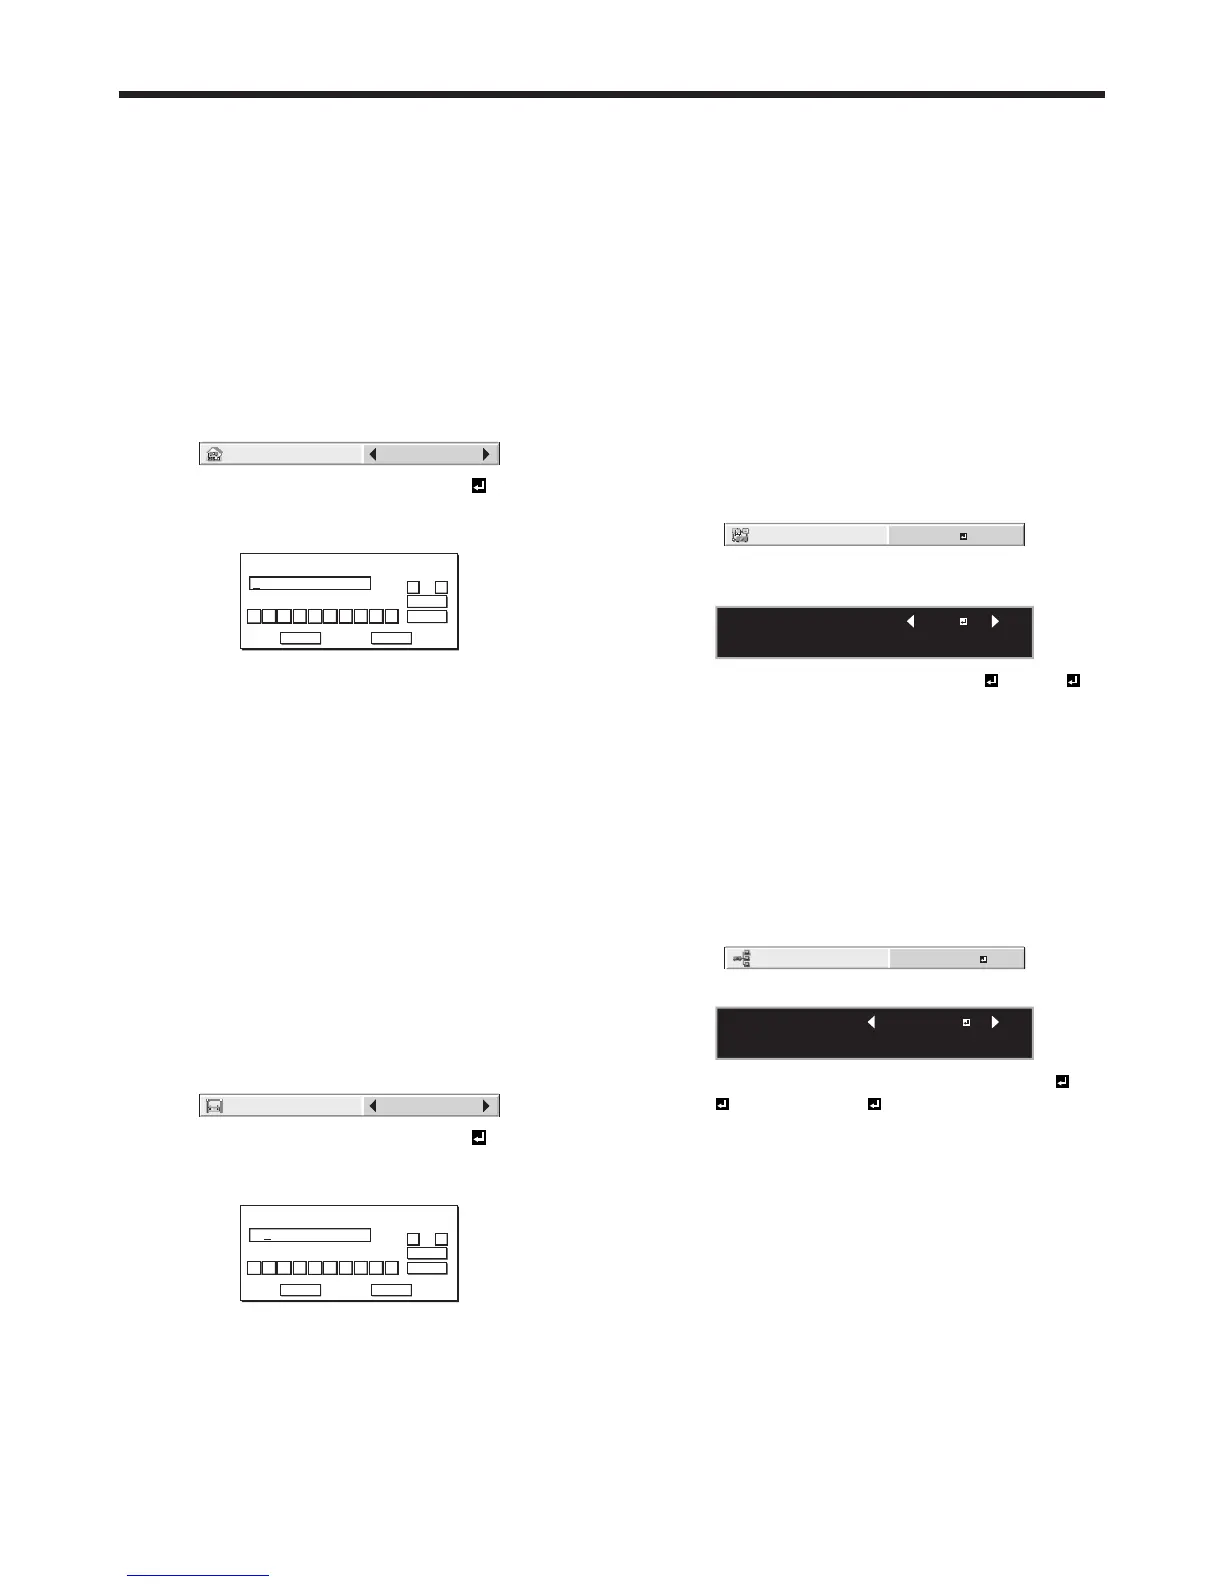
SUBNET MASK
255 . 255 . 255 . 0
0
OK
CLEAR
DEL
CANCEL
12345678 9
← →
5. Enter the Subnet Mask.
• RefertoIPAddressSettingsforthedetailof
entering.
6. When selecting OK, the setting is completed as
the Subnet Mask stored. However, when selecting
CANCEL, the setting is completed without storing.
• Whenthesettingyouenterediscorrect,the
setting change dialog is displayed. After the
dialog disappears, the NETWORK menu is
displayed. If the entered content is not correct,
the NETWORK menu is displayed after an error
dialog is displayed.
• Itmaytakesometimetoreectthesettings.
Default Gateway Settings
1. Display the IP CONFIG menu.
2. Press the or button to select DEFAULT
GATEWAY.
DEFAULT GATEWAY
0. 0. 0. 0
3. Press the or button to select SET .
4. Press the ENTER button.
• DEFAULTGATEWAYscreenappears.
DEFAULT GATEWAY
10 . 132 . 1 . 1
0
OK
CLEAR
DEL
CANCEL
12345678 9
← →
5. Enter the Default Gateway.
• RefertoIPAddressSettingsforthedetailof
entering.
6. When selecting OK, the setting is completed as the
Default Gateway stored. However, when selecting
CANCEL, the setting is completed without storing.
• Whenthesettingyouenterediscorrect,the
setting change dialog is displayed. After the
dialog disappears, the NETWORK menu is
displayed. If the entered content is not correct,
the NETWORK menu is displayed after an error
dialog is displayed.
• Itmaytakesometimetoreectthesettings.
Enabling or disabling the network
certification
You can select whether or not to certify the network
communication using the network password.
• Fordetails,contactyourdealer.
(See page 32 for menu setting.)
1. Display the NETWORK menu.
2. Press the or button to select NET WORK
CERTIFICATION.
3. Press the ENTER button.
• Conrmationdialogappears.
NETWORK CERTIFICATION :
OK : ENTER CANCEL : MENU
ON
4. Press the or button to select ON or OFF .
5. Press the ENTER button.
• Tocancelthesetting,presstheMENUbutton.
• Itmaytakesometimetoreectthesettings.
Setting the control system
Set the control system.
(See page 32 for menu setting.)
1. Display the NETWORK menu.
2. Press the or button to select CONTROL
SYSTEM.
3. Press the ENTER button.
CONTROL SYSTEM :
OK : ENTER CANCEL : MENU
STANDARD
4. Press the or button to select STANDARD ,
AMX , or CRESTRON .
STANDARD
Select this setting when using ProjectorView
Global+ or ProjectorView.
AMX
Select this setting when using the controller of
AMX. (See page 58.)
CRESTRON
Select this setting when using the controller or
software of Crestron Electronics, Inc. (See page 58.)
Important:
• PJLink™ works regardless of the setting of
CONTROL SYSTEM.
5. Press the ENTER button.
Initial network settings (continued)

 Loading...