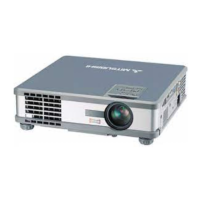
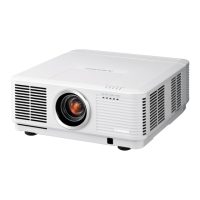
1 Indicators
2 Air inlet grille/Filter cover
3 Air outlet grille
4 Lens
5 Remote control sensor (front)
6 Mitsubishi logo plate position
(Put the plate according to the
installation orientation.)
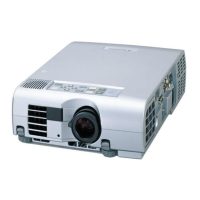
7 Air inlet grille
8 Control area
9 Terminal panel
10 Remote control sensor (rear)
11 Air outlet grille
12 Lamp cover
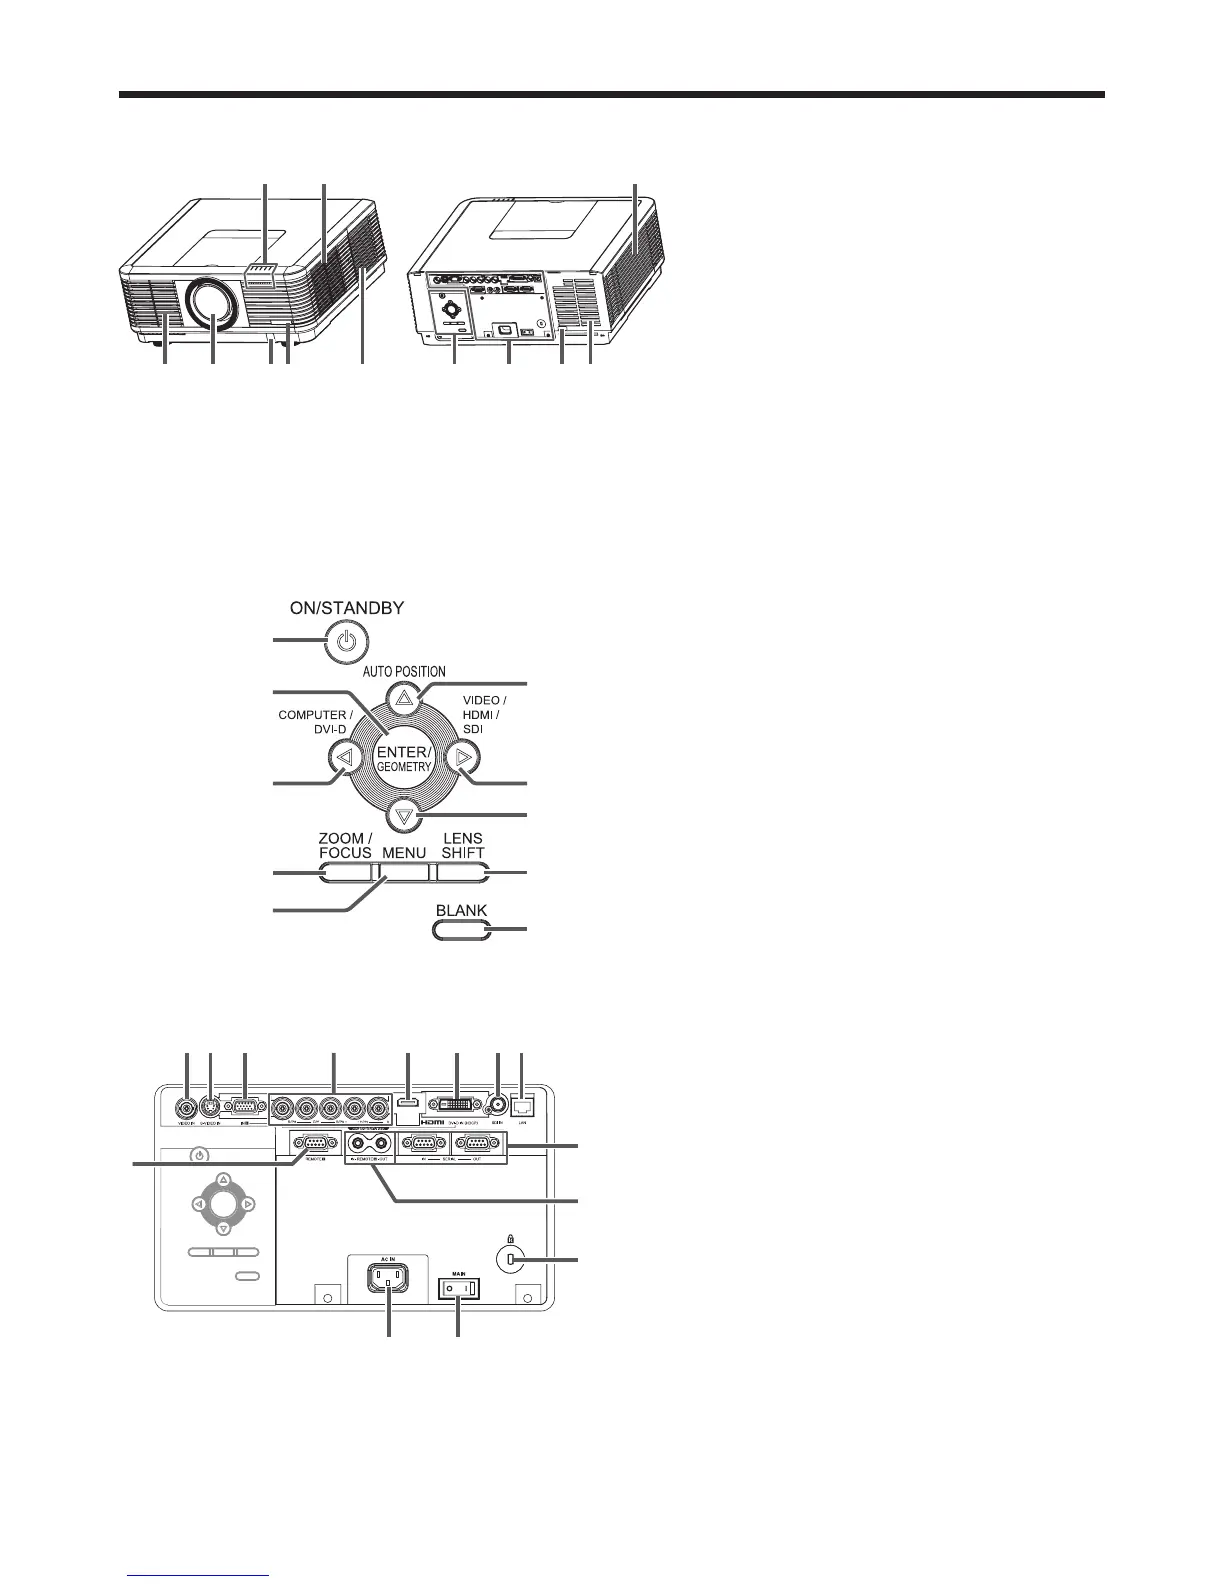
Control area
When installing the projector on the ceiling, put the control panel label for ceiling installation that is supplied with the projector.
The label should be placed in a way that it doesn’t disturb the operation of the buttons.
1 POWER button (ON/STANDBY)
The status is changed between ON and
STANDBY.
2 ENTER/GEOMETRY button
3 COMPUTER/DVI-D/ button
4 ZOOM/FOCUS button
5 MENU button
6 AUTO POSITION/ button
7 For UD8400U and UD8400LU:
VIDEO/HDMI/SDI/ button
For UD8350U and UD8350LU:
VIDEO/HDMI/ button
8 button
9 LENS SHIFT button
10 BLANK button
1 VIDEO IN terminal (BNC)
2 S-VIDEO IN terminal
3 COMPUTER/COMPONENT VIDEO IN-1 terminal
(mini D-SUB 15-pin)
4 COMPUTER/COMPONENT VIDEO IN-2
terminals (R/PR, G/Y, B/PB, H/HV, V) (BNC)
5 HDMI IN terminal (HDMI 19-pin)
6 COMPUTER/COMPONENT VIDEO DVI-D IN
(HDCP) terminal (DVI-D 24-pin)
7 SDI IN terminal
(for UD8400U and UD8400LU only)
8 LAN terminal
9 REMOTE1 IN terminal (D-SUB 9-pin female)
10 SERIAL IN and OUT terminals (D-SUB 9-pin
male)
11 REMOTE 2 IN and OUT terminals
12 Kensington Security Lock Standard connector
13 Power jack
14 Main power switch
O: OFF I: ON
Terminal panel
When installing the projector on the ceiling, put the terminal block label for ceiling installation that is supplied with the projector.
Preparing your projector (continued)
Caution:
Do not replace the lamp immediately after using the projector
because the lamp would be extremely hot and it may cause
burns.
 Loading...