DIMM Replacement
DGX-2 System DU-09224-001 _v09|35
Inspect the component_id = line to determine the DIMM ID. The following example
shows a DIMM ID of A1.
Properties:
system_name = ....
component_id = CPU1_DIMM_A1
...
The output provides other information about the alert that can be provided to NVIDIA
Enterprise Support.
3. Determine the DIMM manufacturer.
$ sudo dmidecode -t memory|grep Manufacturer |tail -l
4. Request the replacement DIMM from NVIDIA Enterprise Support, specifying the
manufacturer.
10.3. Replacing the DIMM
Before attempting to replace any of the dual inline memory modules (DIMMs), be sure to have
performed the following:
‣
Determined the location ID of the faulty DIMM needing replacement as explained in
Identifying the Failed DIMM. The location ID is an alpha-numeric designator, such as A0,
A1, B0, B1, etc.
‣
Obtained the replacement DIMM and have saved the packaging for use when returning the
faulty DIMM.
CAUTION: Static Sensitive Devices: - Be sure to observe best practices for electrostatic
discharge (ESD) protection. This includes making sure personnel and equipment are
connected to a common ground, such as by wearing a wrist strap connected to the
chassis ground, and placing components on static-free work surfaces.
1. Power down the system..
2. Label all cables connected to the motherboard tray for easy identification when
reconnecting.
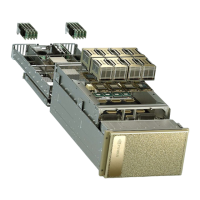
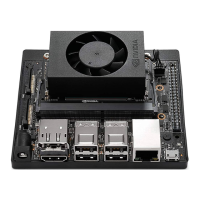
3. Remove the motherboard tray.
Refer to the instructions in the section Removing the Motherboard Tray.
4. Using the following diagram as a guide, locate the faulty DIMM to be replaced.
 Loading...