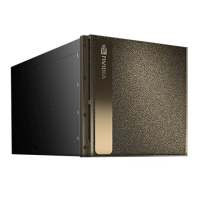
DGX-2 System DU-09224-001 _v09|38
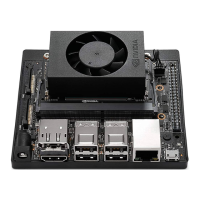
Chapter11. ConnectX-5 Card
Replacement
11.1. ConnectX-5 Card Replacement
Overview
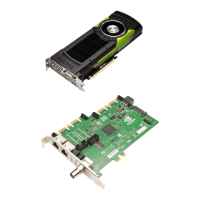
This is a high-level overview of the procedure to replace one or more Mellanox ConnectX-5
cards on the DGX-2 System.
1. Use the nvsm show commands to identify the failed ConnectX-5 card.
2. Get a replacement ConnectX-5 card from NVIDIA Enterprise Support.
3. Shut down the system.
4. Label all I/O tray cables and unplug them.
5. Remove the I/O tray and open the lid.
6. Locate the failed ConnectX-5 card, then remove the screw that attaches the card and
remove the card.
7. Insert the new card into the slot and secure with the screw.
8. Close the lid on the I/O tray, then insert the tray into the system.
9. Plug in all cables using the labels as a reference.
10.Power on the system.
11.Verify that the ConnectX-5 card is healthy using nvsm.
11.2. Replacing the ConnectX-5 Card
Before attempting to replace any of the ConnectX-5 cards, be sure to have performed the
following:
‣
Determined the location ID of the faulty ConnectX-5 card needing replacement.
Run nvsm show health to identify the bad card. Note the PCIe bus ID and slot number.
‣
Obtained the replacement ConnectX-5 card have saved the packaging for use when
returning the faulty component.
 Loading...