Managing the DGX A100 Self-Encrypting Drives
NVIDIA DGX A100 DU-09821-001 _v01|33
/dev/nvme0n1 70H0A0AHTTHR KCM6DRUL3T84 ...
/dev/nvme1n1 70H0A007TTHR KCM6DRUL3T84
6.3.2. Enabling the TPM and Preventing the BIOS
from Sending Block SID Requests
This section provides instructions to enable the TPM and prevent the SBIOS from sending
Block SID request. Each task is independent, so you can select which task to complete.
1. Reboot the DGX A100, then press [Del] or [F2] at the NVIDIA splash screen to enter the
BIOS Setup.
2. Navigate to the Advanced tab on the top menu, then scroll to Trusted Computing and press
[Enter].
‣
To enable TPM, scroll to Security Device and switch the setting to Enabled.
‣
To disable Block SID, scroll to Disable Block Sid, then switch to Enabled.
3. Save and exit the BIOS Setup to continue the boot process.
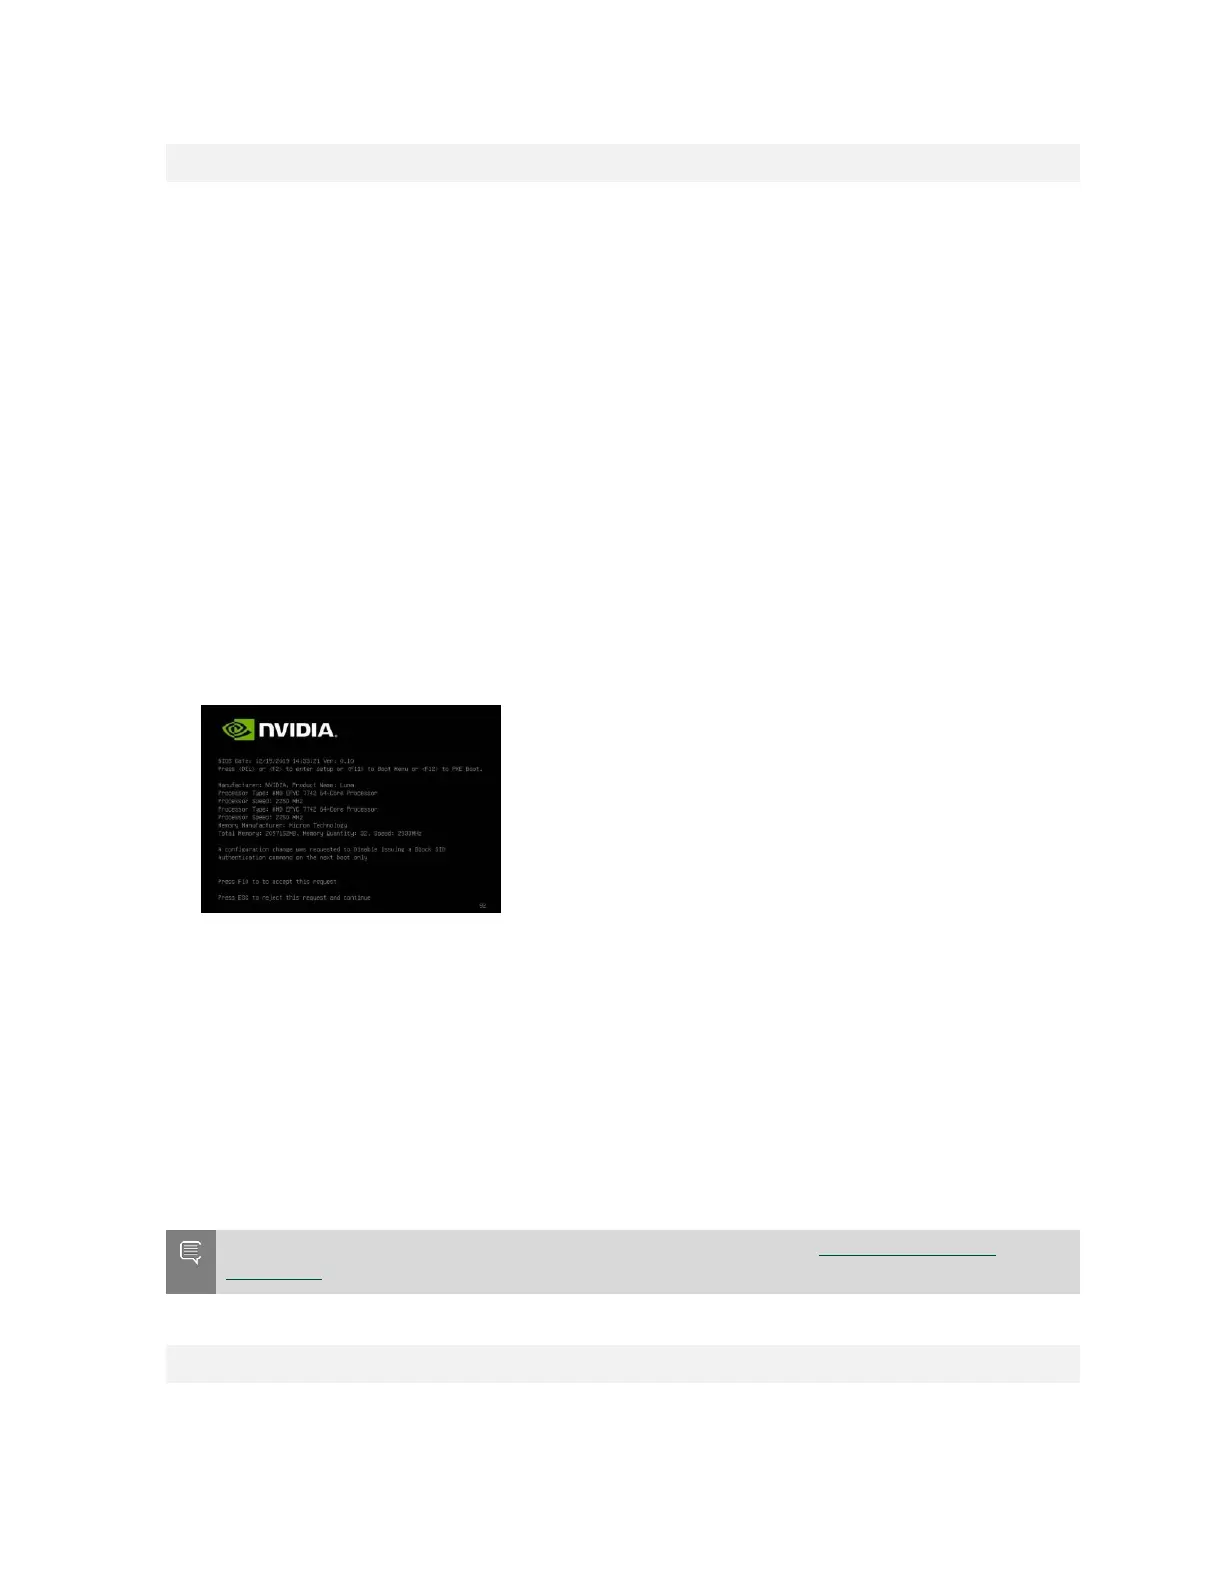
If you disabled Block SID, you will be prompted to accept the request to disable issuing a
Block SID Authentication command.
4. Press F10 at the prompt.
After the system boots, you can proceed to initialize drive encryption.
6.4. Initializing the System for Drive
Encryption
Here is some information about how to initialize the system for drive encryption.
Note: Before initializing drive encryption, review the information in Configuring Trusted
Computing and follow the configuration instructions if needed.
Initialize the system for drive encryption using the nv-disk-encrypt command.
$ sudo nv-disk-encrypt init [-k <your-vault-password>] [-f <path/to/json-file>] [-g]
[- r]
Here is a list of the options:
 Loading...