Operating manual X9 Series metering pumps
File: UT-4336 – Rev.0 Copyright © - OBL Metering pumps - All rights reserved Page 27
GB
7.6.2
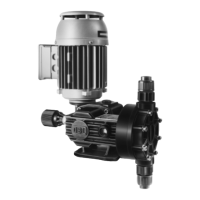
Pumps type LK, LN, LP
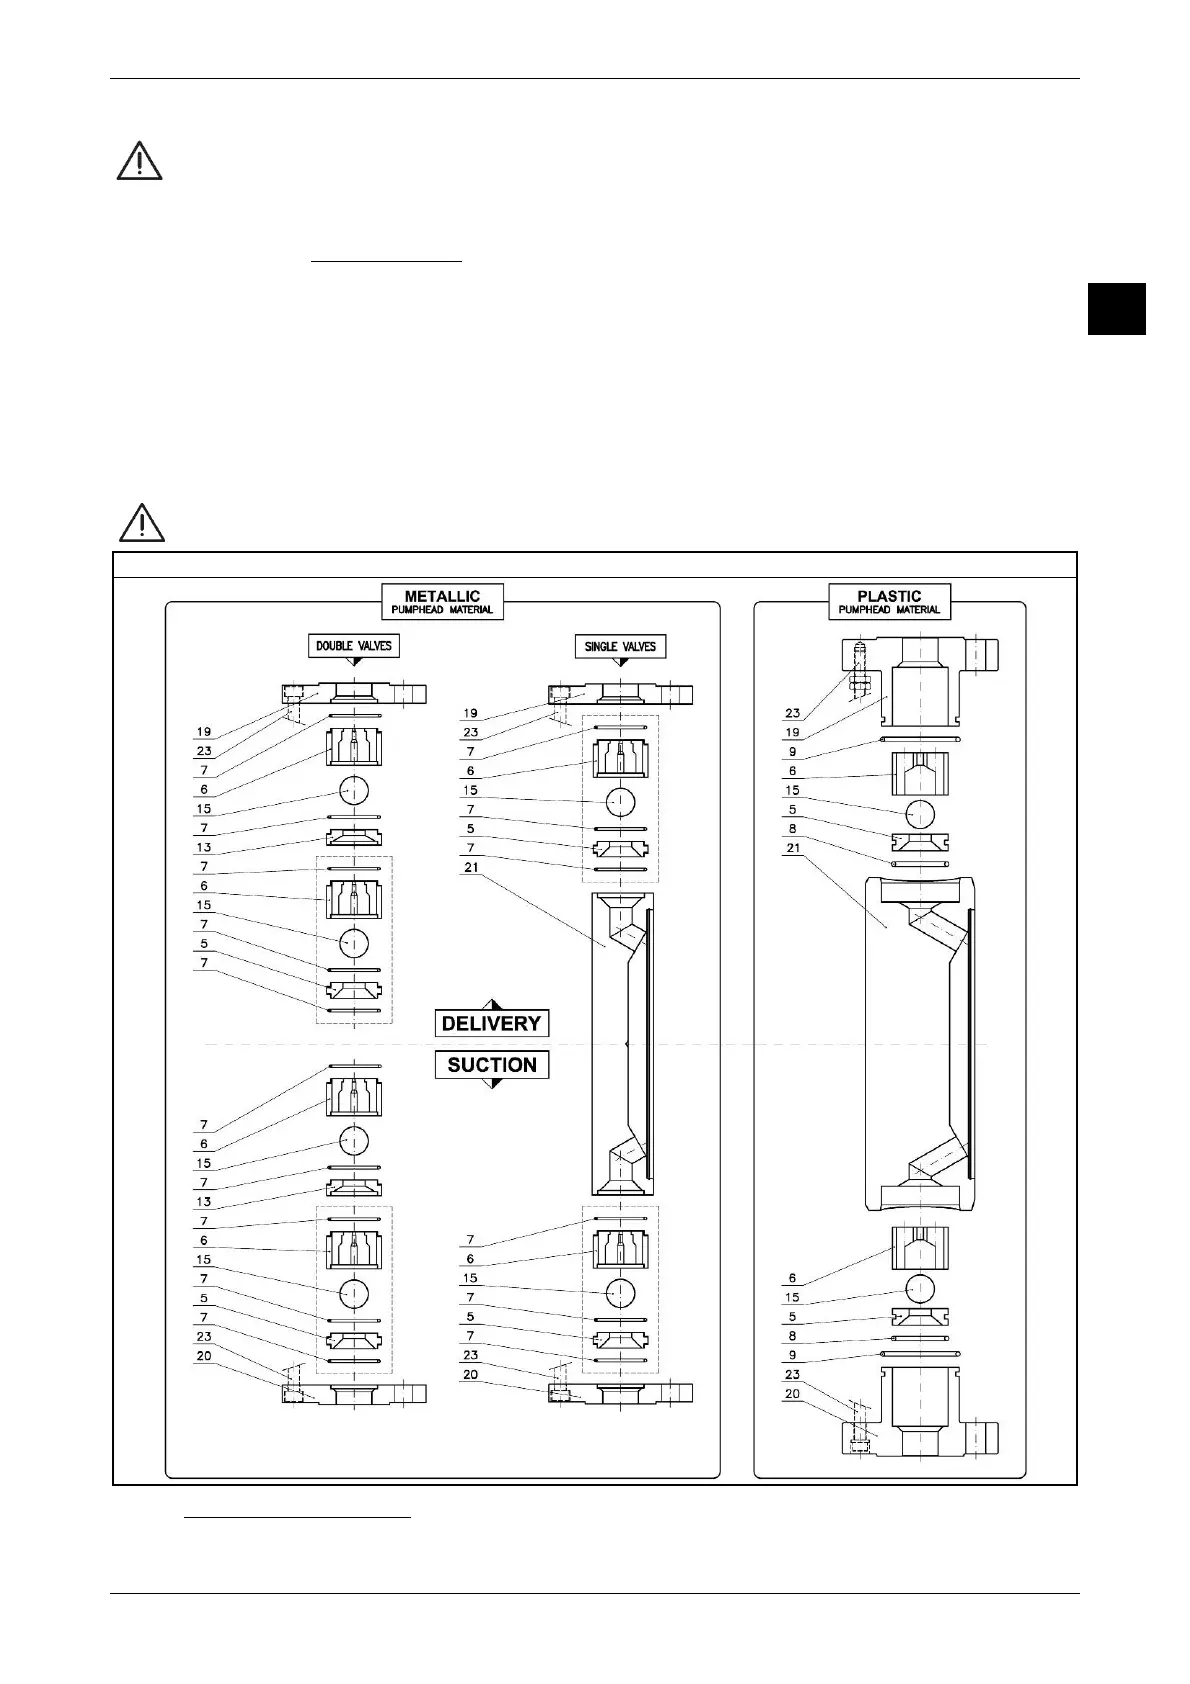
NOTE: BEFORE start to disassembly, make sure there is no pressure or high temperature in the pipeline !
Operate with pump OFF. To verify conditions and/or replace the valves proceed as follows (see figure 13):
- release the pump from suction and discharge pipeline, and clean adequately
- remove the valve units one at a time by unscrewing the valve stay bolts (pos.23)
- delicately extract the internal components without damaging them (use a plastic tool)
- carefully observe and check the direction of assembly of each components
- check the cleaning, wear and proper direction of assembly of components
- the ball valve (pos.15) MUST be SMOOTH, and not have dents or corrosion signs
- the valve seat (pos.5) must have smooth bevelled surfaces with no dents or signs of wear
- verify the integrity of the O-rings (sealing components) (pos.7; 8 or 9)
- if necessary, replace the damaged components
- reassemble everything exactly as shown in figures 13
ATTENTION: The valve (pos.15) MUST sit on valve seat (pos.5) on the OPPOSITE side of large bevelled surface.
Figure 13 LK, LN, LP PUMPS: PUMPHEAD COMPONENTS
7.7 LUBRICANT OIL CHANGE
X9 pumps are always supplied with lubricant oil on the mechanism.
 Loading...