- 39 -
Faxing
3
Faxing (For MB362, MB562, ES5462 MFP only)
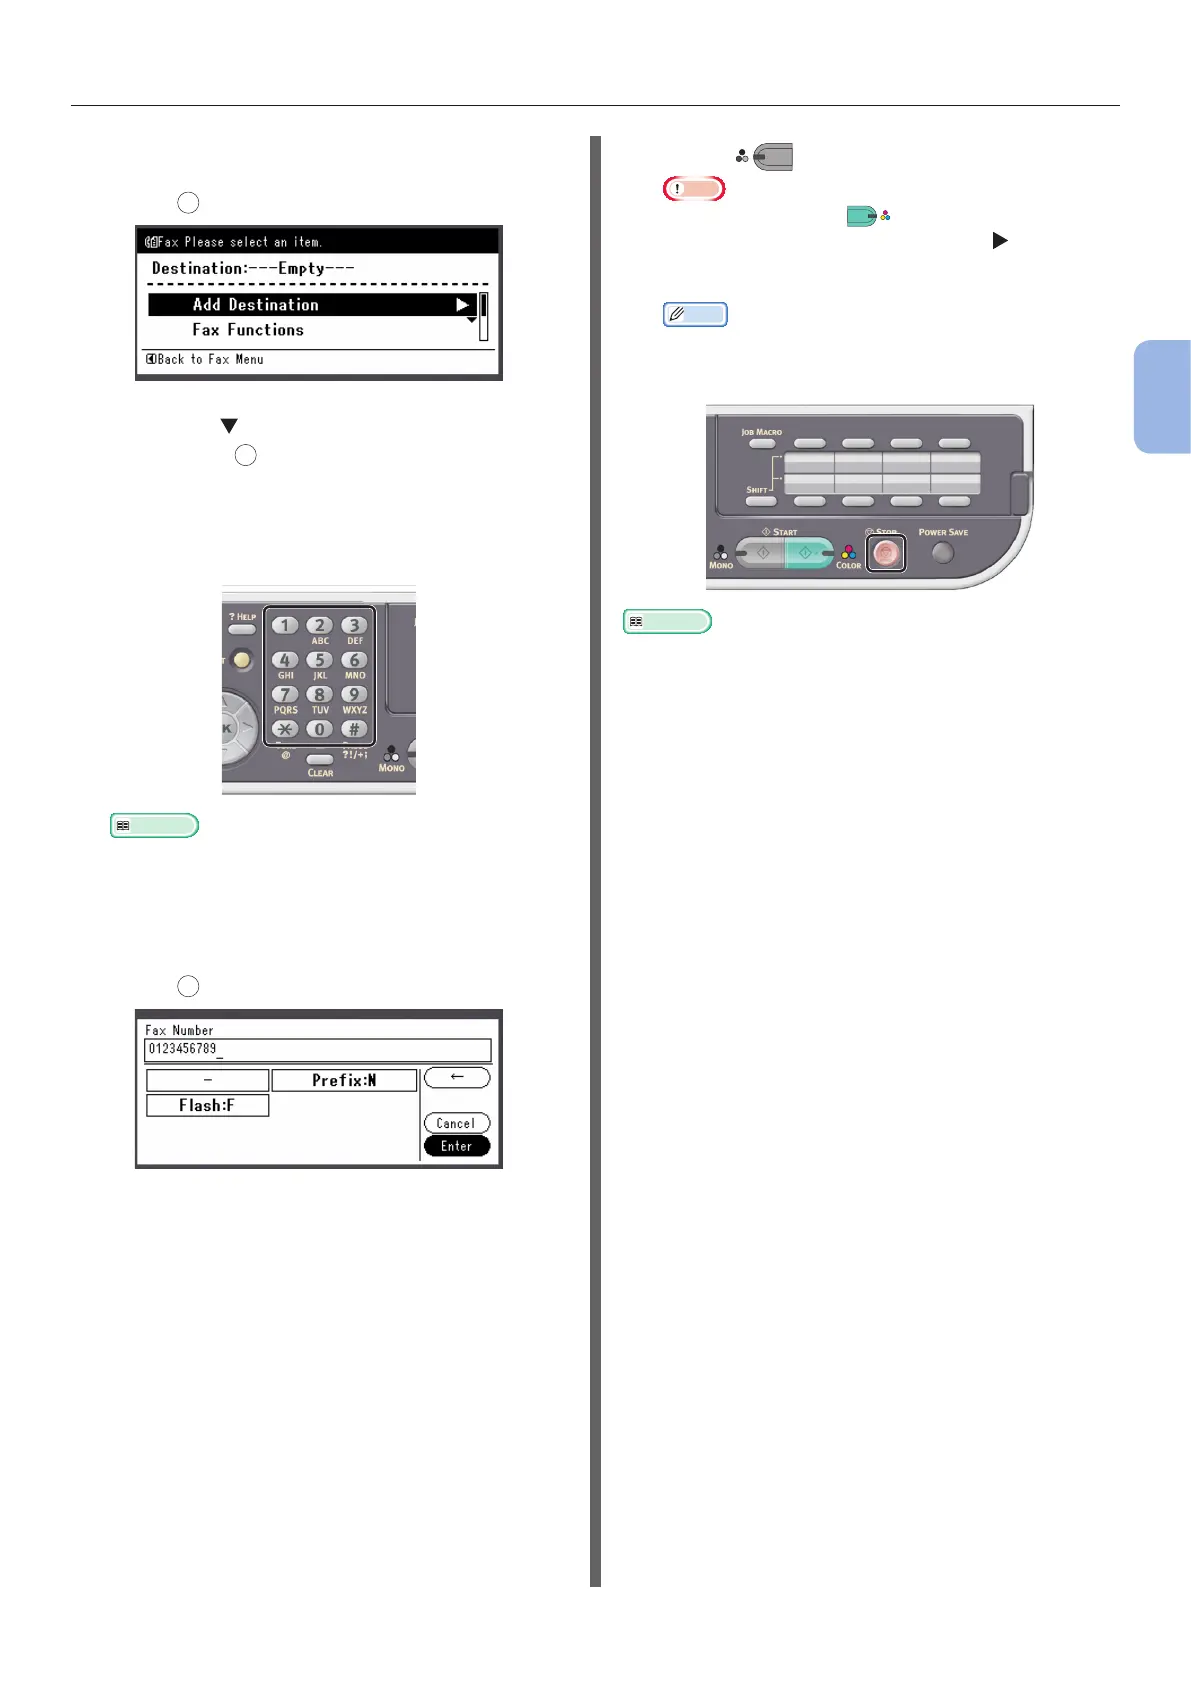
4 Check that [Add Destination] is
selected on the start screen and then
press
OK
.
5 Press the to select [Direct Input] and
then press
OK
.
6 Enter a destination fax number up to
40 digits using the ten-key pad on the
operator panel.
Reference
● For dialing functions such as hyphen, prex and
ash, refer to the User’s Guide > “Faxing - MC362,
MC562 AND ES5462 MFP only” > “Sending a fax from
the MFP” > “Advanced operation”.
7 Check that [Enter] is selected and then
press
OK
.
8 Press
MONO
to start transmission.
Note
● You cannot use the
COLOR
button.
● If the <STATUS> key is pressed and
is pressed
twice, the information is displayed on the display
screen.
Memo
● When you want to cancel the operation during the
transmission, press the <STOP> key on the operator
panel.
Reference
● In addition to inputting the destination directly, you can
use the speed dial list, group list, transmission histories,
reception histories, or One-Touch key pad to specify
the destination. For details, refer to the User’s Guide
> “Faxing - MC362, MC562 AND ES5462 MFP only” >
“
Managing the phone book
”
.
● To load a landscape document, refer to the User’s Guide >
“Operation” > “Loading document(s)”.
● You can change the fax settings such as document size
and resolution as necessary. For details, refer to the
User’s Guide > “Faxing - MC362, MC562 AND ES5462
MFP only” > “Sending a fax from the MFP” > “Advanced
operation”.
● When you want to specify multiple destinations, refer to
the User’s Guide > “Faxing - MC362, MC562 AND ES5462
MFP only” > “Sending a fax from the MFP” > “Advanced
operation”.

 Loading...


