40
Screw the objective into the mount hole of the revolving nosepiece
a
carefully not to drop it.
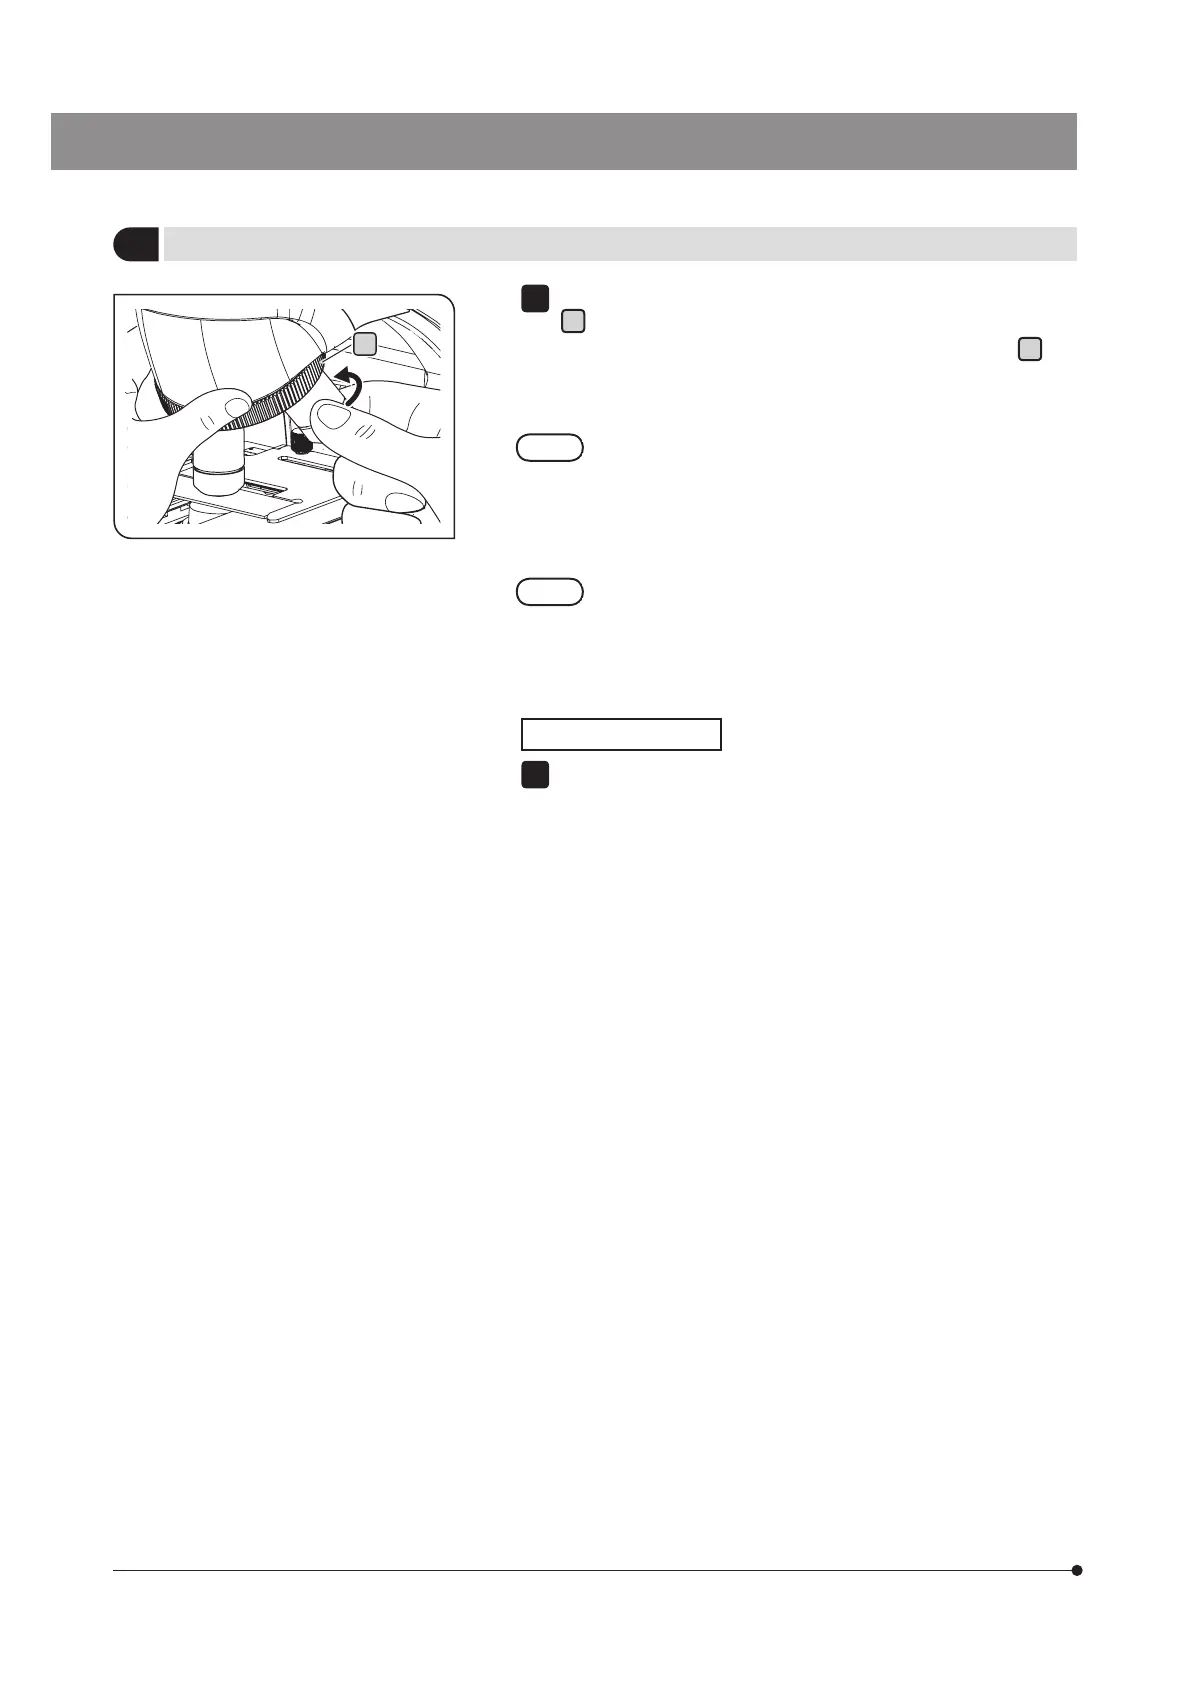
When changing the objective, hold the revolving nosepiece
a
and
rotate it so that the intended objective comes exactly above the
specimen.
· Do not rotate the revolving nosepiece by holding the
objective.
· Be careful if you rotate the revolving nosepiece while
observing the edge of the slide glass with the high
magnification objective (40X, etc.), the objective may
interfere with the specimen holder.
· Only objectives of 24mm in diameter can be attached to all 5
holes of the revolving nosepiece.
· For available objectives by observation method, refer to the
table "Available observation methods by objective" on page 35.
Removing the objective
If the objective is screwed in too firmly, use the slip prevention rubber
sheet, etc. to rotate the objective in the direction opposite to the
attaching direction (arrow direction).
1
1
5
Attaching the objective
a

 Loading...