15
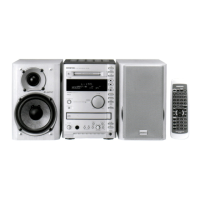
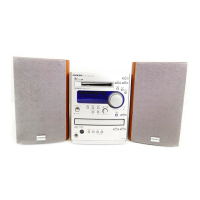
Connecting AV Components
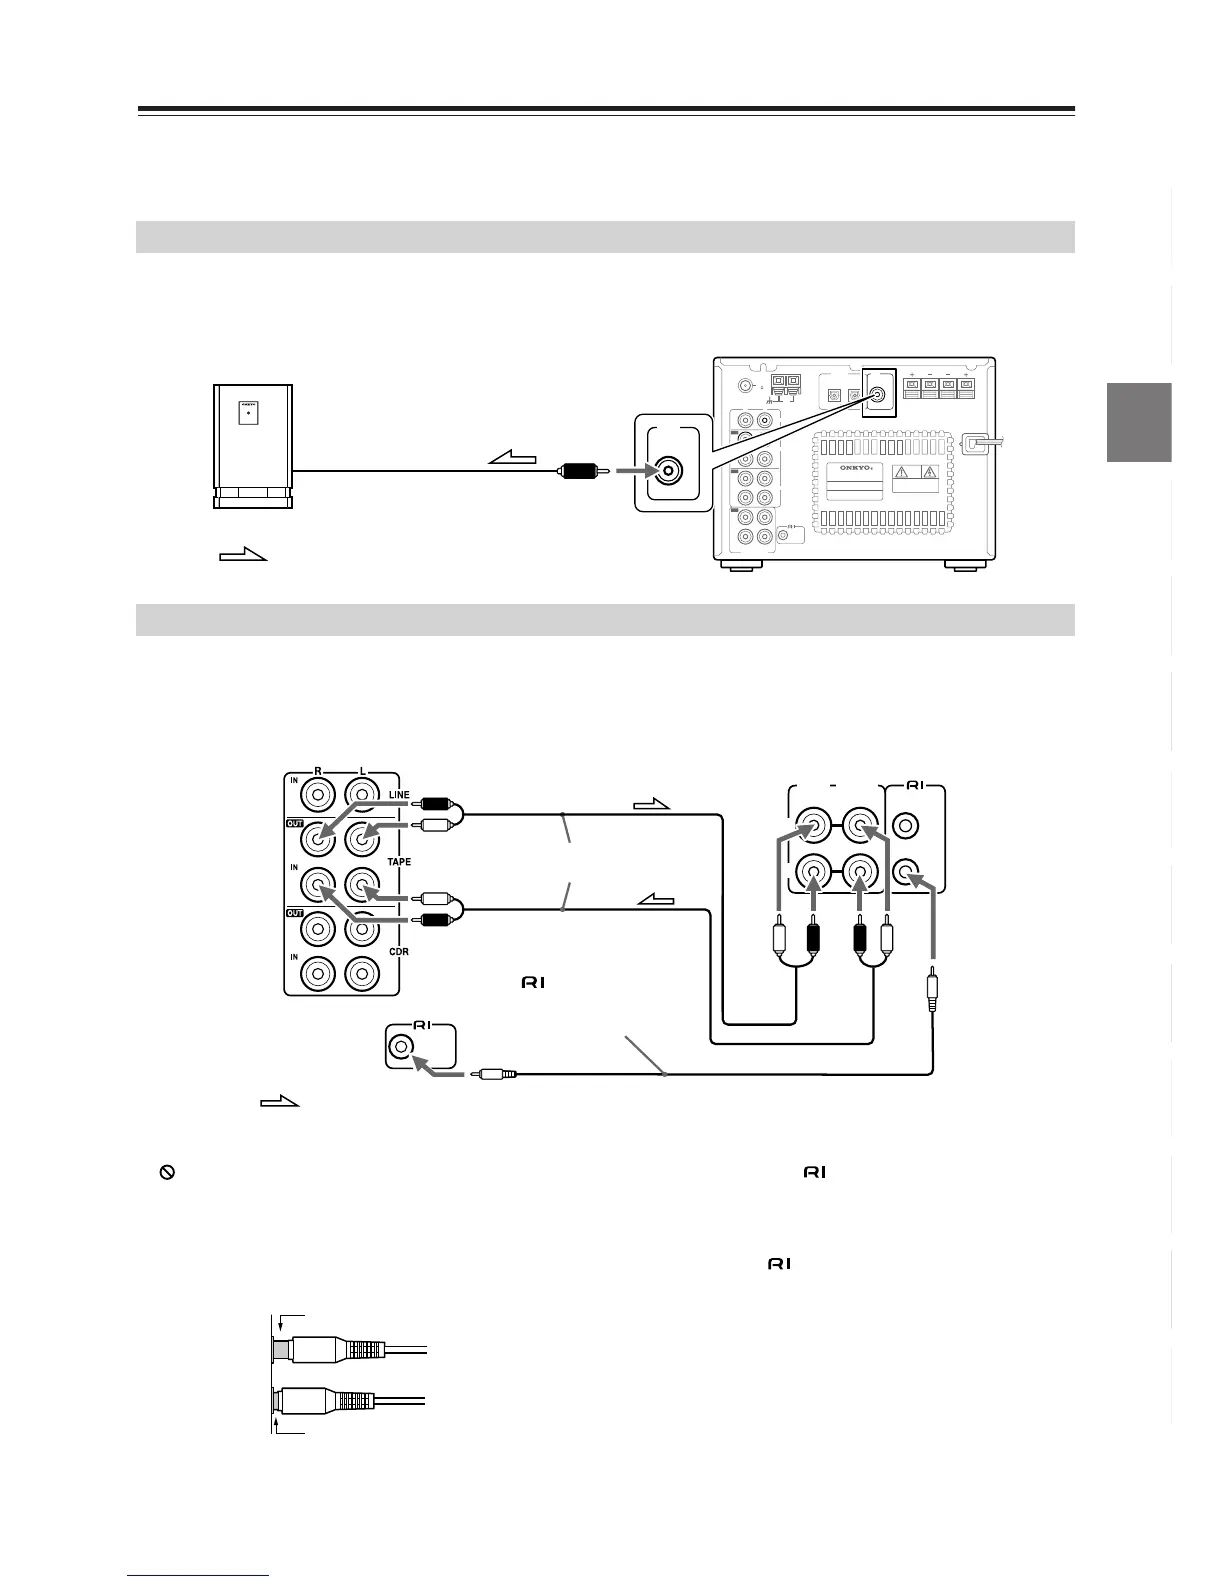
Connect the white plugs of the audio cables to
the L jacks and connect the red plugs of the
audio cables to the R jacks.
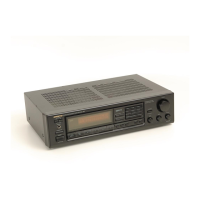
The FR-X7A has a SUBWOOFER PRE OUT jack. Connect an active subwoofer (a subwoofer that contains an
amplifier).
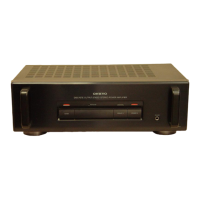
The following diagram illustrates how to connect an optional Onkyo stereo cassette tape deck.
Connect the FR-X7A TAPE OUT jacks to the tape deck’s INPUT (REC) jacks, and the FR-X7A TAPE IN jacks to
the tape deck’s OUTPUT (PLAY) jacks.
Notes
• Do not place objects on the unit as they may
interfere with proper ventilation.
•Follow the rules for digital recording, “Guide to the
Serial Copy Management System”(see page 7).
•Audio plugs must be connected securely. Incom-
plete connection will not reproduce sound.
What does connecting an Onkyo stereo cassette
tape deck using an cable enable you to do?
•You can control a connected Onkyo stereo cassette
tape deck using the supplied remote controller. You
also need to connect the RCA/phono audio cable.
•To operate the system, the source name in the dis-
play should be TAPE. (Since the default source name
in the display is TAPE, you do not need to change the
setting. See page 66 for further information.
• When the connected Onkyo stereo cassette tape
deck plays back, the Input Selector on the FR-X7A
is automatically switched to TAPE.
• Synchro recording operations (see page 35).
 Loading...