8.The system starts to install driver, and it may take several minutes.
9.After installation is finished, “Installation Complete” interface will pop out,
and it will be closed automatically in about 3s.
3.1.4.Driver uninstallation
3.1.4.1.Uninstallation method
1.Click the Start menu of computer and then click All programs.
2.Click Pantum, and then Click Pantum X Series.
Pantum X Series where X represents product model.
3.Click uninstall to delete the driver according to instructions on uninstall window.
4.Restart computer after finishing unloading.
3.2.Driver installation based on Mac system
• Driver installation under Mac system is divided into 2 steps, driver installation and
adding a printer. If you are going to print in AirPrint mode, there is no need to install
a driver and you just need to add a printer directly.
• When you are installing a driver with wired or wireless network, you may need to
know the Bonjour name of printer. Please print the “Network setup page” to view
it.(Please refer to Chapter 9.4).
3.2.1.Driver installation
1.Turn the power of printer and computer on.
2.
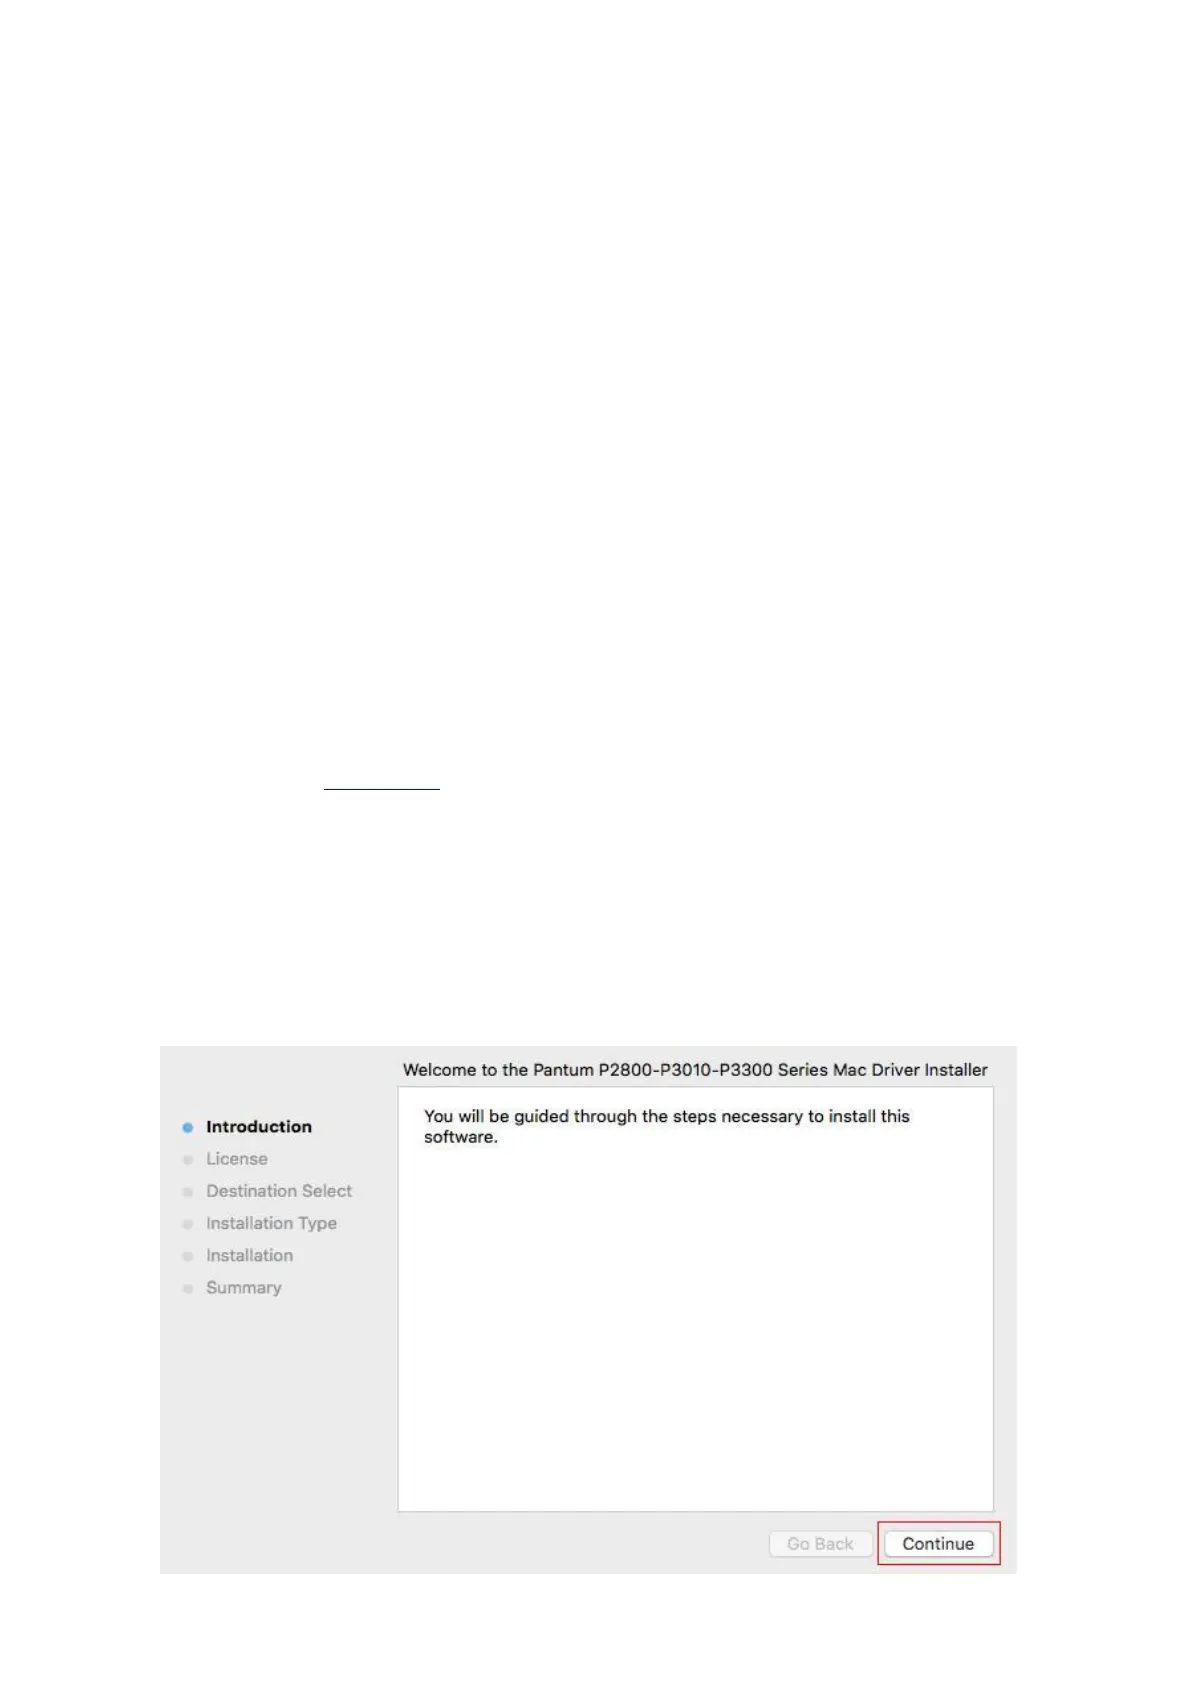
Insert the CD companying with printer in the CD driver of your computer, and double click
Pantum X Series installation package. (X in Pantum X Series represents product model.)
Mac 10.11 is taken as the example in the following operation. The information on
your computer screen may differ because of multiple operating systems.
Windows 7 is taken as the example in the following operation. The information on
your computer screen may differ because of multiple operating systems.
 Loading...