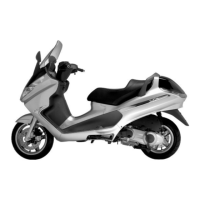
10 - There are also fault messages for: pump relay
YES go to 13 NO go to 11
11 - There is also a fault message for the HV coil.
YES point 12
12 - Check the power supply circuit with the fuse 12 and the remote control switch. Common feeding
to the fuel pump.
13 - Check the pump relay control circuit
14 - Install the special tool between the injection system and the control unit.
YES go to 15
Specific tooling
020481Y Control unit interface wiring
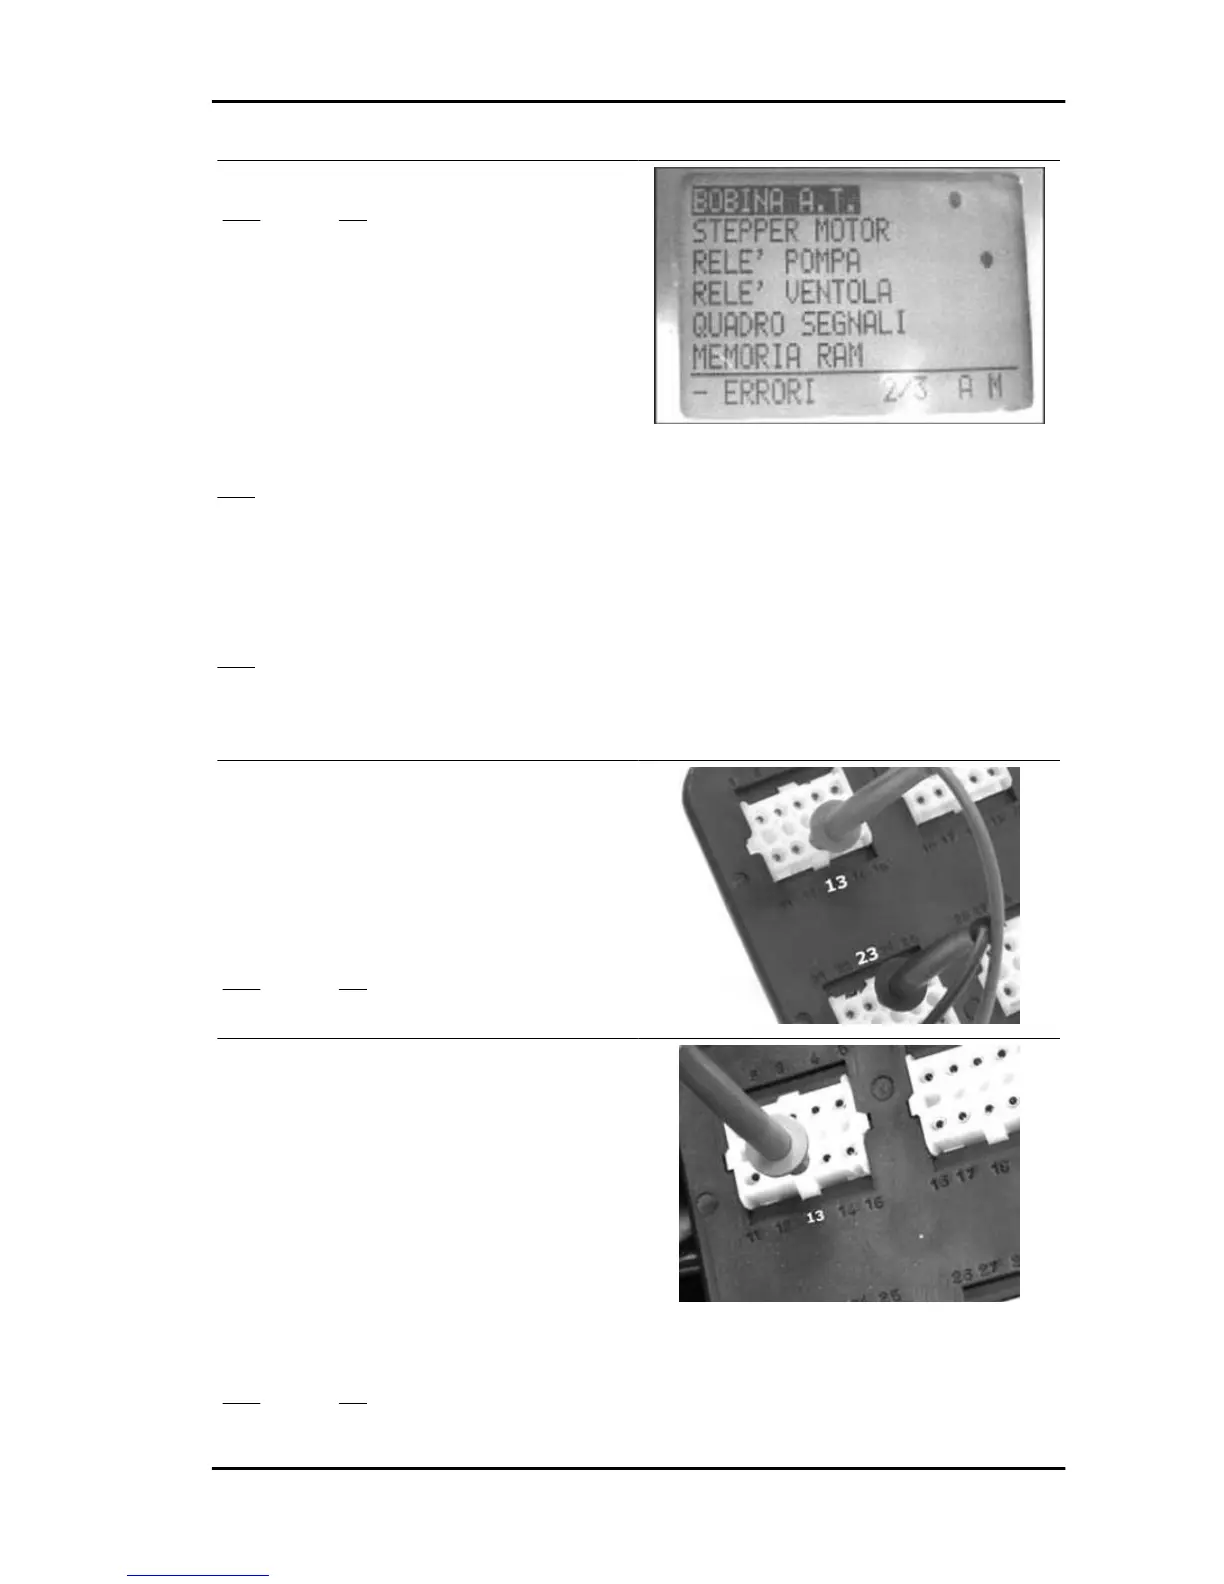
15 - Arrange a multimeter with positive prod on pin
13 and negative prod on pin 23. Set the switch to
"ON" with switch to "RUN" and side stand raised.
Check the presence of battery voltage during the
fuel pump timing.
13 - 23 = battery voltage for 2 seconds.
YES go to 16 NO go to 17
16 - The injector electric circuit is steady Repeat
the checks. If the fault continues, check the control
unit connector. If necessary, replace the electronic
control unit.
17 - Repeat the test using the resistance multime-
ter. Check the resistance between pin 13 and pin
87 (black/green cable) of the pump remote control
switch.
13 - black/green = 14.5Ω ± 5% (resistance of the
injector)
YES go to 19 NO go to 18
X8 400 Euro 3 Injection
INJEC - 235
 Loading...