Configure Acoustic Fence
You can enable and configure the Polycom Acoustic Fence feature to help define the audio fence around the system.
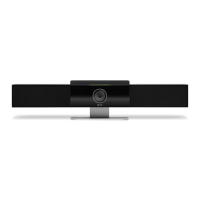
Polycom Acoustic Fence technology creates a virtual audio fence that blocks sounds from outside the fence. It suppresses
background noise during calls to enhance audio quality for call participants. The Poly Studio device defines the audio fence
zone in a beam shape with three width options. The system picks up sounds within the beam region and sends only those
sounds to the far end.
Task
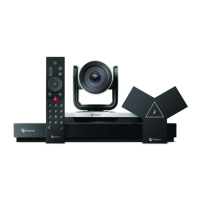
1 Connect the Poly Studio device to your computer, then select the Poly Studio USB video bar tile from your Polycom
Companion.
2 Go to User Settings > Audio Settings.
3 Select one of the following options for Acoustic Fence:
• Off: Disable Acoustic Fence
• Wide: Set a 120-degree beam region
• Medium: Set a 90-degree beam region
• Narrow: Set a 60-degree beam region
Poly Studio Admin Settings
You can configure Wi-Fi and Bluetooth, provision the Poly Studio USB video bar server, restart or factory reset the device,
and import or export configuration files through the admin settings menu.
Caution: Don’t disconnect the USB cable or power cable of the Poly Studio device while changing the settings on the
Polycom Companion App. This may cause unexpected errors.
Log In to Poly Studio Admin Settings
You must enter the administrator password to log in to the Admin Settings menu.
Task
1 Connect the Poly Studio device to your computer, then select the Poly Studio USB video bar tile in Polycom
Companion.
2 Select Admin Settings.
3 Enter the administrator password in the Password field (the default password is Polycom12#$).
4 Select Sign In.
Change Your Password
Poly requires that you change your device’s password from the default for security reasons. This is typically done during
the initial setup process.
Task
1 Connect the Poly Studio device to your computer, then select the Poly Studio USB video bar tile in Polycom
Companion.
2 Go to Admin Settings > Password Settings.
3 Enter your Current Password.
4 Enter a new password in New Password and Confirm Password fields.
• Optional: Select the Simple Password check box to enter a simple password.
• Enter a password that adheres to the onscreen requirements.
5 Select Save.
Configure General Settings
You can configure the device name and NTP settings for the Poly Studio device.
21
 Loading...