72-910-16 Rev. N
Page 32 of 43
Standard Solution Calibration – This calibration technique is typically used
when the probe is removed from the process flow or prior to probe installation. Use a
standard solution that is near the conductivity setpoint you plan on setting the controller
to.
Step 1 – Pour enough standard solution into a non-metallic container so the round
end of the toroidal probe is fully covered. Swirl the probe in the solution making sure
there are no bubbles trapped in the center hole of the probe.
Do not set the container and probe on a metallic surface or near an electric motor or other
source of strong electrical field.
Step 2 – Allow the probe to rest in the standard solution for about 15 minutes. This is
needed to allow the probe to assume the temperature of the standard solution.
Conductivity____________uS/cm Probe Temperature__________ C
Step 3 – Enter the standard solution conductivity value into the Probe Calibration
screen.
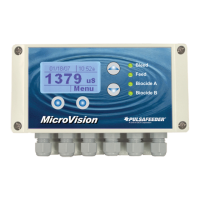
Step 4 – Return to the Home Screen and verify the proper conductivity reading is
displayed.
Calibrate
Reading
1234 uS/cm
Back | Select
 Loading...