3.2 Location
Select a mounting location convenient to grounded electrical and plumbing
connections. It is recommended that you mount the controller on a wall or other vertical
surface with adequate lighting at a comfortable level. A mounting-hole template is
supplied with your controller. Installation should comply with all national, state, and local
codes.
AVOID LOCATIONS WHERE THE CONTROLLER WOULD BE SUBJECTED TO EXTREME COLD
OR HEAT {LESS THAN 0°F (-17,8°C) OR GREATER THAN 122°F (50°C)}, DIRECT
SUNLIGHT, VIBRATION, VAPORS, LIQUID SPILLS, OR EMI (ELECTROMAGNET
INTERFERENCE; E.G., STRONG RADIO TRANSMISSION AND ELECTRIC MOTORS.)
SAFETY PROTECTION PROVIDED BY THE EQUIPMENT MAY BE IMPARED IF THE
EQUIPMENT IS USED IN A MANNER NOT SPECIFIED BY THE MANUFACTURER. THIS
CONTROLLER IS INTENDED FOR INDOOR USE ONLY.
Fig.
3
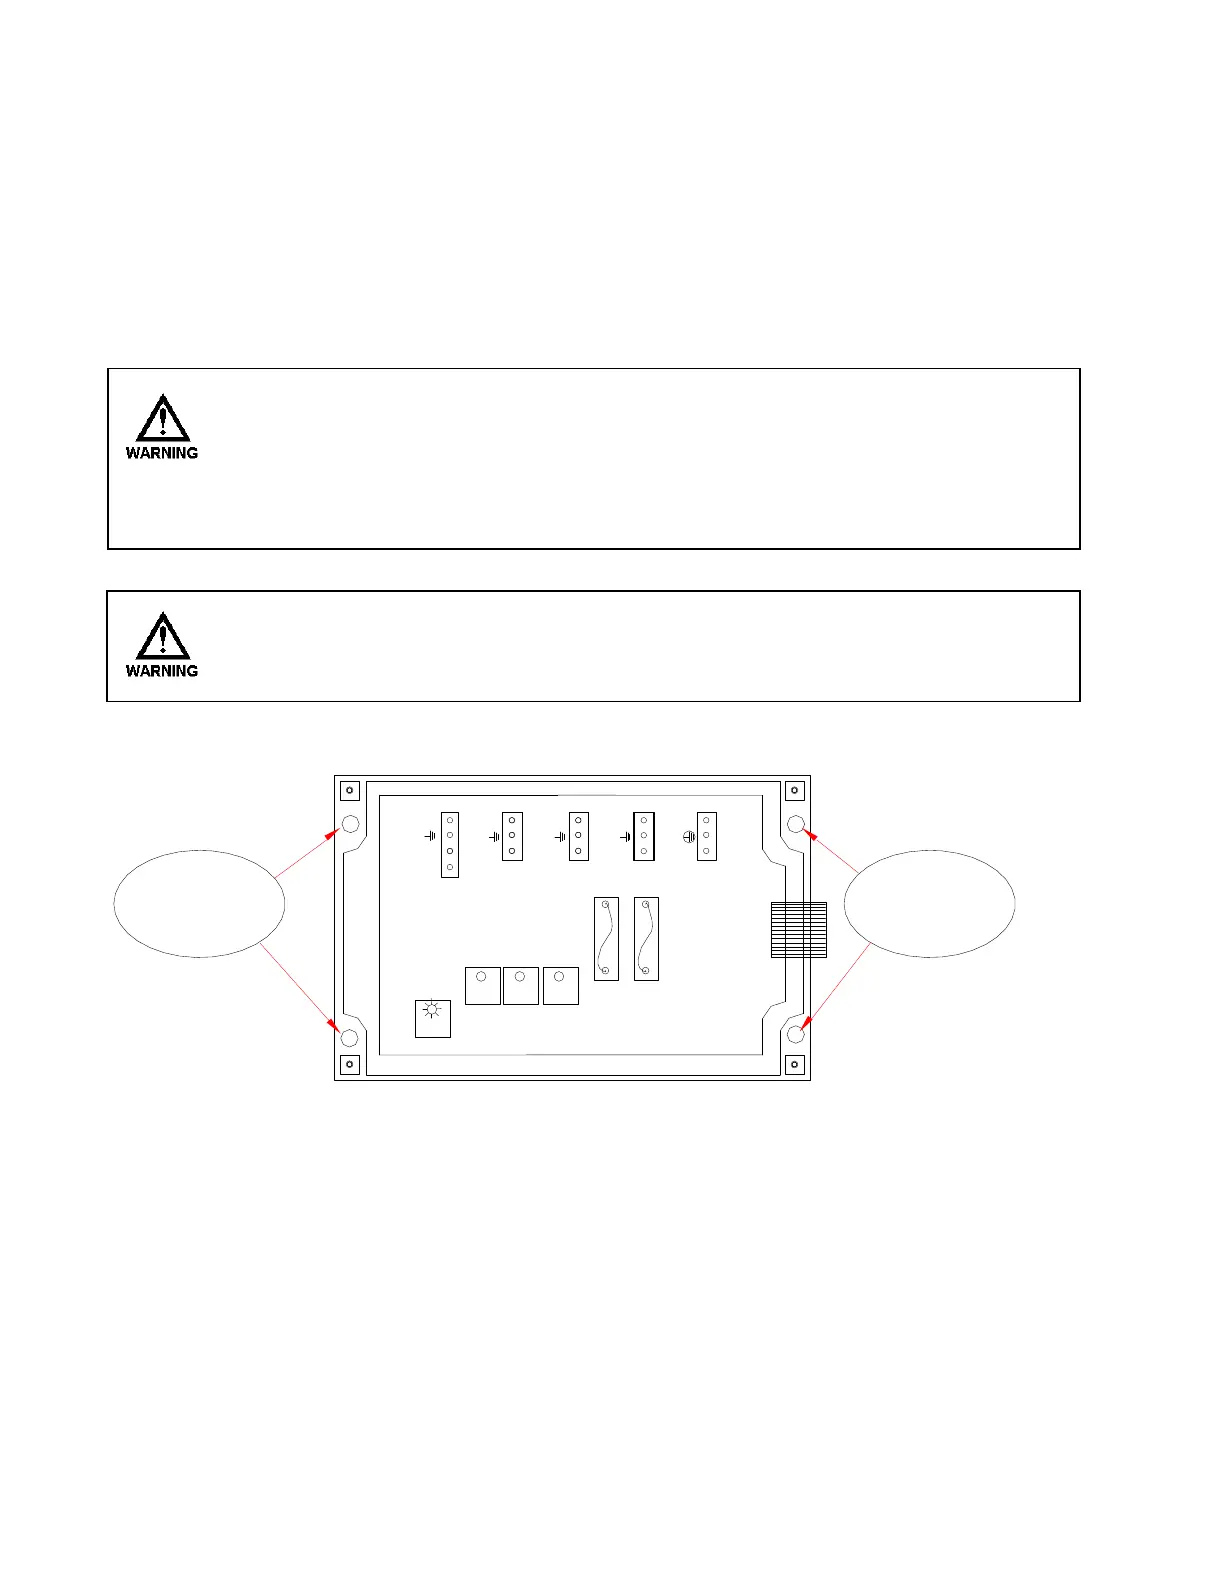
Mount the bottom half of the controller using the four (4) holes provided (Fig. 3).
3.3 Mounting Hardware
For panel mounts without threaded inserts, four number 8 self taping screws are the
minimum recommendation.
For panel mounts with threaded inserts, four 8-32 screws are the minimum
 Loading...