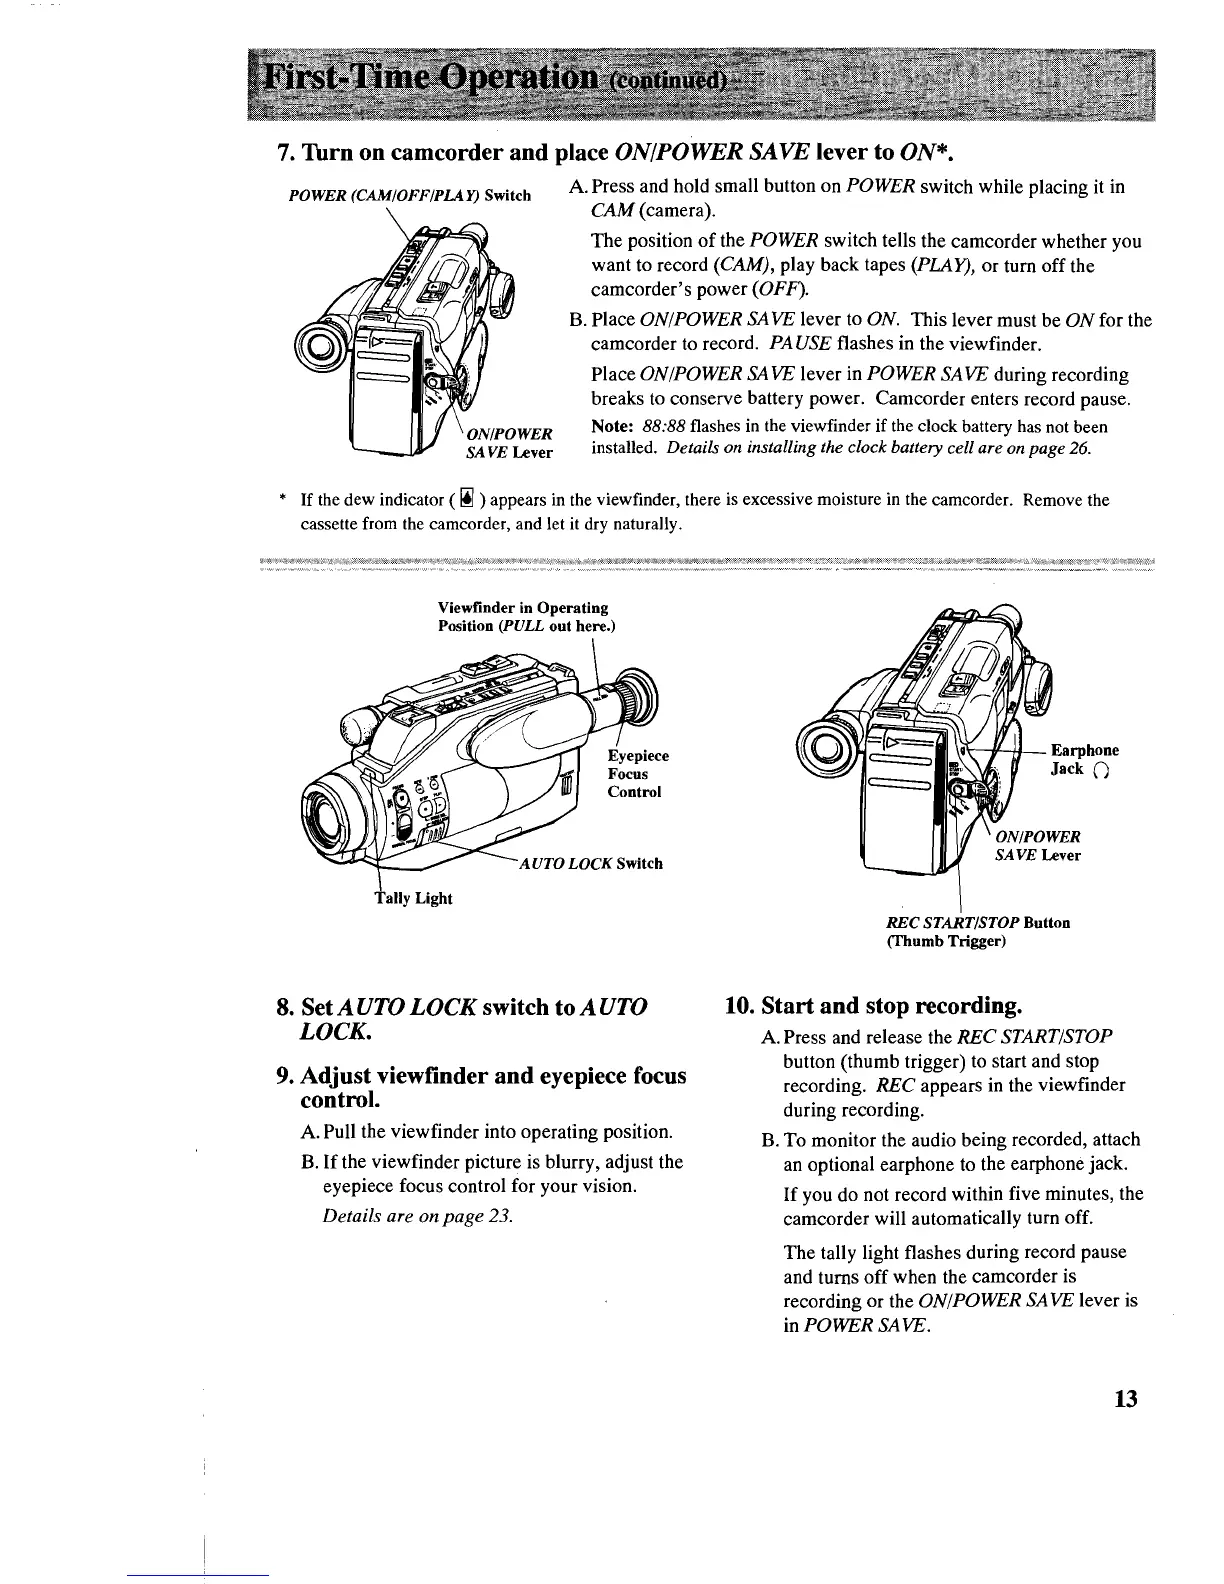
7.
Thrn on camcorder
and
place ON/POWER
SAVE
lever to ON*.
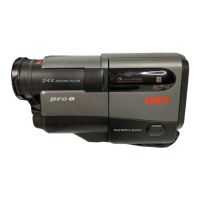
POWER (CAM/OFF/PLAY) Switch
A. Press and hold small button on
POWER
switch while placing it in
CAM
(camera).
The position
of
the
POWER
switch tells the camcorder whether you
want to record (CAM), play back tapes (PLAY), or tum
off
the
camcorder's power (OFF).
B. Place ON/POWER SA VE lever to ON. This lever must be
ON
for the
camcorder to record.
PAUSE
flashes in the viewfinder.
Place ON/POWER SA VE lever in
POWER
SA VE during recording
breaks to conserve battery power. Camcorder enters record pause.
Note: 88:88 flashes in the viewfinder
if
the clock battery has not been
installed. Details on installing the clock battery cell are on page 26.
*
If
the dew indicator (
iii
) appears
in
the viewfinder, there is excessive moisture
in
the camcorder. Remove the
cassette from the camcorder, and let
it
dry naturally.
Viewfinder in Operating
Position
(PULL
out
here.)
Tally Light
Eyepiece
Focus
Control
8.
Set A UTO
LOCK
switch to
AUTO
LOCK.
9.
Adjust viewfinder
and
eyepiece focus
control.
A. Pull the viewfinder into operating position.
B.
If
the viewfinder picture is blurry, adjust the
eyepiece focus control for your vision.
Details are on
page
23.
t-il-fl--
Earphone
Jack
0
REC
START/STOP Button
(Thumb Trigger)
10.
Start
and
stop recording.
A. Press and release the
REC
START/STOP
button (thumb trigger) to start and stop
recording.
REC
appears in the viewfinder
during recording.
B. To monitor the audio being recorded, attach
an optional earphone to the earphone jack.
If
you do not record within five minutes, the
camcorder will automatically tum off.
The tally light flashes during record pause
and turns off when the camcorder is
recording or the ON/POWER
SAVE
lever is
in
POWER
SA VE.
13
 Loading...