Windows 95/98/Me
7
1
B
BB
B
On the [File] menu, click [Print].
The [Print] dialog box appears.
C
CC
C
Select the machine you want to use in the [Name] list box, and then click
[Properties].
D
DD
D
In [Paper size] on the [Paper] tab, select “Custom Page 1” , “Custom Page 2”
or “Custom Page 3”, and then click [Custom].
Note
❒ “Custom Page 1”, “Custom Page 2” or “Custom Page 3” are displayed in
the [Paper size] box as “Custom p+”.
The [Custom] dialog box appears.
E
EE
E
In the [Paper name] box, enter the name for the custom paper size, and select
the unit to be used for setting the values in [Units].
For the [Paper name], you can enter a name of up to 63 alphanumeric charac-
ters.
F
FF
F
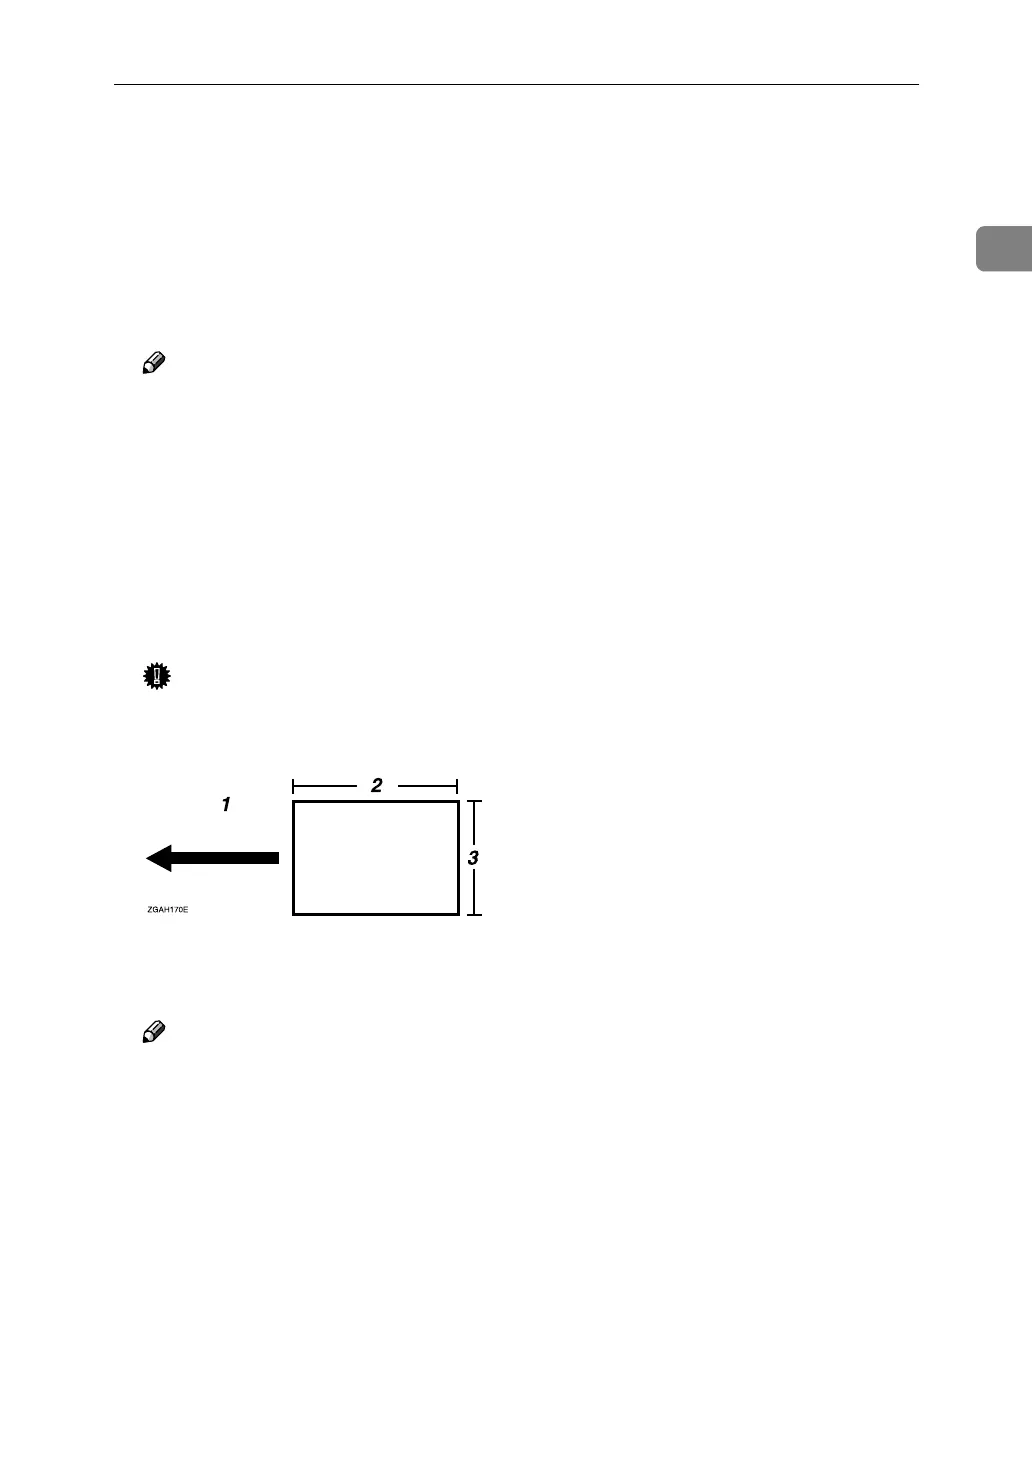
Enter the size of the paper in the “Width” and “Length” boxes.
Important
❒ In “Width”, enter the vertical length (short edge).
❒ In “Length”, enter the horizontal length (long edge).
1. Paper Orientation
2. Length
3. Width
Note
❒ When [Units] has been set as “Millimeters”, the entered values may not
have been set as you entered.
❒ The “Transverse” function cannot be used in this machine.
G
GG
G
Click [OK].
H
HH
H
Check to see if the set name is displayed in the [Paper size] box, and then
click [OK].
I
II
I
Click [OK] to start printing.
 Loading...