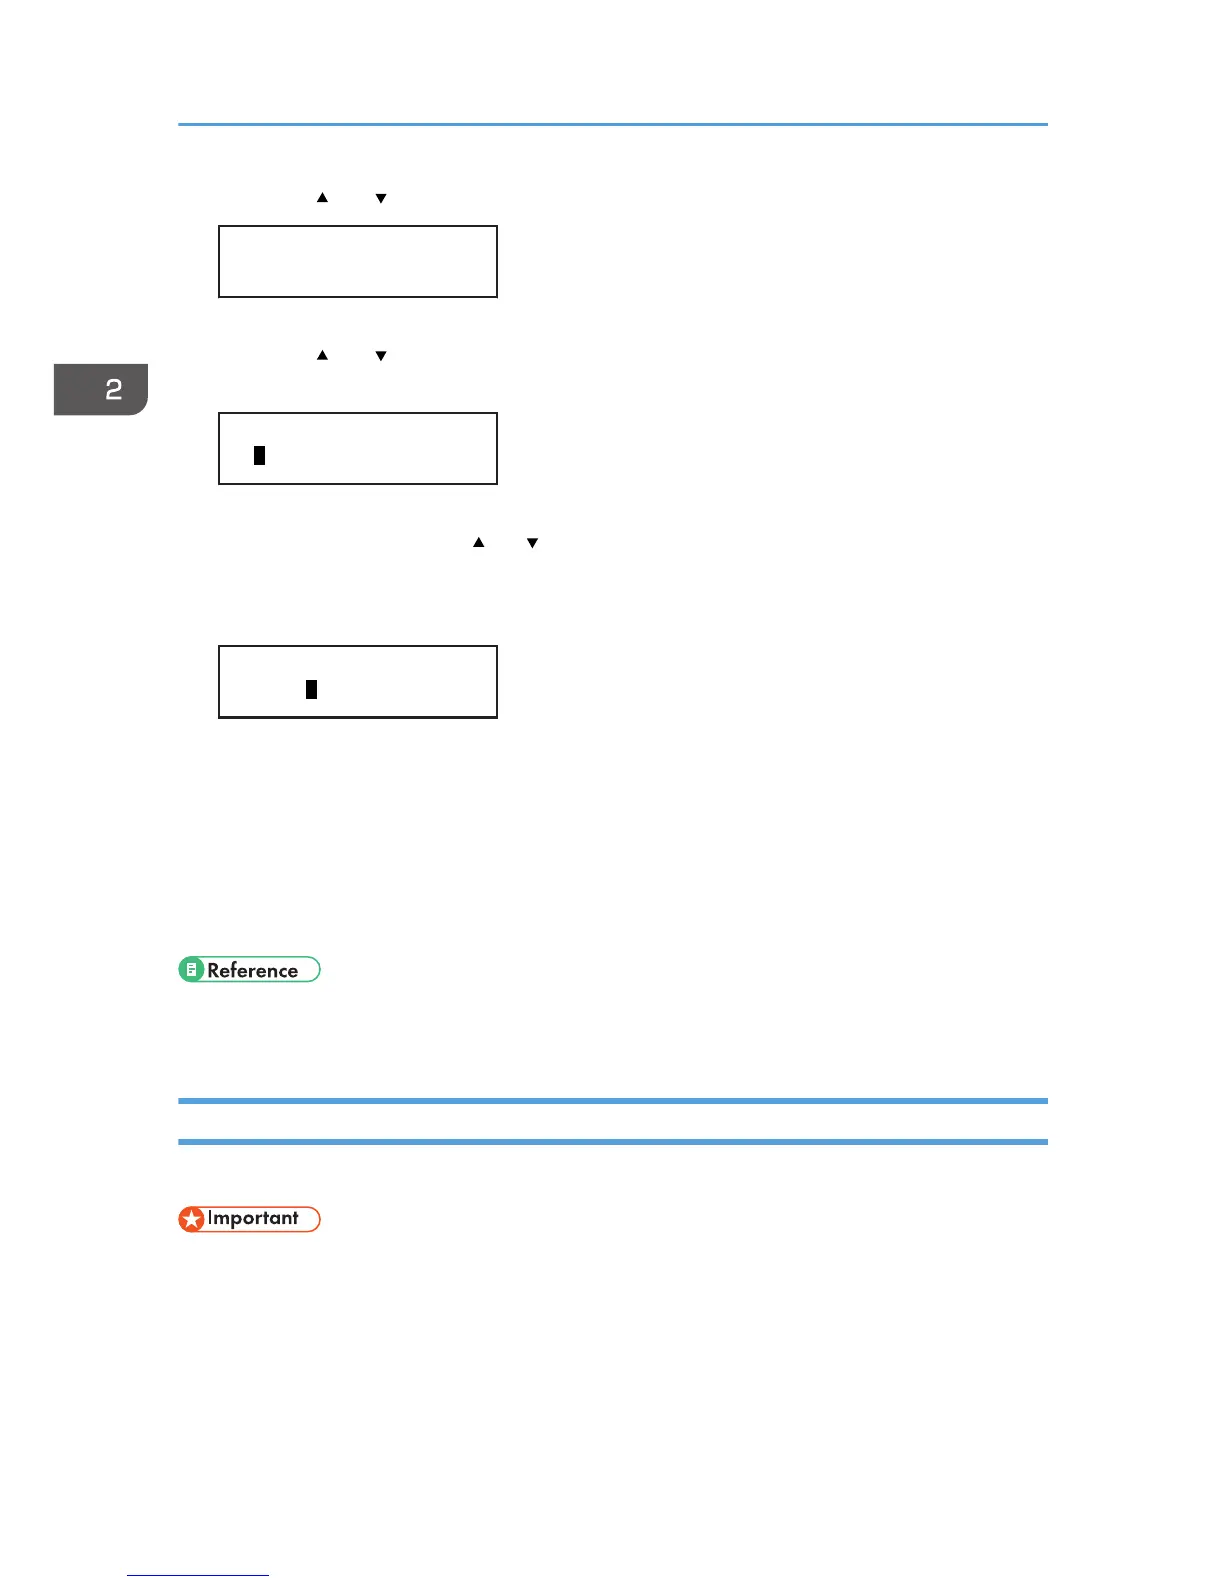
5. Press the [ ] or [ /Menu] key to select [IPv4 Address], and then press [#Enter] key.
Network Setup
IPv4 Address
The current IP address appears on the display.
6. Press the [ ] or [ /Menu] key to enter the left most entry field of the IP address, and then
press the [#Enter] key.
IP Address:
01 .022.033.044
To get an IP address for the machine, contact your network administrator.
The value moves by 10 if the [ ] or [ /Menu] key is kept pressed.
7. Press the [#Enter] key.
The entered value is confirmed, and the cursor moves to the next field.
IP Address:
192.02 .033.044
To return to the previous field, press the [Escape] key.
8. Specify values in all fields, and then press the [#Enter] key.
9. Specify "Subnet Mask" and "Gateway Address" in the same way.
10. After you have made all the settings, press the [Escape] key.
The specified settings are set and the initial screen reappears.
You can print the configuration page to confirm the specified settings.
• For details about how to print a configuration page, see page 128 "Printing a Configuration
Page".
Connecting the Machine via a Wireless LAN Interface
This section explains how to connect the machine to the network via a wireless LAN.
• Ad hoc mode is not supported.
• Ethernet and wireless LAN cannot be used at the same time.
• To use wireless LAN instead of Ethernet-based LAN, you must first plug the cable for the wireless
LAN into the Ethernet board.
• The following table shows the settings and their defaults. These items appear in [Wireless LAN]
under the [Host Interface] menu. See page 149 "Using the [Host Interface] Menu".
2. Preparing for Printing
60
 Loading...