61
FLUORESCENT LIGHT REPLACEMENT
14
FLUORESCENT LIGHT REPLACEMENT
14
● When working with the product, be sure to turn the power off. Working with the power on may cause an electric
shock or short circuit.
● There is danger that hot lamps can cause burns. Exercise due caution when replacing lamps.
● Use lamps of the specifi ed ratings. Using lamps with different ratings may cause fi res or damage.
● Due to wear over time and other causes, insulation degradation and other problems in the lighting units may oc-
cur. These can cause the light units to emit smoke or short circuit. Check for anomalies such as burning odors,
color changes around the sockets, necessity for frequent bulb changes, and slow response or fl ickering in the
fl uorescent lights.
● To safely and reliably perform this work, be sure to use a stable stepladder. Use of an unstable stepladder can
result in a worker falling over or falling down.
● Be careful when handling parts made of plastic. If such parts are damaged, injuries could be caused by frag-
ments, cracks, etc.
1
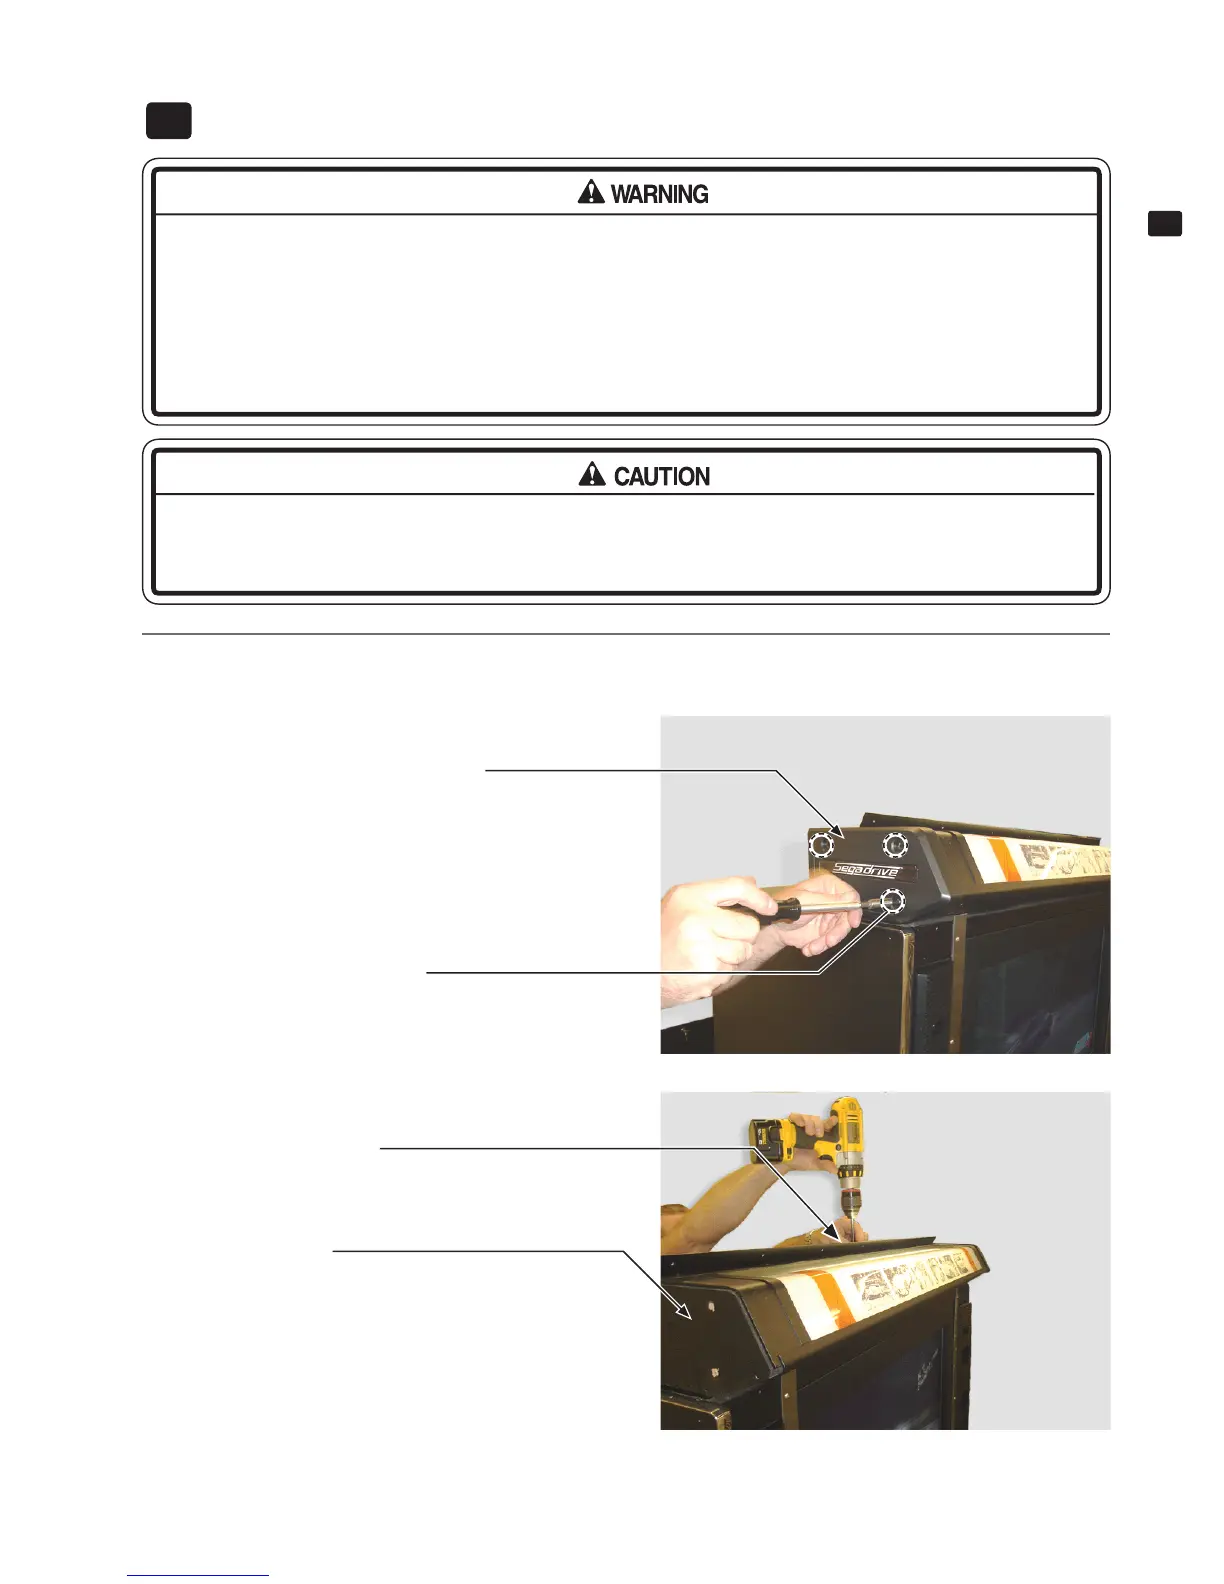
Switch off the unit. Remove the Marquee POP then remoce four truss screws to detach the panel side cap L.
Remove 7 screws to remove the Marquee Cabinet Mounting Bracket.
14 FIG. 01
TAMPER PROOF SCREW (4), black
10 x 1" TT-25
> Both Left and Right side.
14 FIG. 02
PANEL SIDE CAP L was removed.
8-32 X 1/2" Tamper Proof, Torx (7)
PANEL SIDE CAP L

 Loading...