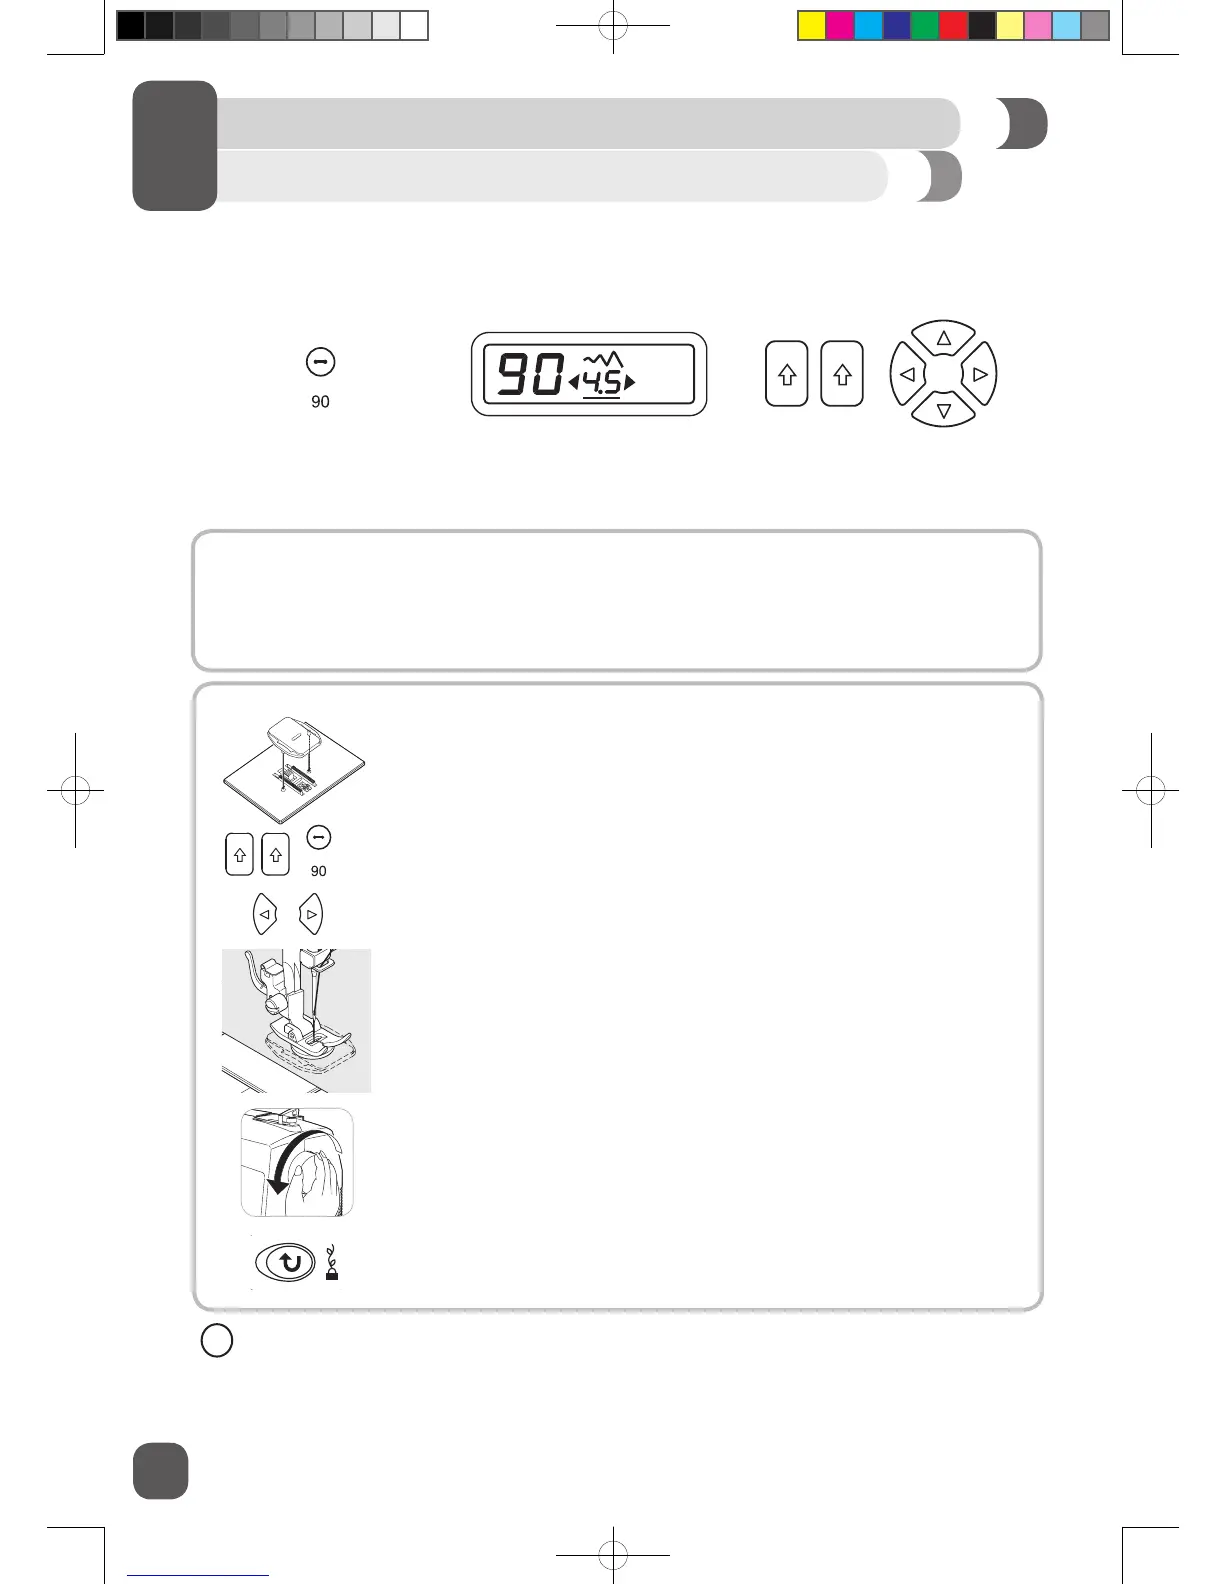
24
SEW ALONG: Attaching a Button
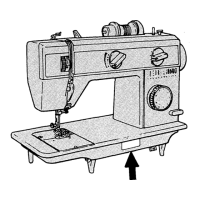
1. Attach the Darning Plate to the needle plate directly below the presser
foot. To do this line up the prongs on the underside of the Darning Plate
with the holes in the needle plate. Push down to snap it in place.
2. Set the Stitch Selection buttons to 90.
3. Set the Stitch Width to 4.5.
4. Place the button on the fabric, then line up the button directly under the
All-Purpose Foot so the 2 holes of the button appear in the opening in
the foot.
5. Turn the hand wheel toward you to make sure the needle moves from
the left hole into the right hole of the button without interference. Adjust
stitch width if necessary. To test the movement of the needle turn the
handwheel manually toward you several times to make sure the needle
does not hit the button. Step on the foot control and sew 10 to 12
stitches.
6. Press the Auto-Lock button to secure the stitching.
START SEWING
Sewing a Button
Remove the Darning Plate when nished.
HOW TO:
1. Set the machine to Button Sewing Stitch by setting the numerical selection buttons to 90.
(See Page 19)
2. Set the Stitch Width between 2.0 and 4.5 (See Page 19)
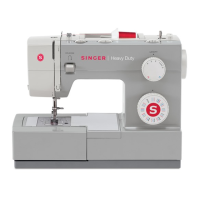
Function ButtonsLCD Display
✓
 Loading...