26
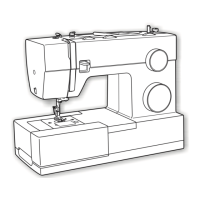
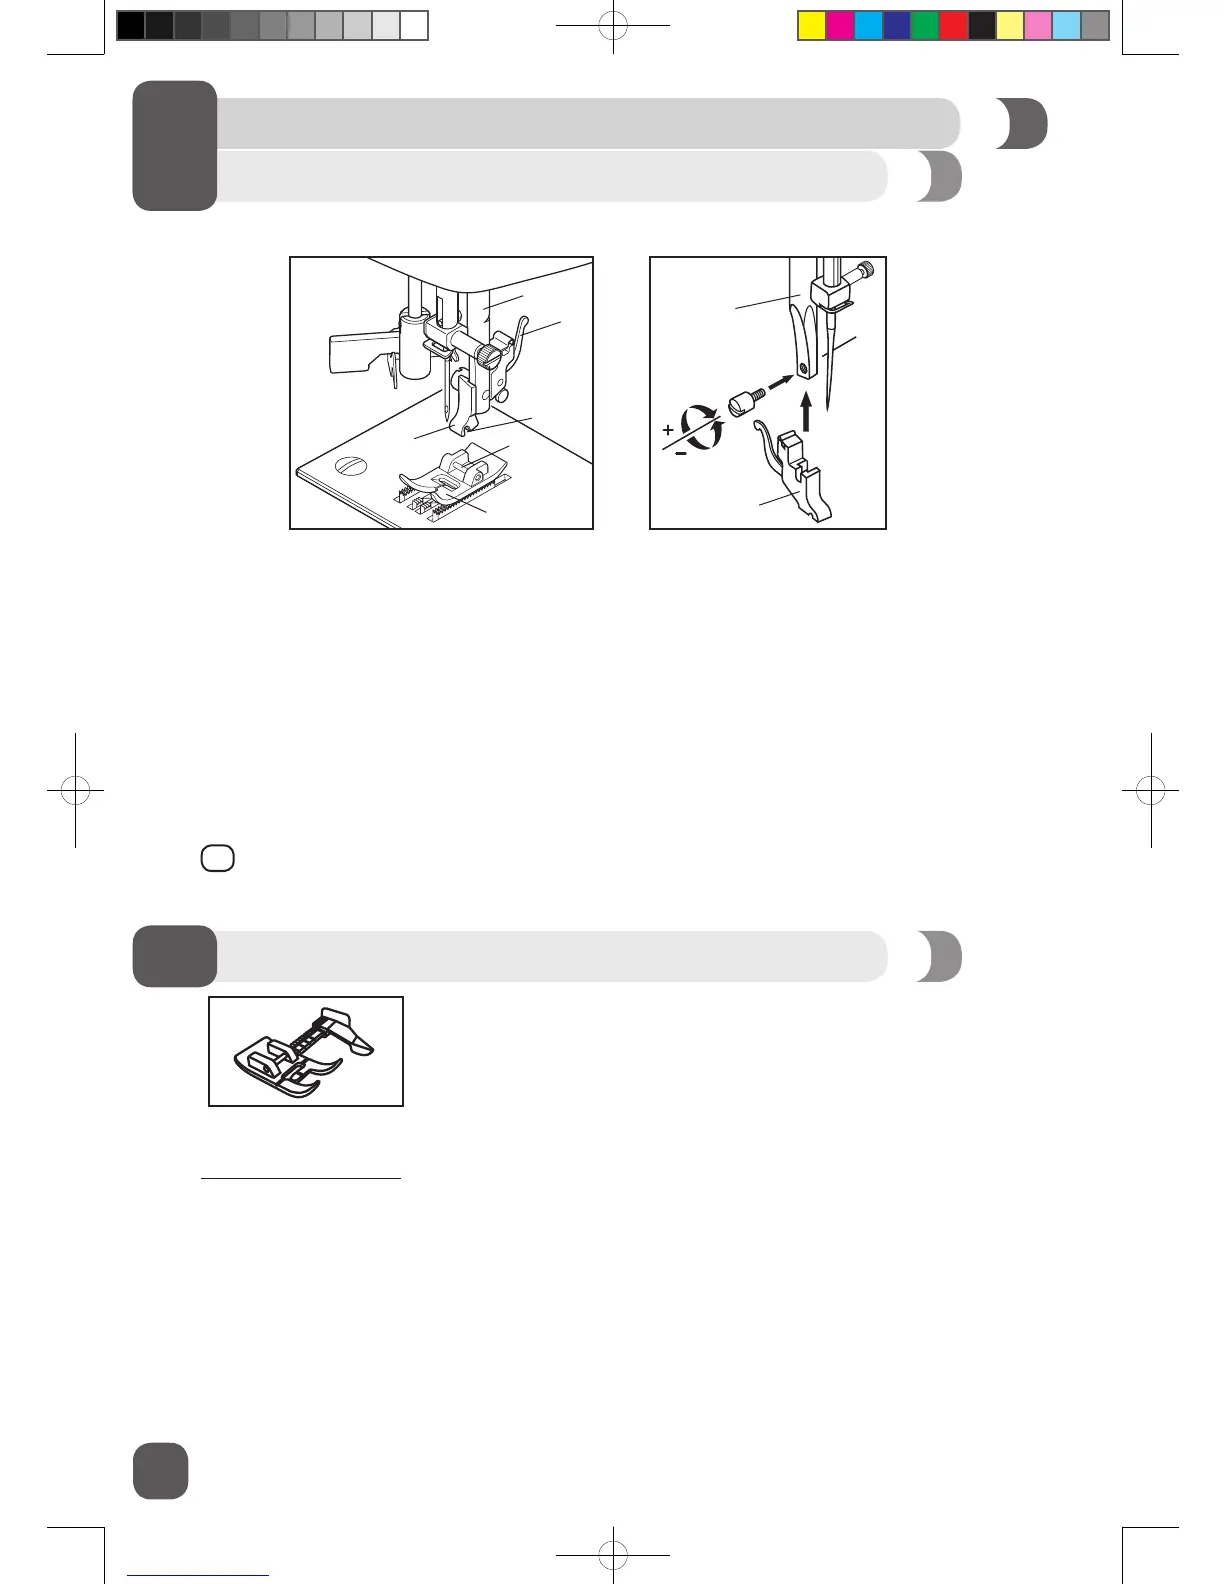
Changing the Presser Foot
START SEWING
Before changing the presser foot, raise the presser foot lifter.
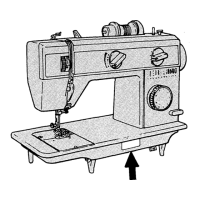
The presser foot holder (b) is attached to the presser bar (a). The presser foot (e) has a presser foot
pin (d) that connects to the presser foot holder, sometimes called a shank (b). The shank has a groove
(c) on its underside, which connects it to the presser foot.
To remove a presser foot from the shank, press the lever (f) at the back of the shank. The foot will
release. To attach a presser foot, line up the presser foot pin (d) underneath the groove (c) on the
shank (b). Lower the presser foot lifter, bringing the shank’s groove down over the pin. The foot will
snap on.
Some optional presser feet require you to remove the shank from the machine. To remove the shank
from the machine (see above) loosen and remove the screw that holds the presser foot onto the
presser bar (g), then remove the shank (h). To replace the shank, set the shank onto the presser bar,
then replace the screw.
→
This machine has a low shank with snap-on presser feet. When shopping for optional presser
feet and attachments for your machine, look for low-shank, snap-on style.
THIS BONUS ITEM IS NOT INCLUDED WITH MACHINES SOLD IN SOME AREAS AND MAY BE AN
OPTIONAL ACCESSORY. FOR INFORMATION ON PURCHASING THIS ITEM, GO TO
WWW.SINGERCO.COM.
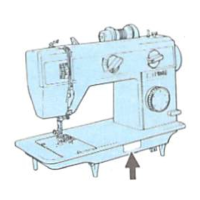
The Sew Easy Foot has a guide to help you sew the most accurate seams every time. The foot has an
extension marked with the most popular seam allowances and a movable fabric guide that can be set
wherever you want for the project you are making.
1. Attach the Sew Easy Foot.
2. Select Straight Stitch.
3. With your needle set in the center position, use the guide to select 3/8”, 1/2”, 5/8”, 3/4”, and even 1”
seam allowances.
4. Place your fabric under the foot, lining up the raw edges with the guide on the foot. Lower the
presser foot lifter, then sew.
Sew Easy Foot
⚠ For safety, turn off the power before changing the presser foot.
a
f
b
h
g
e
d
c
 Loading...