- 19 -
No.JXC※-OMX0011-A
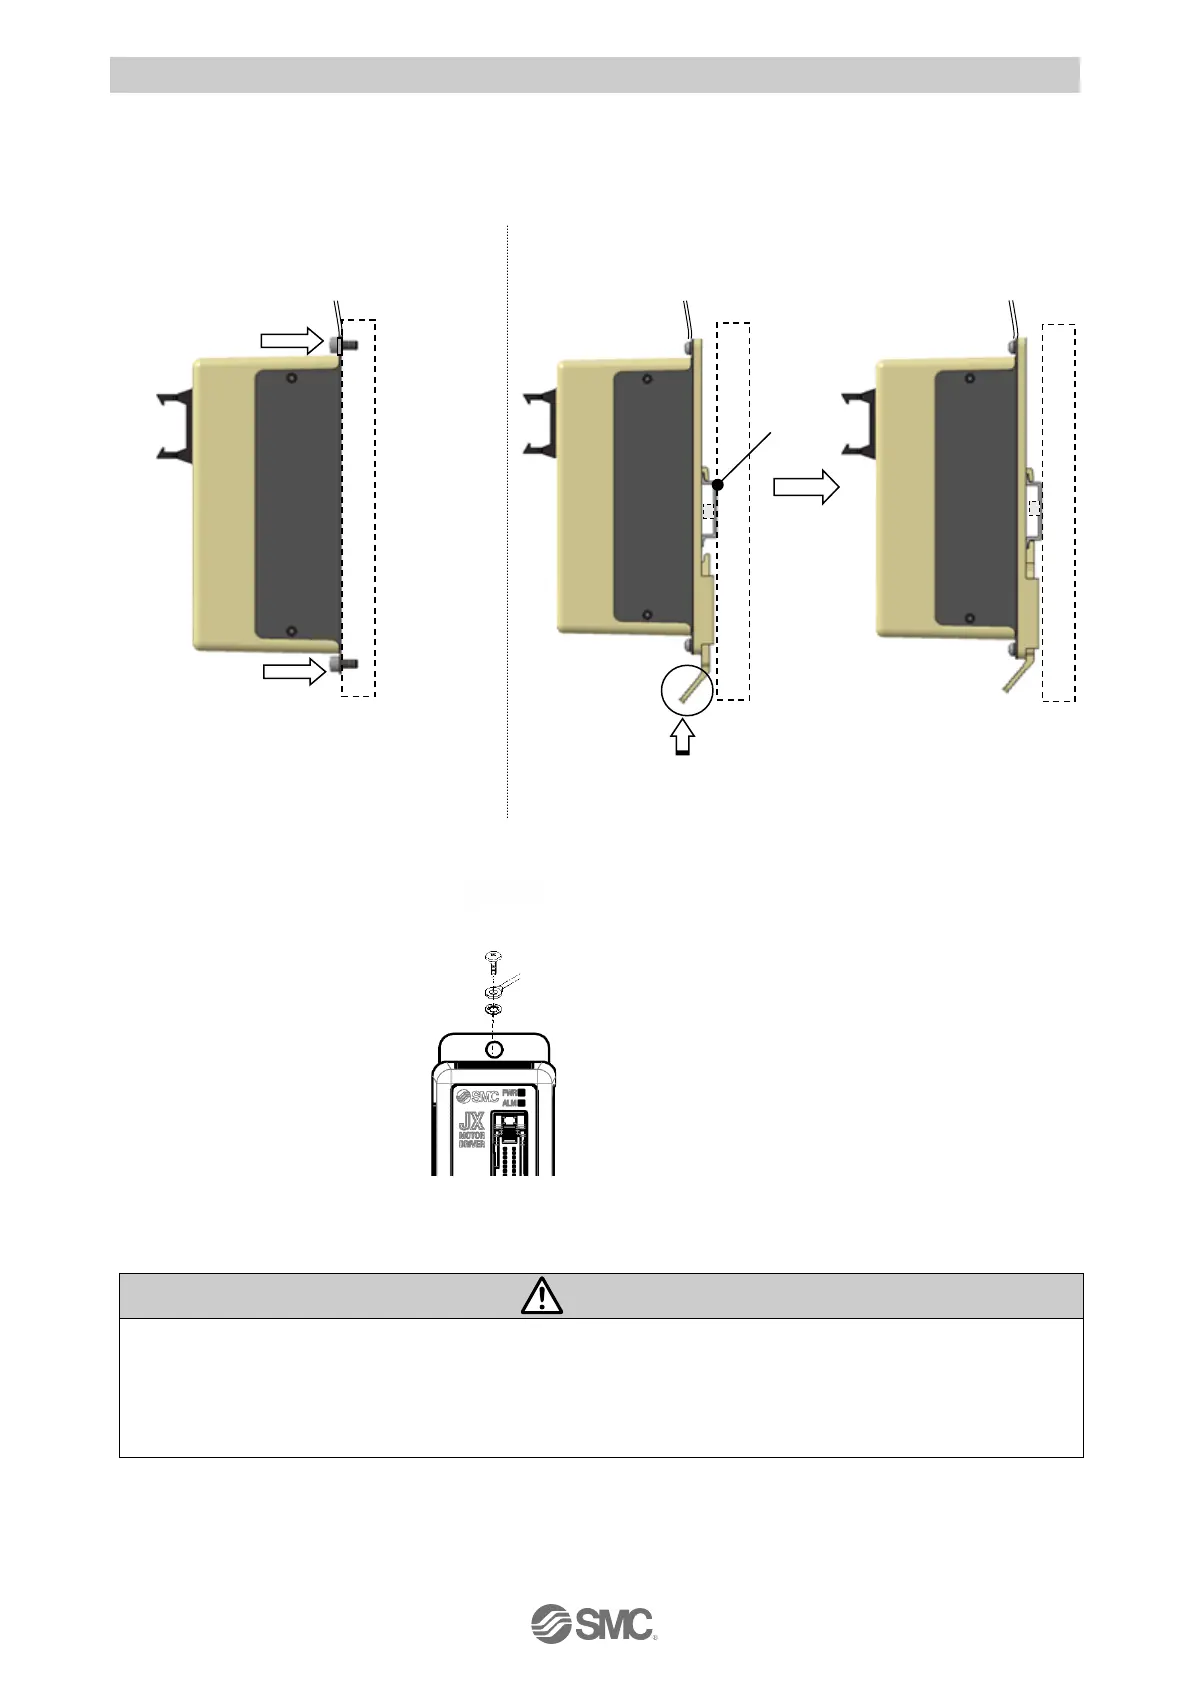
3.4 How to install
(1) How to install
The controller can be direct mounted using screws or mounted on a DIN rail.
The followings are the descriptions on how to install each type:
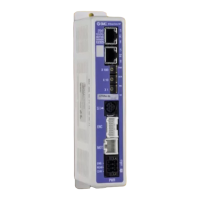
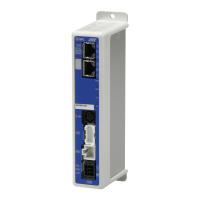
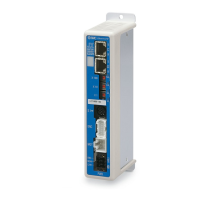
1) Screw mount type (JXC517#-#、JXC617#-#) 2) DIN rail mount type (JXC518#-#、JXC618#-#)
(Installation with two M4 screws) (Installation with the DIN rail)
A 部
Hook the controller on the DIN rail and
press the lever of section A in the arrow
direction to lock it.
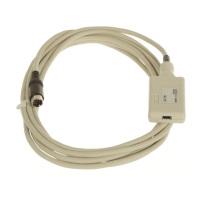
(2) Ground wire connection
Place the grounding cable with crimping terminal and toothed washer as shown below and tighten the
screw.
The M4 screw, cable with crimping terminal, and toothed washer should be obtained separately.
Ground the controller to shield it from electric noise.
If higher noise resistance is required, ground the 0V (signal ground).
When grounding the 0V, avoid flowing noise from the ground to the 0V.
 Loading...