Installation Information
600 Series
(Prior to #1810000)
2-2
#3756270 - Revision B - January, 2006
INSTALLATION CONSIDERATIONS
This section covers common installation issues seen by Service Technicians. Improper installation, though not a
valid service issue, has the potential to lead to a call for service. Installation related complaints could include, but
are not limited to: Unit leveling, unit movement, door misalignment, improper door and drawer sealing, internal frost
or condensation, exterior condensation, warm compartment temperatures, etc.
NOTE: If additional installation information is needed, refer to the complete Installation Manual, or contact Sub-Zero
Service Department.
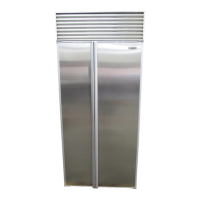
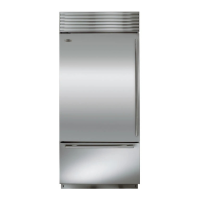
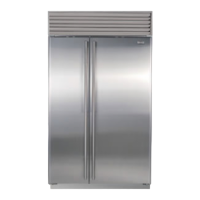
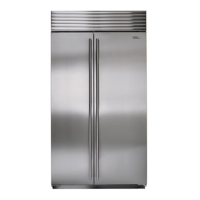
Unit Leveling (All Models)
NOTE: Unit must be installed before leveling (See
WARNING above). If unit is anchored to cabinets,
remove anchor screws before leveling, reinstalled after.
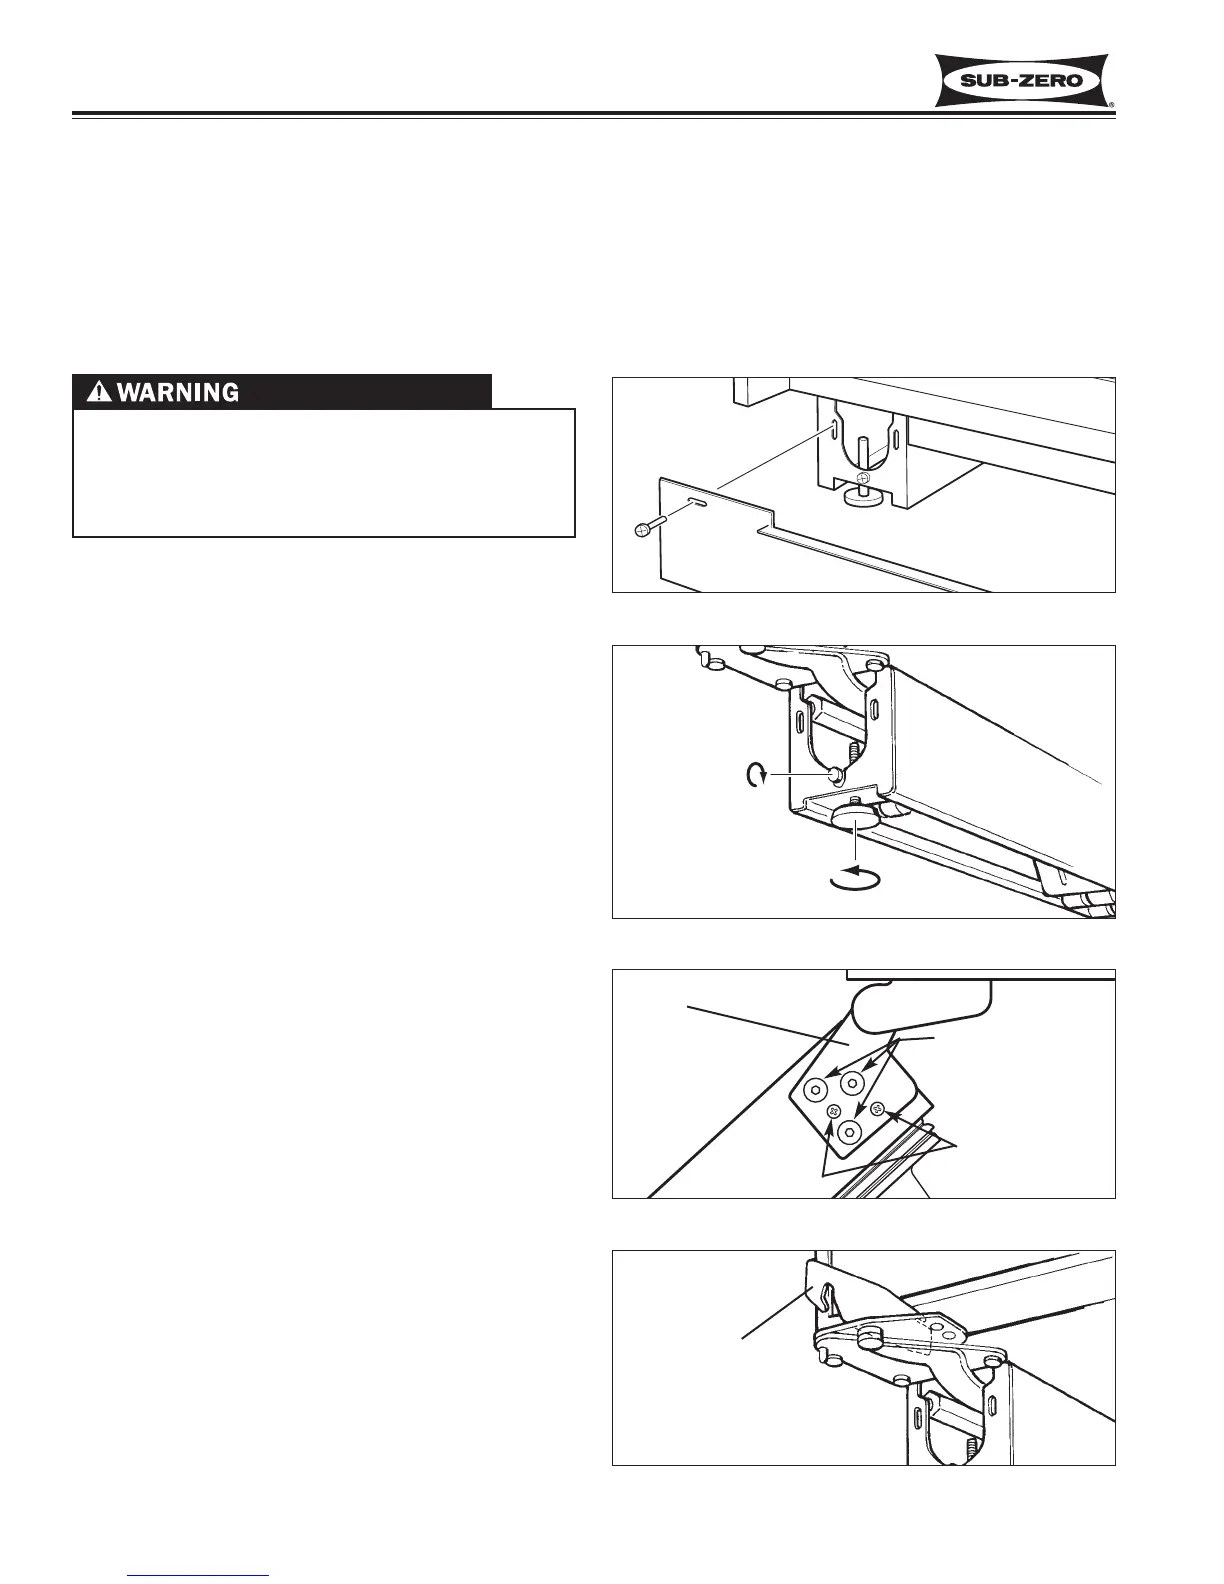
To level a unit, first remove kickplate (See Figure 2-1).
Then, to raise unit front, turn front leveler legs counter-
clockwise, clockwise to lower (See Figure 2-2).
At front of unit base is an adjusting screw that reaches
to rear leveler/roller assembly. To raise unit rear, use
5/16” socket wrench to turn adjusting screw clockwise
to raise, counterclockwise to lower (See Figure 2-2).
NOTE: Level is best checked at top & side mainframe.
Door Adjustment (All Models)
NOTE: Unit must be level before adjusting doors.
If unit is properly installed, blocked and leveled, it may
still be necessary to adjust door(s) left to right and/or in
and out. Adjustments are performed at top and/or bot-
tom door hinge(s). Two small Phillips head shipping
screws in each door hinge must be removed and dis-
carded before attempting adjustments. Then, working
on only one hinge at a time, loosen and re-snug door
hinge mounting screws, allowing door adjustment (See
Figure 2-3). After adjusting door, tighten door hinge
mounting screws and check for proper door seal.
NOTE: If one door on a side-by-side unit sits higher
than the other, bottom hinge spacer (part #0183100) is
available. To install spacer, remove shipping screws
from bottom door hinge, then loosen hinge mounting
screws. Insert spacer(s) between bottom door hinge
and bottom door trim. Adjust door accordingly and
retighten door hinge screws. (See Figure 2-4.)
Figure 2-2. Unit Leveling
to raise front.
 Loading...