Component Access / Removal
600 Series
(Prior to #1810000)
7-9
#3756270 - Revision B - January, 2006
Kickplate Removal
To remove the kickplate, extract the retaining screws
near each upper corner, then pull the kickplate forward.
(See Figure 7-19)
Drain Pan Access and Removal
(Models 611, 632, 642, 650, 690)
To access the drain pan, the kickplate must first be
removed. Now push the front of the drain pan back and
down. (This flexes the drain pan slightly, releasing the
top flange from the tab in the kickplate support.) Then,
pull the drain pan forward. (See Figure 7-20)
When reinstalling, the tapered end of drain pan must be
inserted on top of the drain pan holder at rear. Then
push the front of the drain pan up until the top front
flange engages the tab in the kickplate support. Also,
make sure the drain hoses are over the drain pan, and
the foam air seals which direct air over drain pan are in
position and in good shape. (See Figure 7-20)
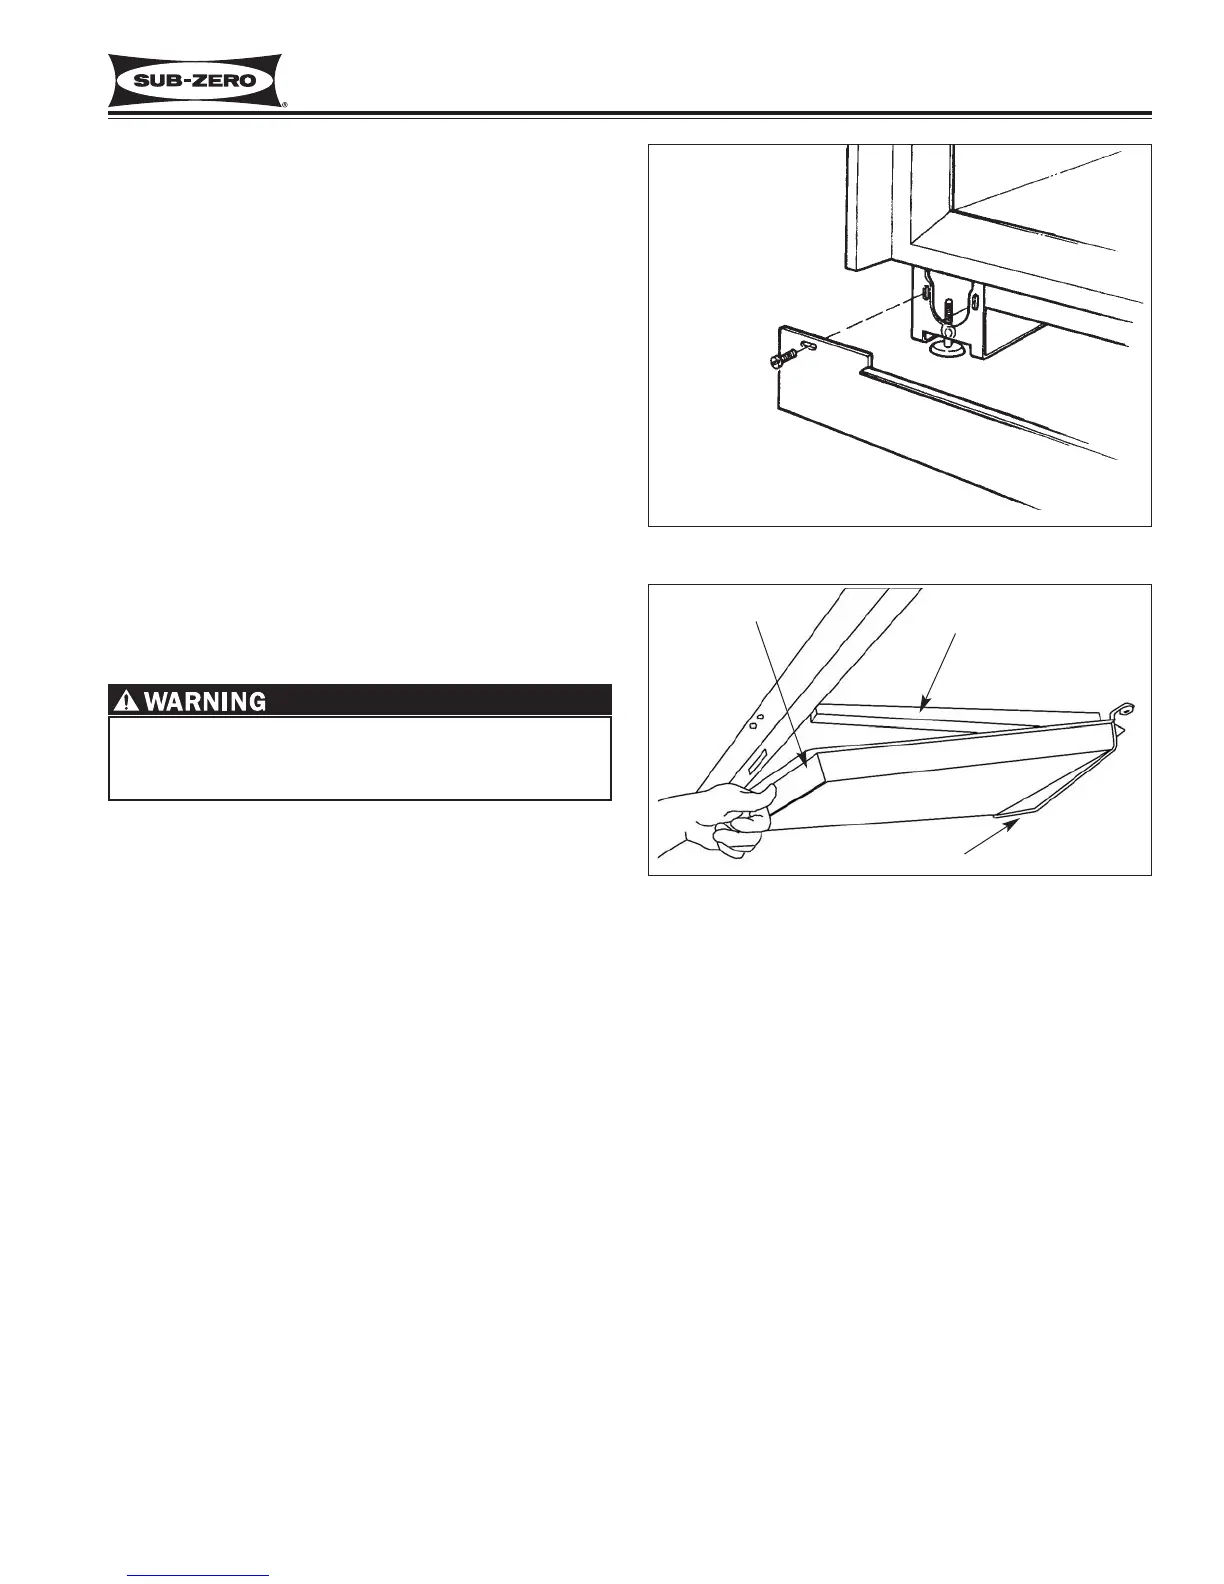
Figure 7-20. Model 611, 632, 642, 650, 690 Drain
Pan Removal
Drain Pan
Foam Air Seal
Drain Pan Support
Figure 7-19. Kickplate Removal
When reinstalling drain pan be sure drain pan is
secure and level. Failure to reinstall drain pan
properly could result in drain pan overflowing.
 Loading...