EasyManua.ls Logo

Tascam Sonicview 16 User Manual

Tascam Sonicview 16
226 pages
To Next Page IconTo Next Page
To Previous Page IconTo Previous Page
Page #128 background imageLoading...
Page #128 background image
6 – Modules
Setting digital trim values in batches
1. Tap the D.TRIM knob indicator to open a BATCH SETUP
window where digital trim values can be set in batches.
2. Swipe the options up and down to select the modules to
include in batch setting of digital trim values.
Selections can also be changed by turning the LCD Knobs
4–6 with the same colors.
3. Use the LCD knob 3, which is lit red, to adjust the trim level.
4. Tap the APPLY button to open a setting confirmation
window.
5. Tap the OK button to set multiple digital trim values at the
same time.
The BATCH SETUP window will close.
MODULE (FX) Screen
Make effect settings on the MODULE (FX) Screen of the FX RTN
1–4 modules.
Tap the FX area on the Home Screen when the selection frame is
shown to open this screen.
FX RTN 1–4 module with PLATE REVERB
FX RTN 1–4 module with DELAY LCR
1 FX TYPE button
Tap this button to open the effect type selection window for
the selected module.
Tap a button to select an effect type.
Selecting will close the selection window.
128 TASCAM Sonicview 16/Sonicview 24 V1.1.0

Table of Contents

Question and Answer IconNeed help?

Do you have a question about the Tascam Sonicview 16 and is the answer not in the manual?

Tascam Sonicview 16 Specifications

General IconGeneral
BrandTascam
ModelSonicview 16
CategoryMusic Mixer
LanguageEnglish

Summary

Names and Functions of Parts

Top Panel Controls

Explains the controls on the top panel, including touchscreen, LCD knobs, and various keys.

Rear Panel Connectors

Details all the input and output connectors found on the rear panel of the unit.

Preparation and Initial Setup

Powering On/Off and System Setup

Details the procedure for safely turning the unit on and off, and setting the internal clock.

Mixer Configuration and Settings

Sync Clock and Preferences Configuration

Explains how to set sync clock, sampling frequency, master clock, and user preferences.

User Defined Controls and Layer Setup

Explains assigning functions to USER KEYS, FOOTSWITCH, GPIO, and configuring Layer Keys.

Dante and SB-16D Network Configuration

Details Dante setup, controller settings, I/O device management, and SB-16D control.

Routing Mixer Inputs and Outputs

Input Routing Configuration

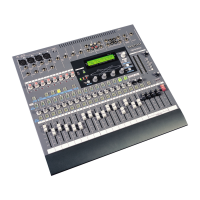
Explains how to select and configure input sources for channels and modules.

Direct Out and Insert Routing

Details setting up direct out signals and insert send/return routing.

Output Routing Configuration

Covers selecting output ports for modules and assigning signals to output destinations.

Module Parameter Settings

Module Screen Navigation and Overview

Explains how to navigate and use the general MODULE screen and its selection buttons.

Module Input Settings

Covers configuring input sources, gain, PAD, and +48V settings for modules.

Module FX and Dynamics Settings

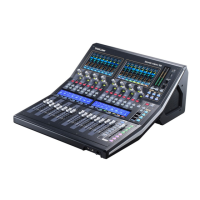
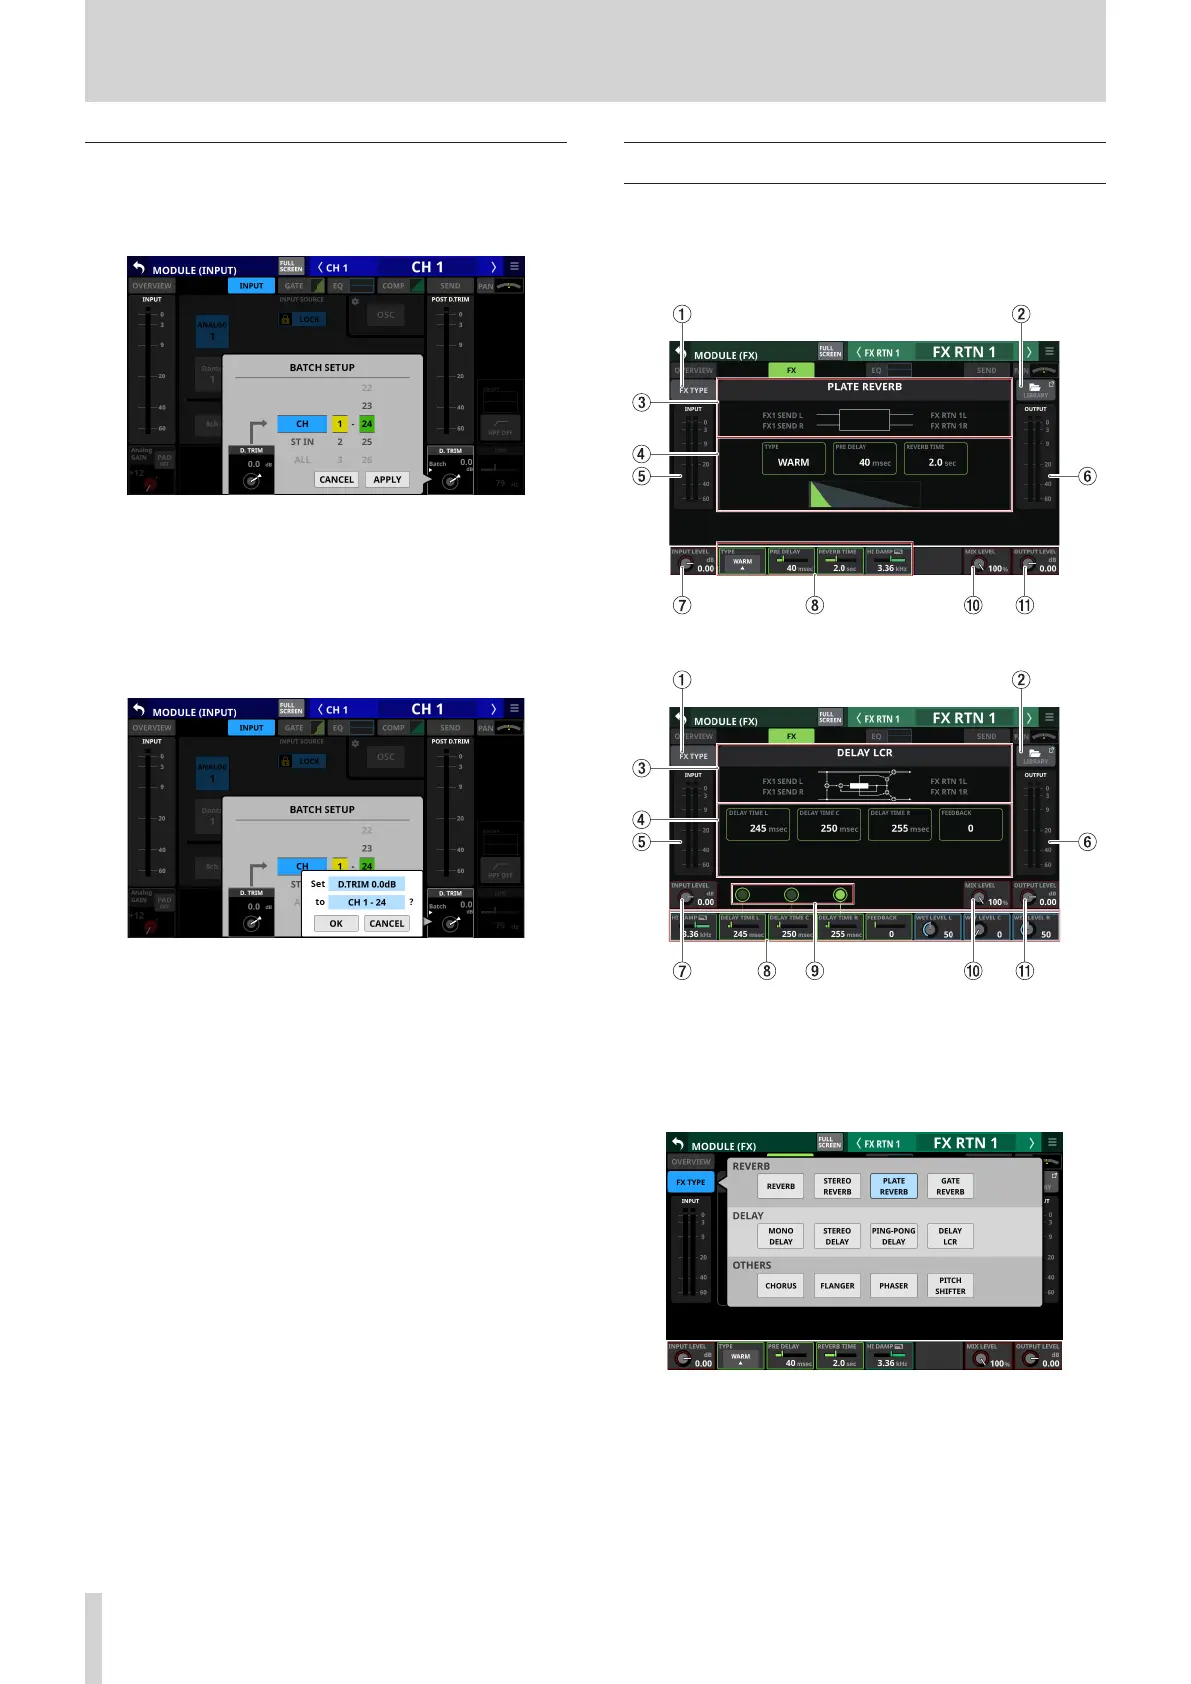
Explains how to set up FX types, parameters, and dynamics processors like Gate, Comp, and EQ.

Other Module Parameter Adjustments

Sends On Fader Functionality

Details the SENDS ON FADER function for controlling send levels with faders.

Mute Group and DCA Management

Covers setting up and assigning modules to Mute Groups and DCAs.

Saving and Recalling Setting Data

Snapshot Functions Overview

Introduces snapshot functions for saving and recalling mixer settings.

Recording and Playback Functions

USB Audio Interface Functions

List of Shortcut Operations

Troubleshooting Common Issues

Parameter Tables and Presets

Related product manuals