4 – Mixer configuration and settings
USER DEFINED CONTROLS screen
The following settings can be made on this screen.
o User Key page
Functions can be assigned to USER KEY A–F and USER KEY 1–12.
Tap Menu Screen > Front Panel Setup > User Key Setup to open this page.
o Foot Switch page
Functions can be assigned to the footswitch.
Tap Menu Screen > Rear Panel Setup > FOOT SW Setup to open this page.
o GPIO-IN page
Functions can be assigned to the GPIO input connector of this unit or of an SB-16D connected through the built-in Dante.
Tap Menu Screen > Rear Panel Setup > GPIO Input Setup to open this page.
o GPIO-OUT page
Functions can be assigned to the GPIO output pins of an SB-16D connected to this unit or through the built-in Dante.
Tap Menu Screen > Rear Panel Setup > GPIO Output Setup to open this page.
The settings for keys and connectors are made in operation setting tables on each page.
Tap one of the four page selection buttons to open that page. (See “USER DEFINED CONTROLS screen structure” on page 46.)
The functions that can be assigned on these pages are as follows.
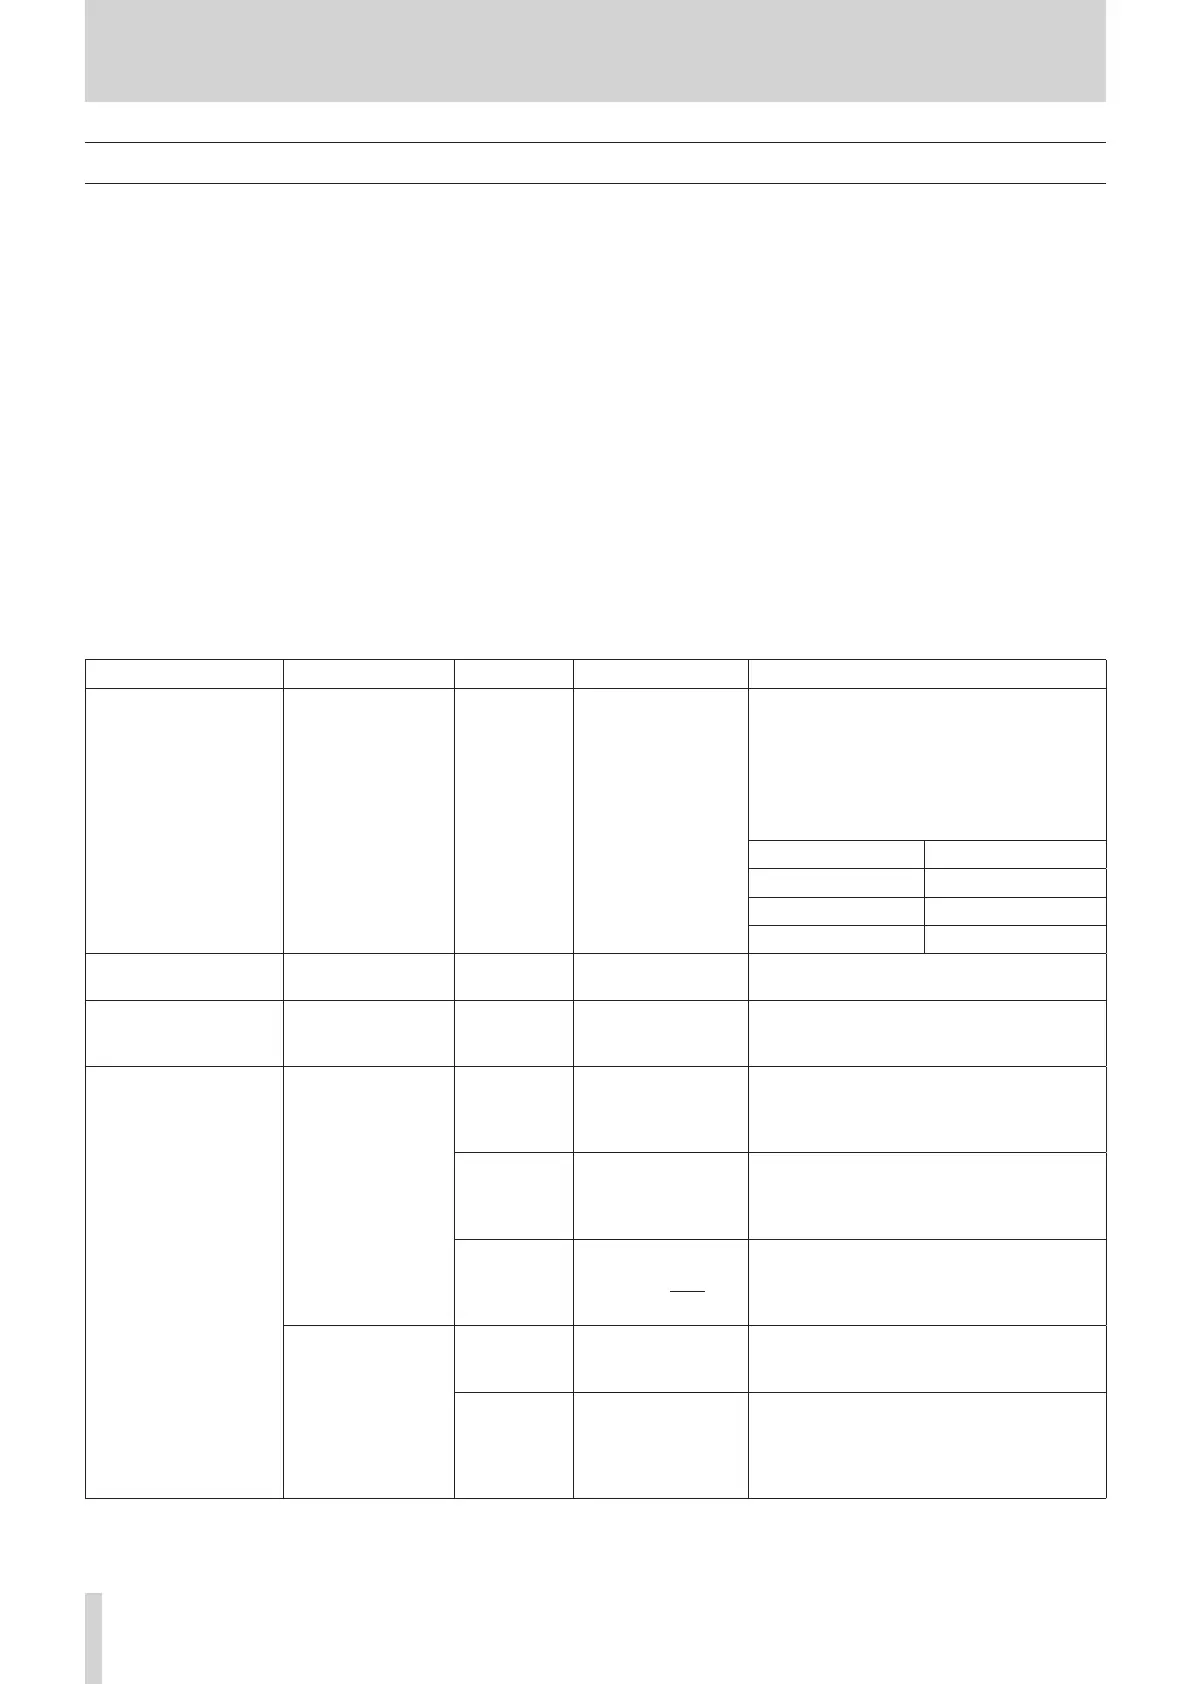
User Key, Foot Switch and GPIO-IN pages
Function Parameter1 Parameter2 Parameter3 Function explanation
Tap Tempo FX1–4 Delay1–3
Use to tap the tempo to input the DELAY TIME
when the selected effect type is DELAY. (See
“MODULE (FX) Screen” on page 128.)
When the effect type is any delay other than
“DELAY LCR”, set Parameter 2 to “Delay 1”.
When the effect type is “DELAY LCR”, set
Parameter 2 as follows.
Desired parameter Parameter 2 setting
DELAY TIME L Delay1
DELAY TIME C Delay2
DELAY TIME R Delay3
Mute Group 1–8
Turn the selected Mute Group on/off. (See
“Mute Group Master page” on page 160.)
Sends On Fader Mix1–22/FX1–4
Turn the Sends On Fader mode for the
selected bus on/off. (See “SENDS ON FADER
screen” on page 148.)
Snapshot
Select
Next
Increase by one the number of the Snapshot
available for STORE/RECALL shown at the top
of the Menu Screen. (See “Snapshot functions”
on page 164.)
Prev
Decrease by one the number of the Snapshot
available for STORE/RECALL shown at the top
of the Menu Screen. (See “Snapshot functions”
on page 164.)
No 1-128/P001-Pxxx
This makes the specified Snapshot number
shown at the top of the Menu Screen the
target for STORE/RECALL. (See “Snapshot
functions” on page 164.)
Recall
Selected
Recall the Snapshot available for RECALL
shown at the top of the Menu Screen. (See
“Snapshot functions” on page 164.)
Next
Switch the number of the Snapshot available
for RECALL shown at the top of the Menu
Screen to the Snapshot that is one later, and
then recall it. (See “Snapshot functions” on
page 164.)
42 TASCAM Sonicview 16/Sonicview 24 V1.1.0
 Loading...