ADS1256EVM-PDK Kit Operation
www.ti.com
22
SBAU090E–November 2003–Revised November 2018
Submit Documentation Feedback
Copyright © 2003–2018, Texas Instruments Incorporated
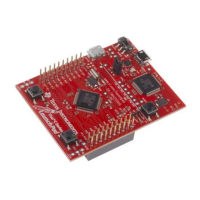
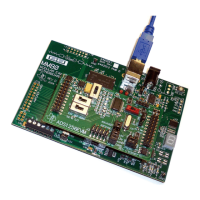
ADS1256EVM and ADS1256EVM-PDK
8.4 Running the Software and Completing Driver Installation
NOTE: The software is continually under development. These instructions and screen images are
current at the time of this writing, but may not exactly match future releases.
The program for evaluating the ADS1256EVM-PDK is called ADCPro. This program uses plug-ins to
communicate with the EVM. The ADS1256EVM-PDK plug-in is included in the ADS1256EVM-PDK
package.
The program currently runs only on Microsoft Windows platforms of Windows XP; Windows Vista and
Windows 7 are NOT supported.
If this is the first time installing ADCPro and plug-ins, follow these procedures to run ADCPro and
complete the necessary driver installation. Make sure the ADCPro software and device plug-in software
are installed from the CD-ROM as described in Installing the ADCPro Software.
8.4.1 NI-VISA USB Device Driver Installation
1. After the ADCPro software is installed, apply power to the PDK and connect the board to an available
PC USB port.
2. The computer should recognize new hardware and begin installing the drivers for the hardware.
Figure 16 through Figure 19 are provided for reference to show the installation steps.
• For the first screen (Figure 16), it is not necessary to search for the software; it has already been
installed to your PC.
• For the remaining steps, accept the default settings.
Figure 16. NI-VISA Driver Installation Wizard, Screen 1
 Loading...